FREE SHIPPING on orders over $475
FREE SHIPPING on orders over $475 | No Code Needed
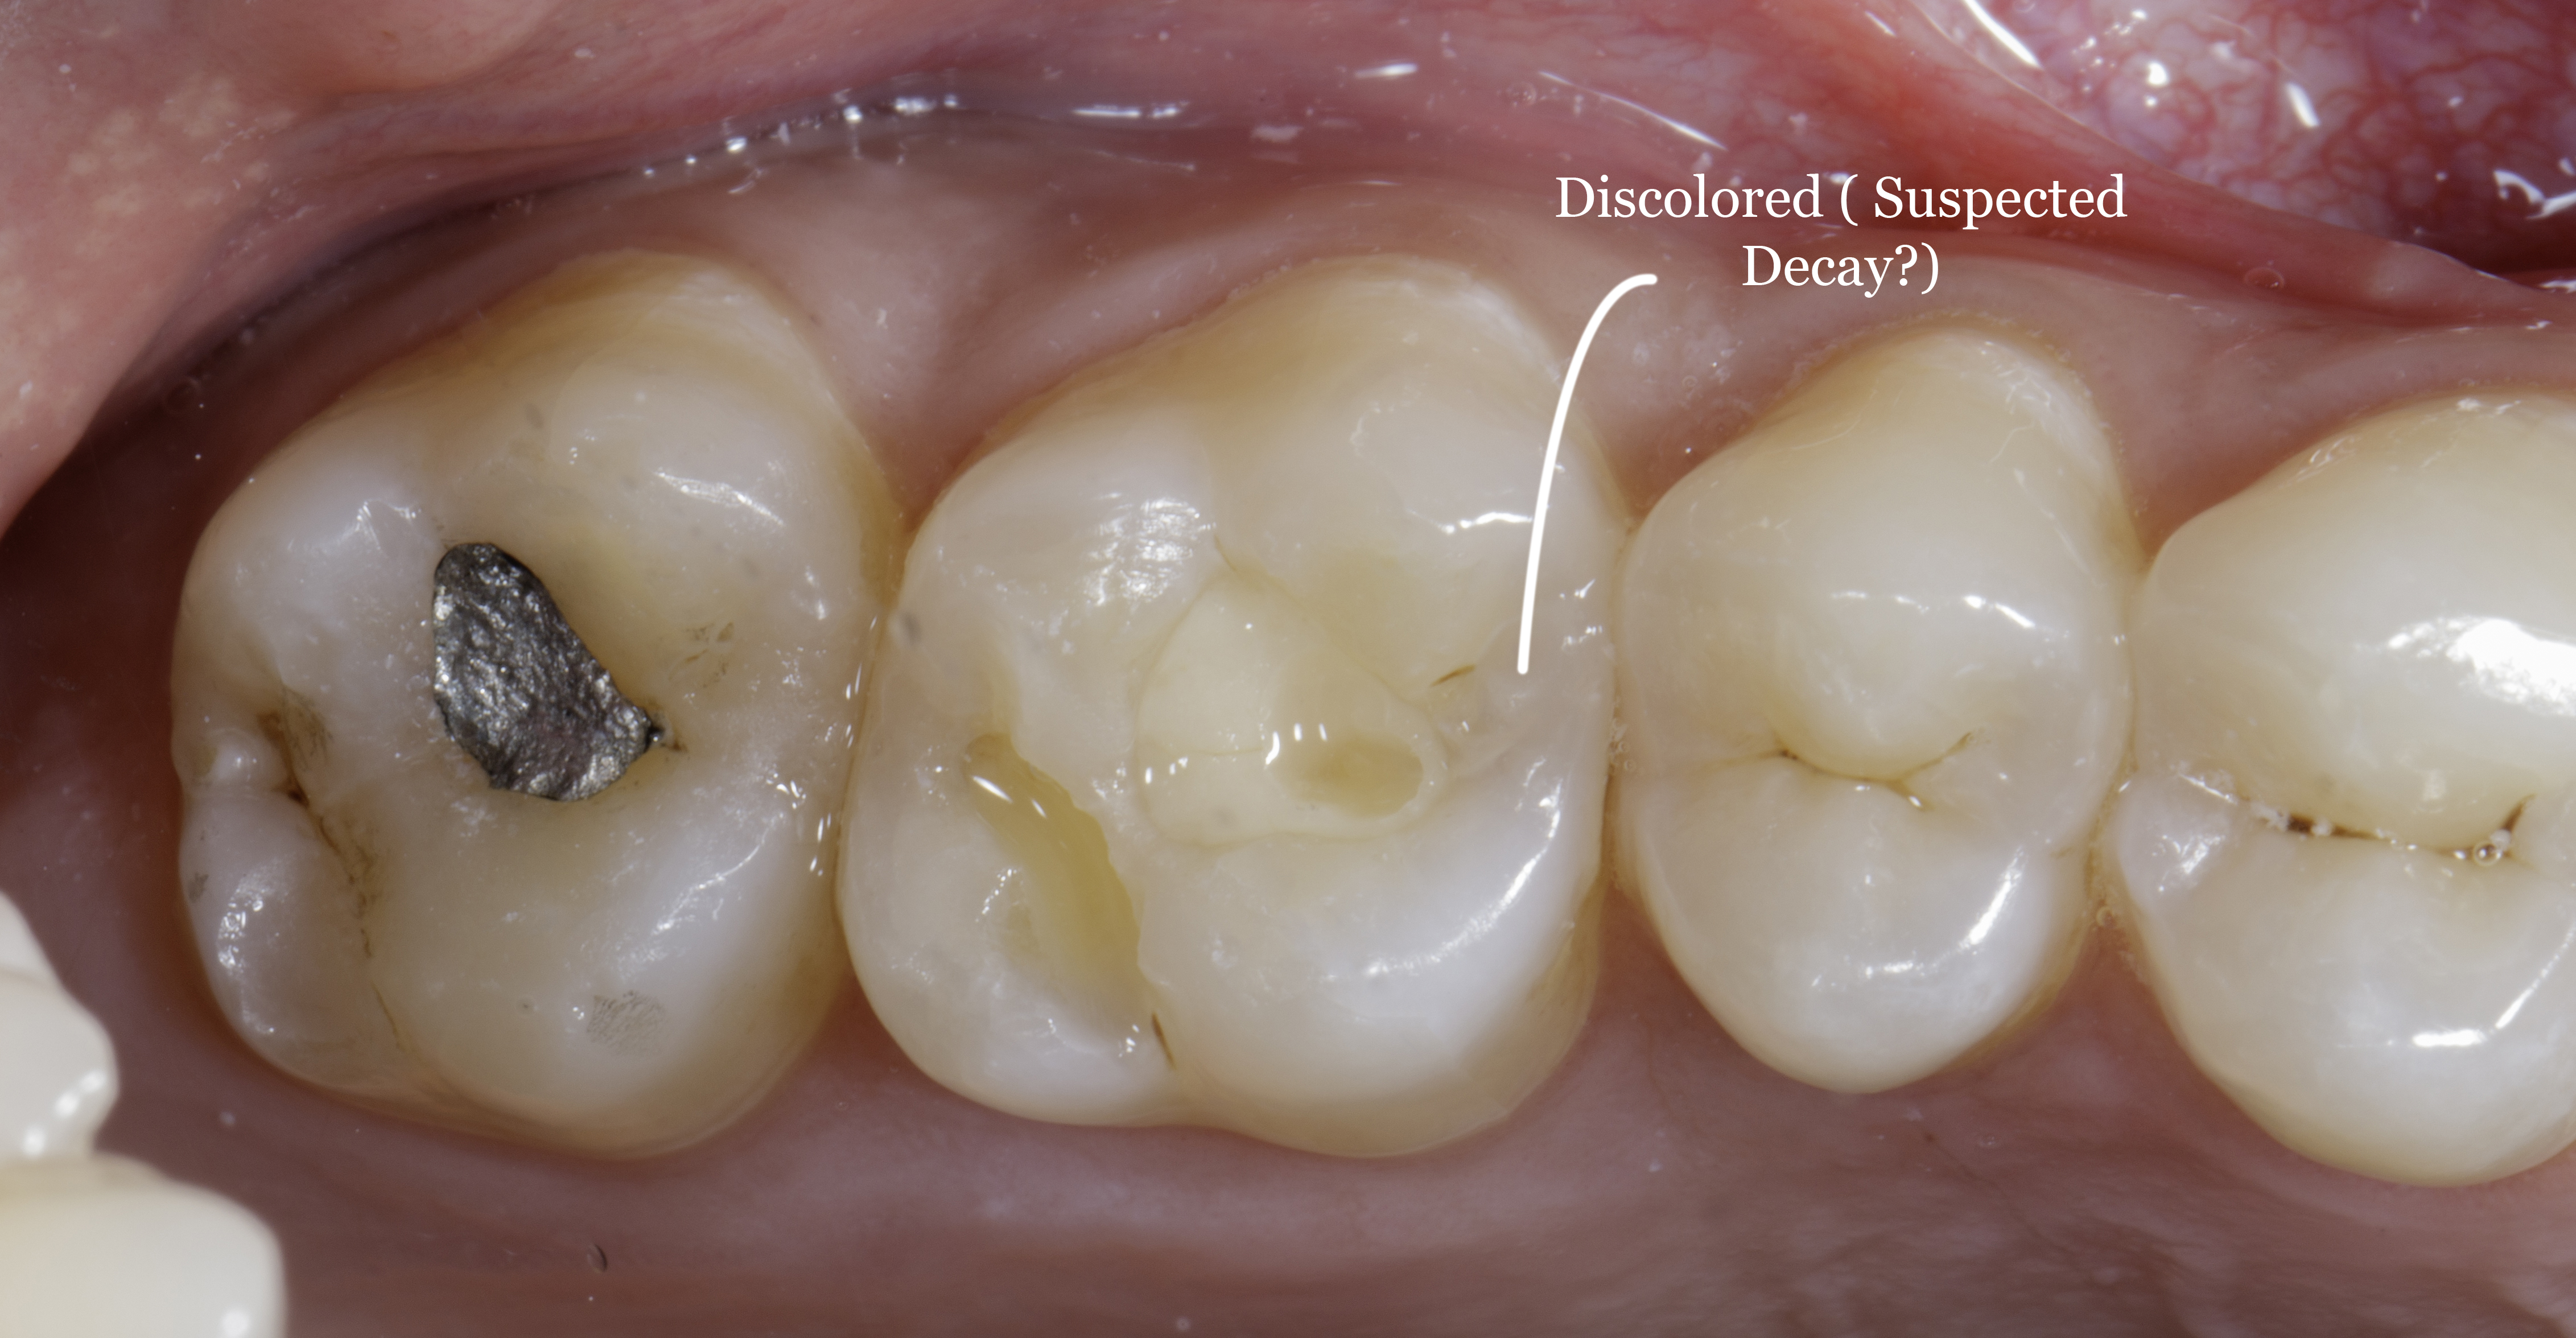
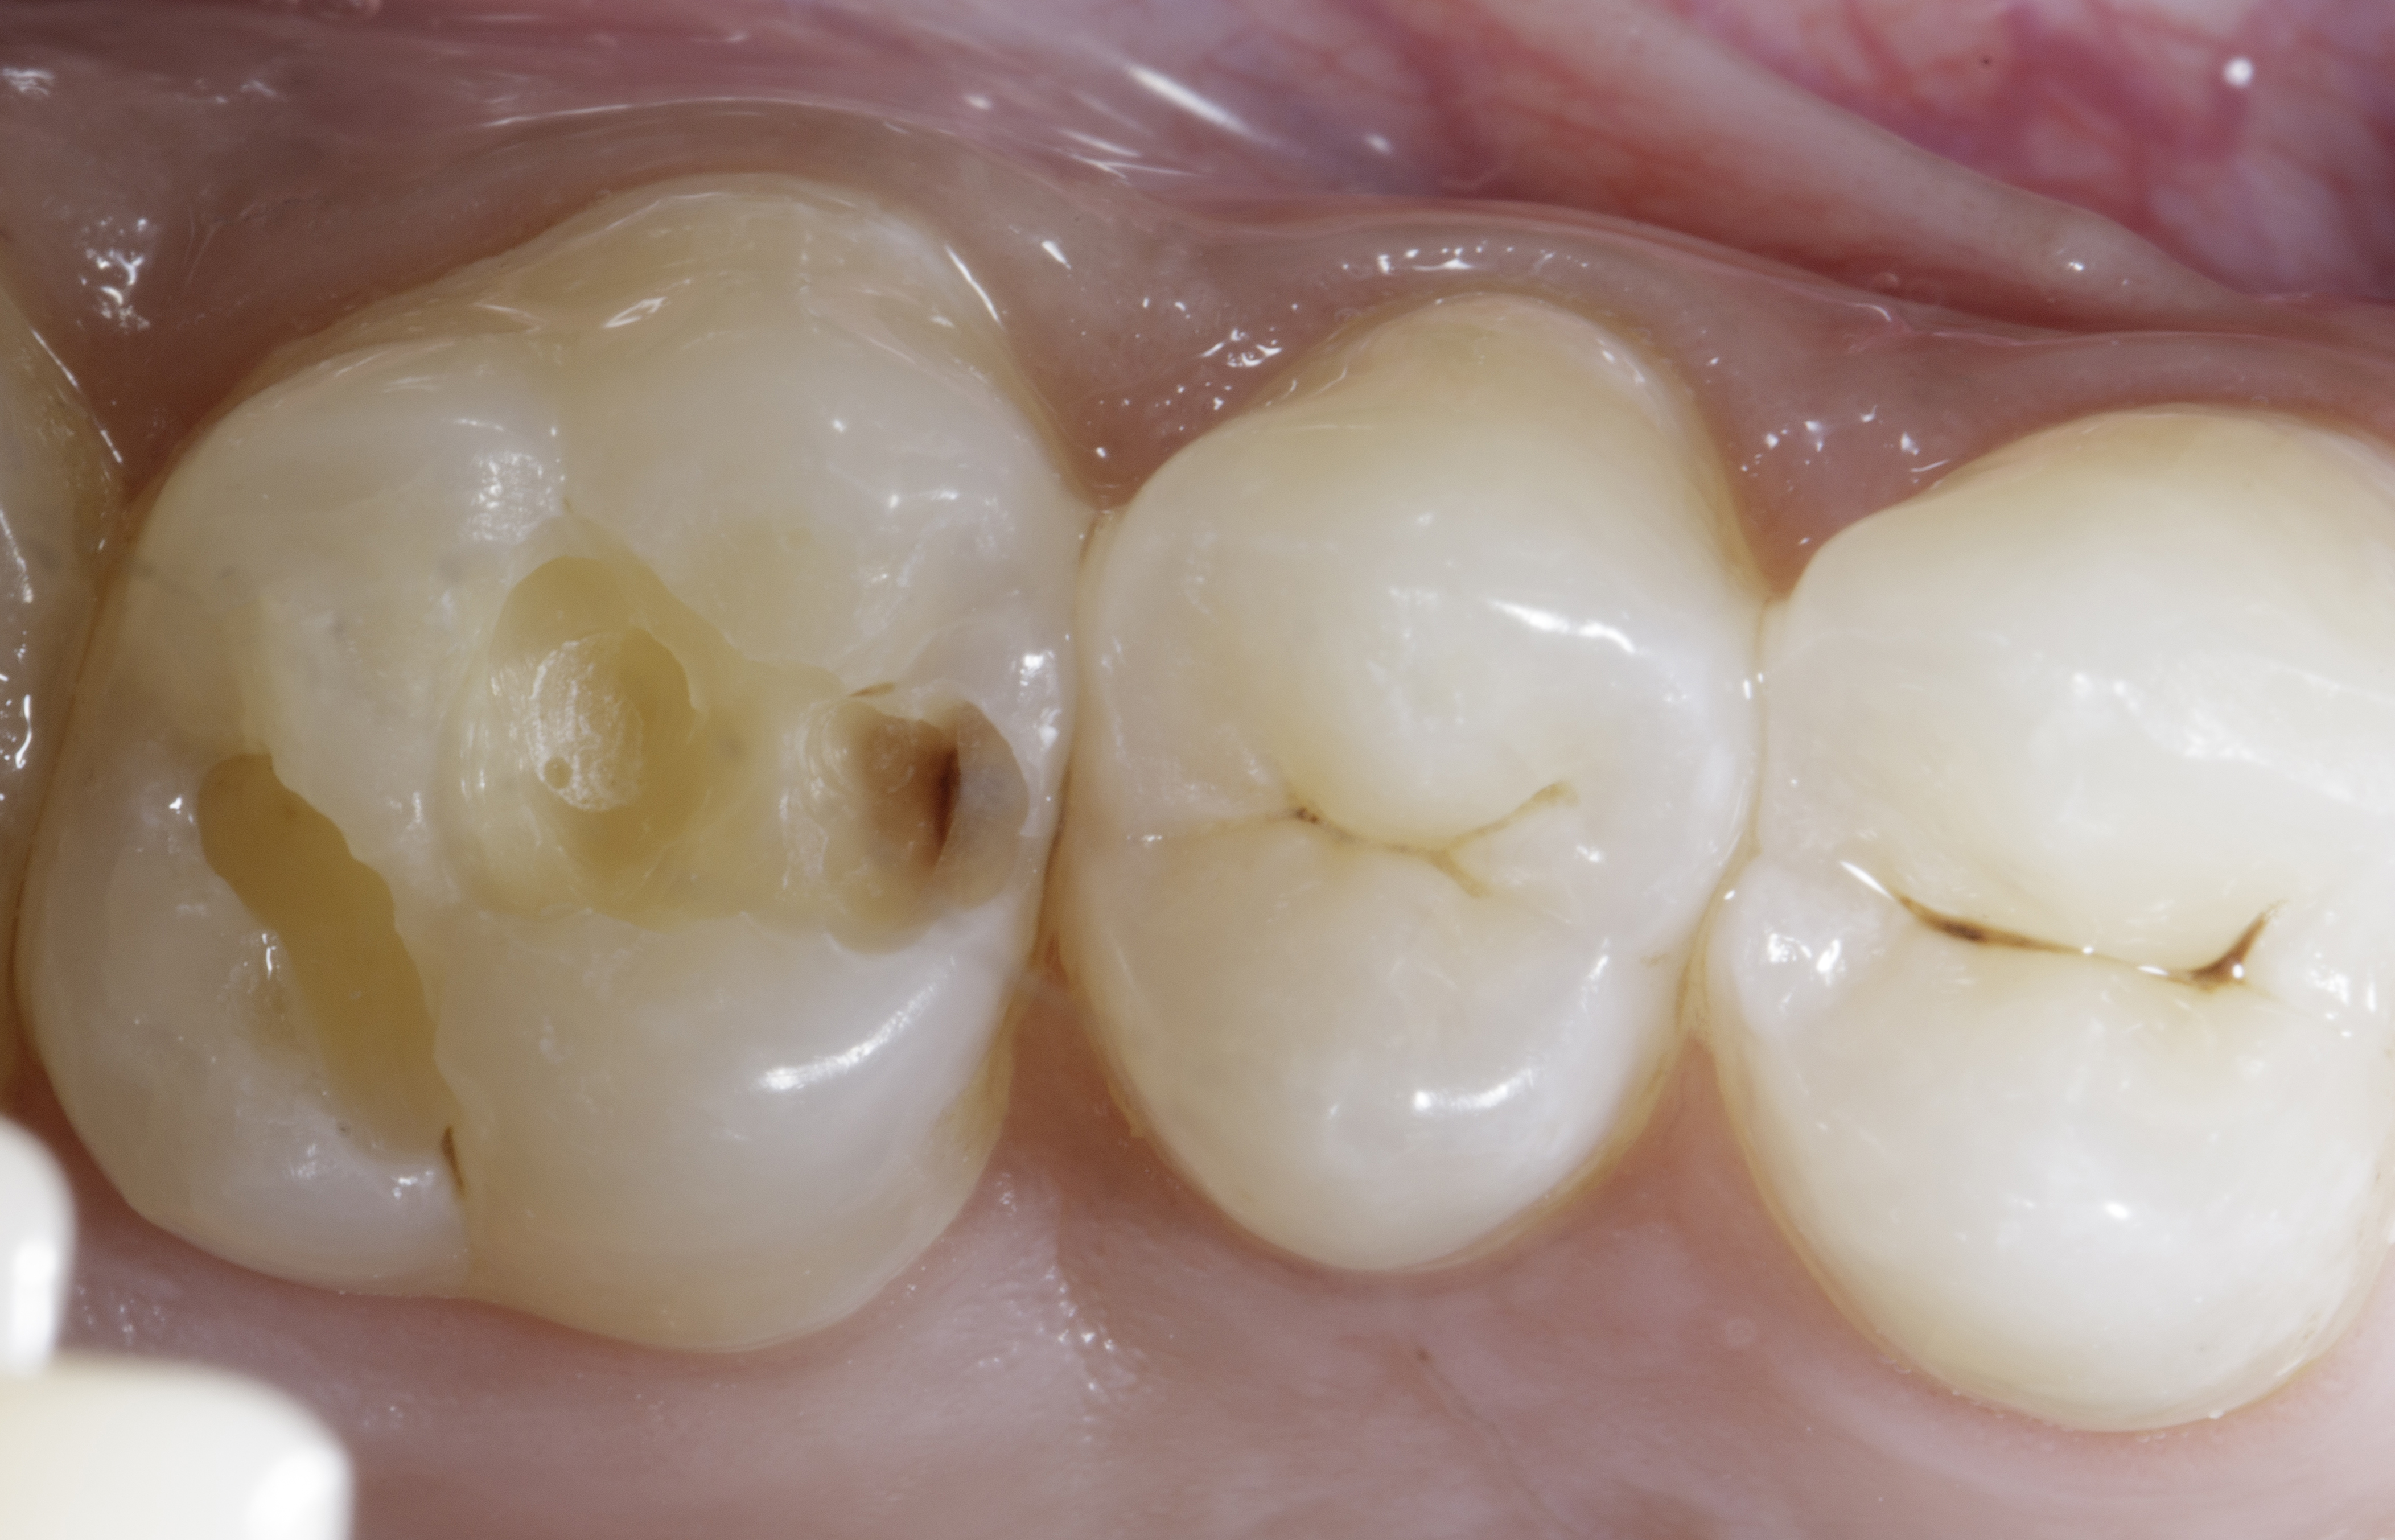
A 30-year-old male presented to our dental office with complaints of sensitivity in the maxillary left quadrant. Clinical examination revealed a debonded composite restoration on tooth #16. Upon closer inspection using high magnification loops and photography, the mesial area of #26 appeared greyish (suggestive of underneath Class 2); however, this was an initial observation, and no definitive diagnosis was made at that point. We decided to proceed with the removal of the old composite and placed a new simple Class I composite restoration. At the patient’s request, the existing silver amalgam restoration was also decided to remove and redo with composite during the same visit.
|
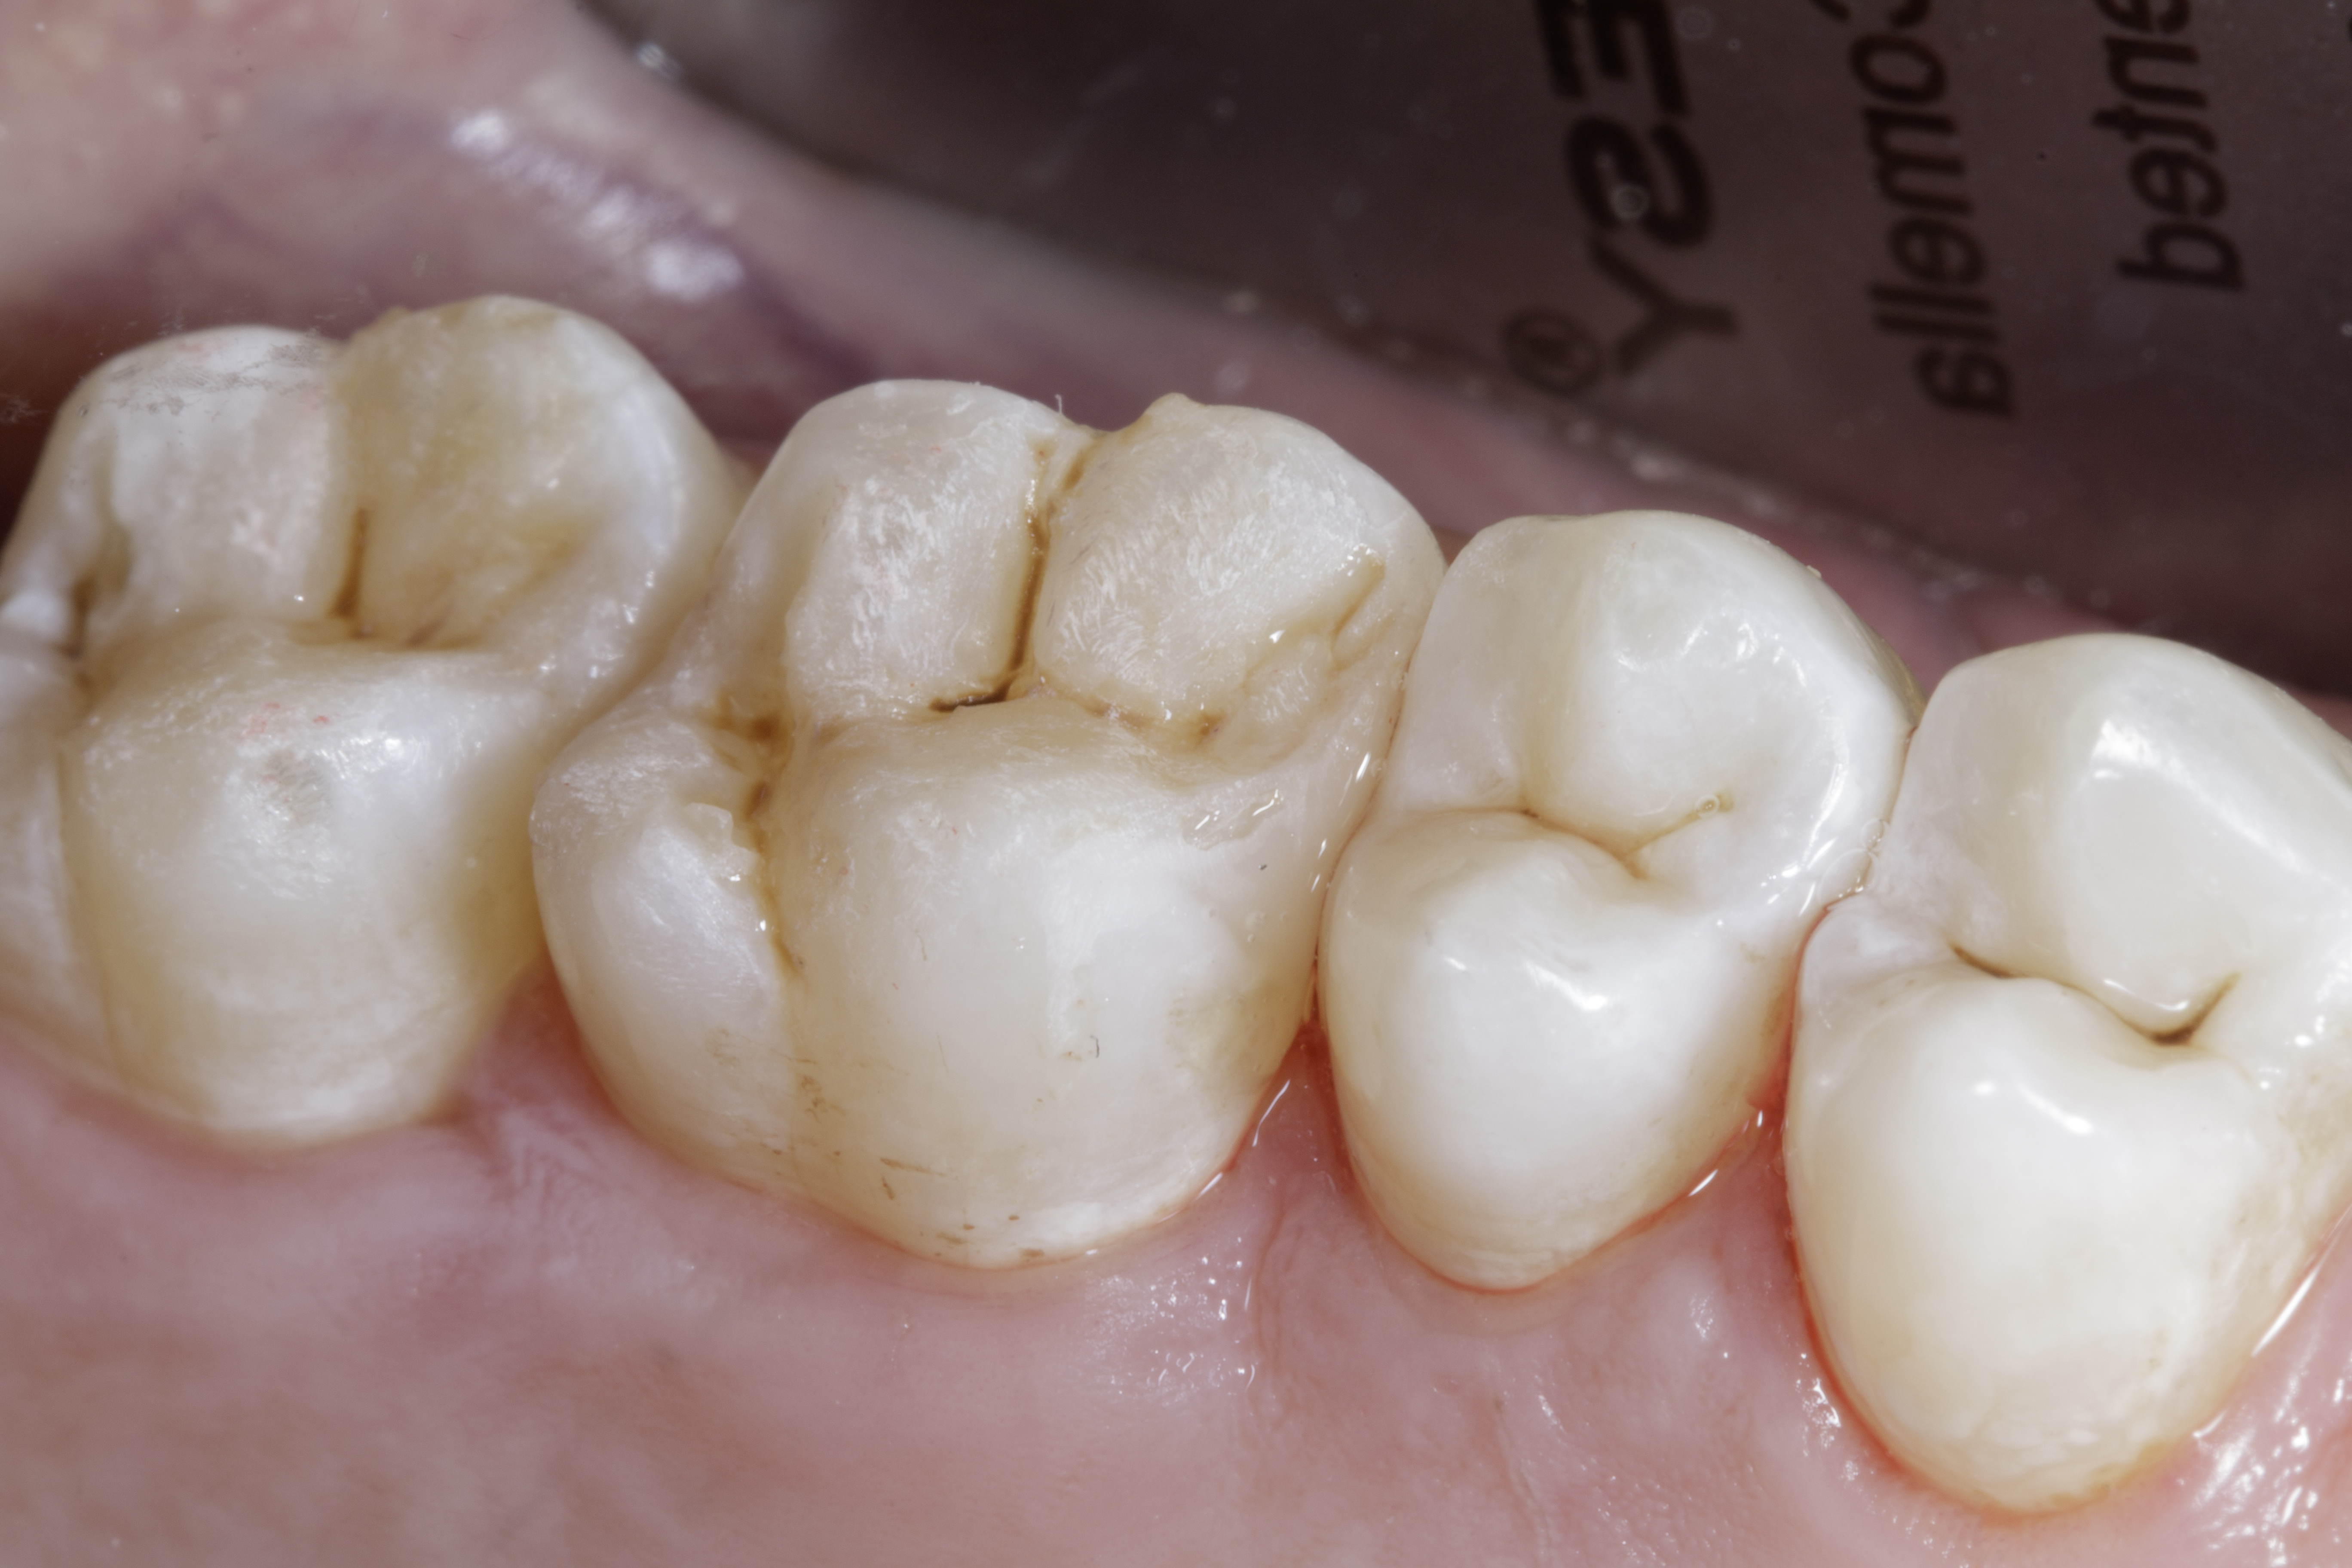
| Figure 1. Debonded composite on the tooth #26, with slight greyish discoloration in mesial area when compare with adjacent tooth. |
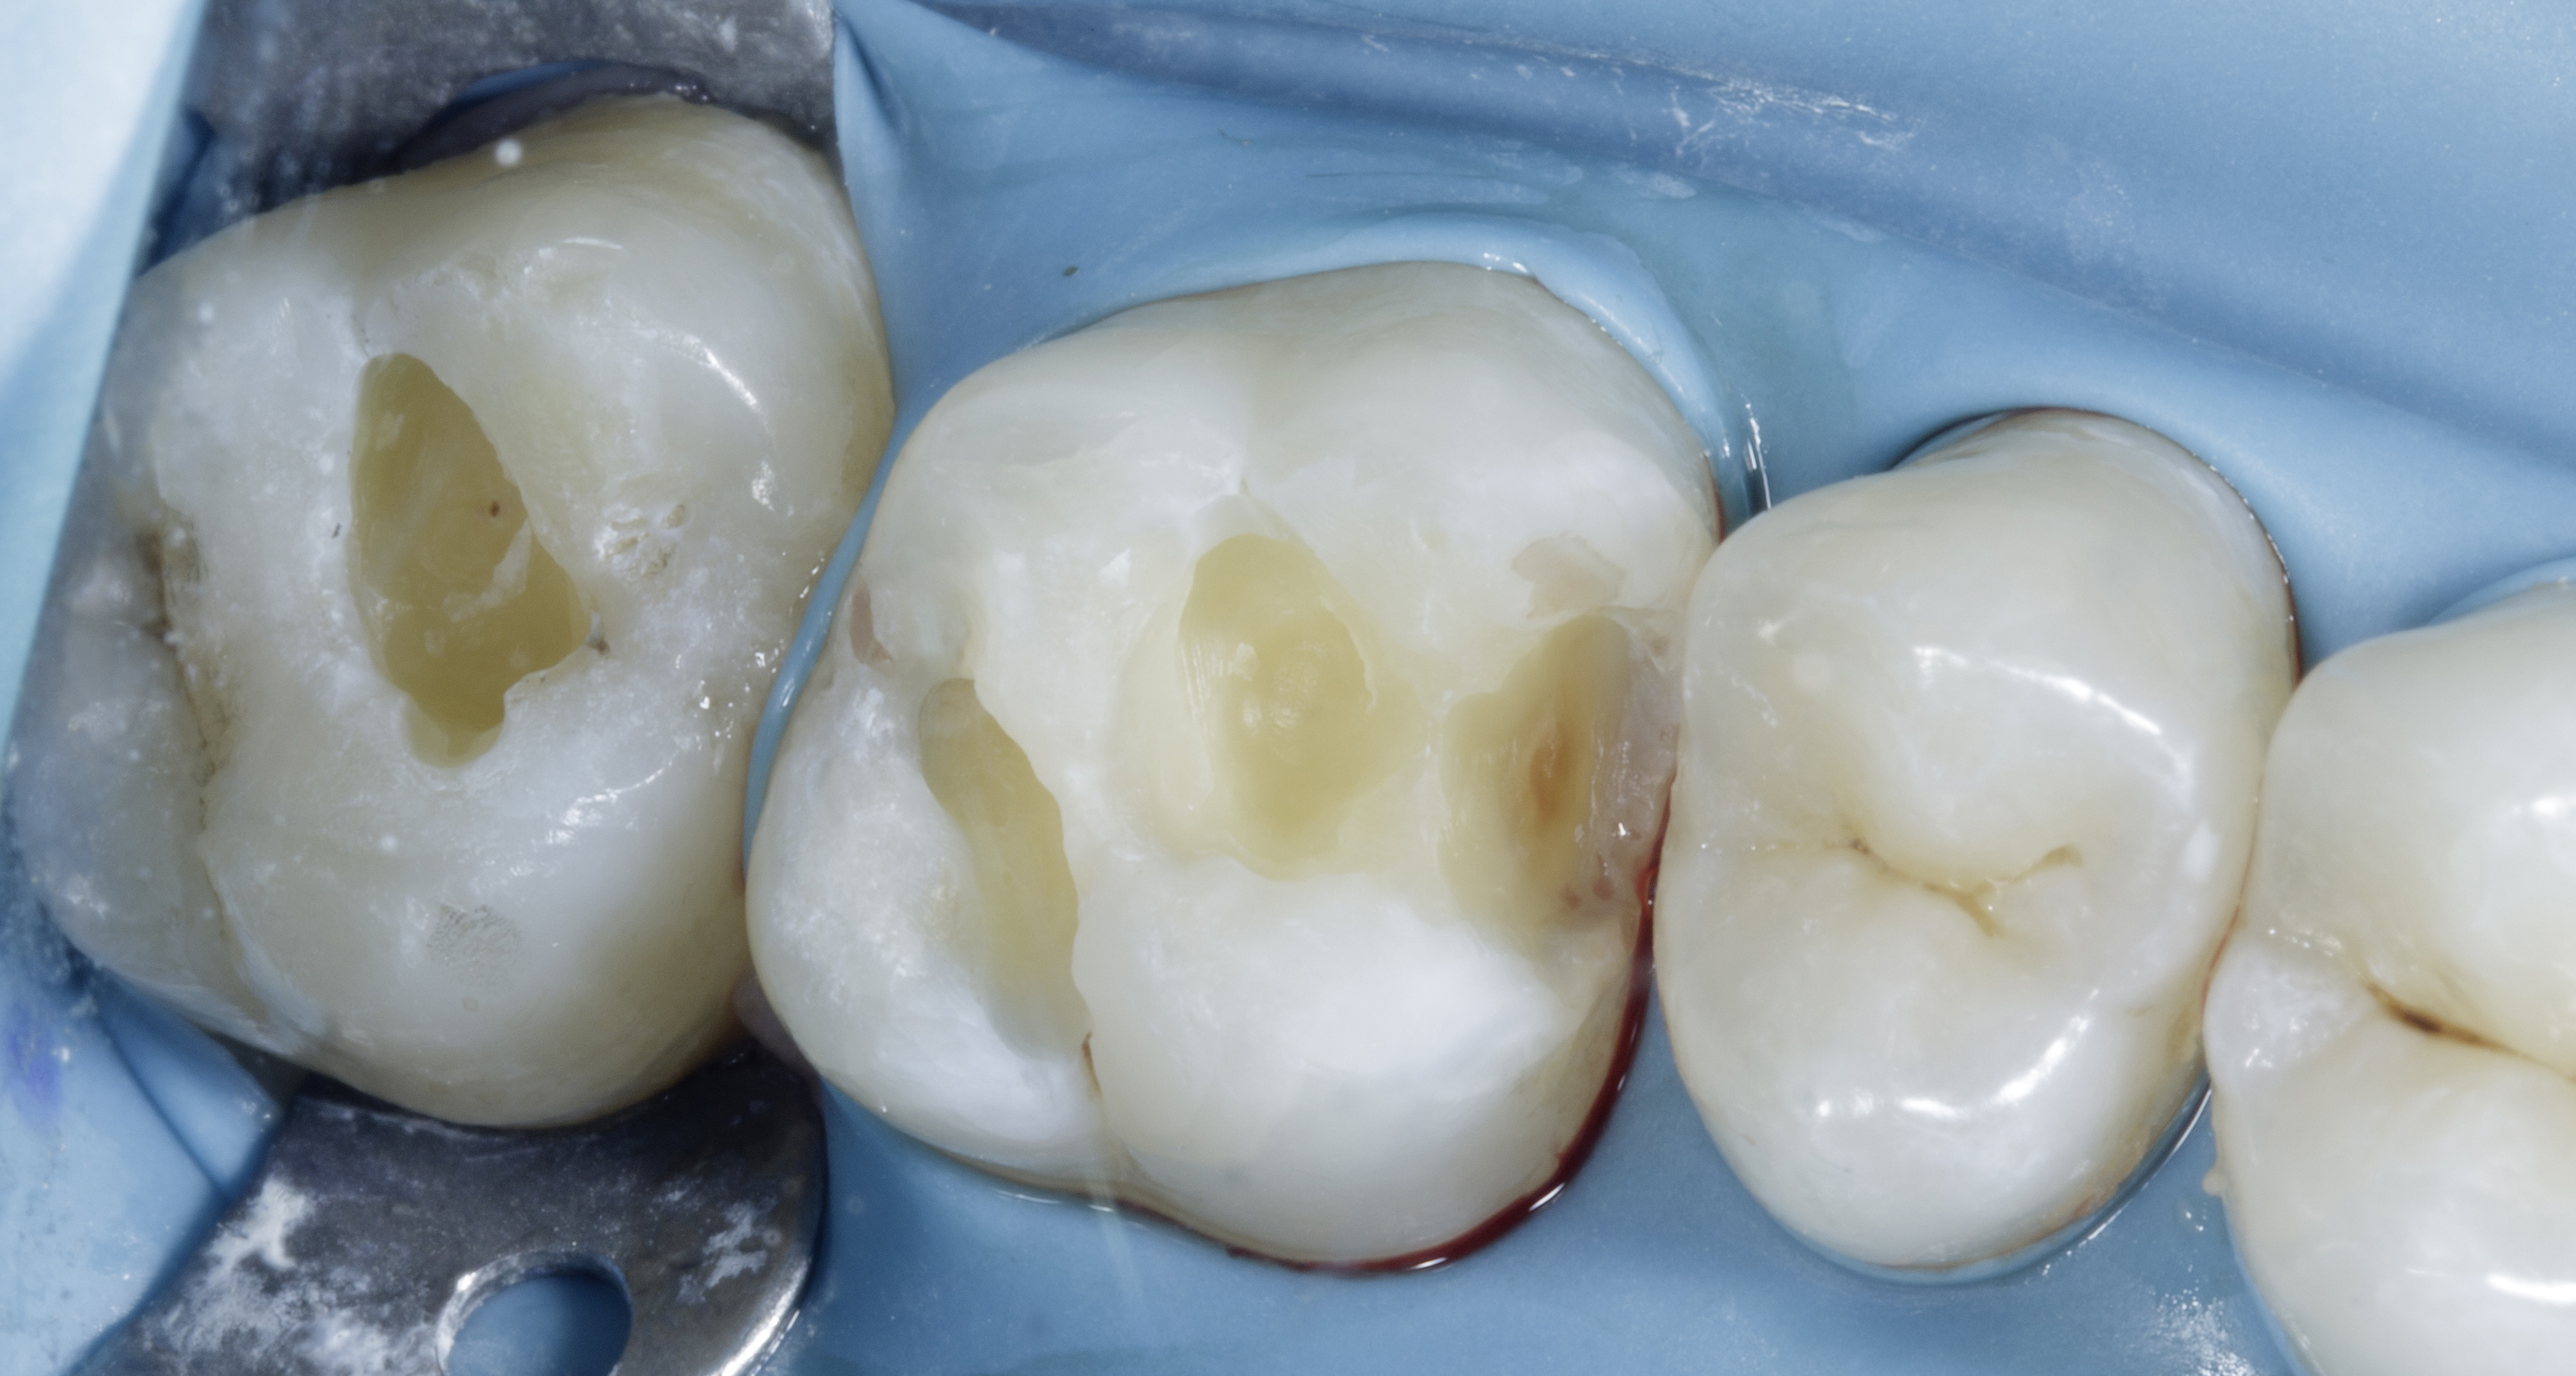
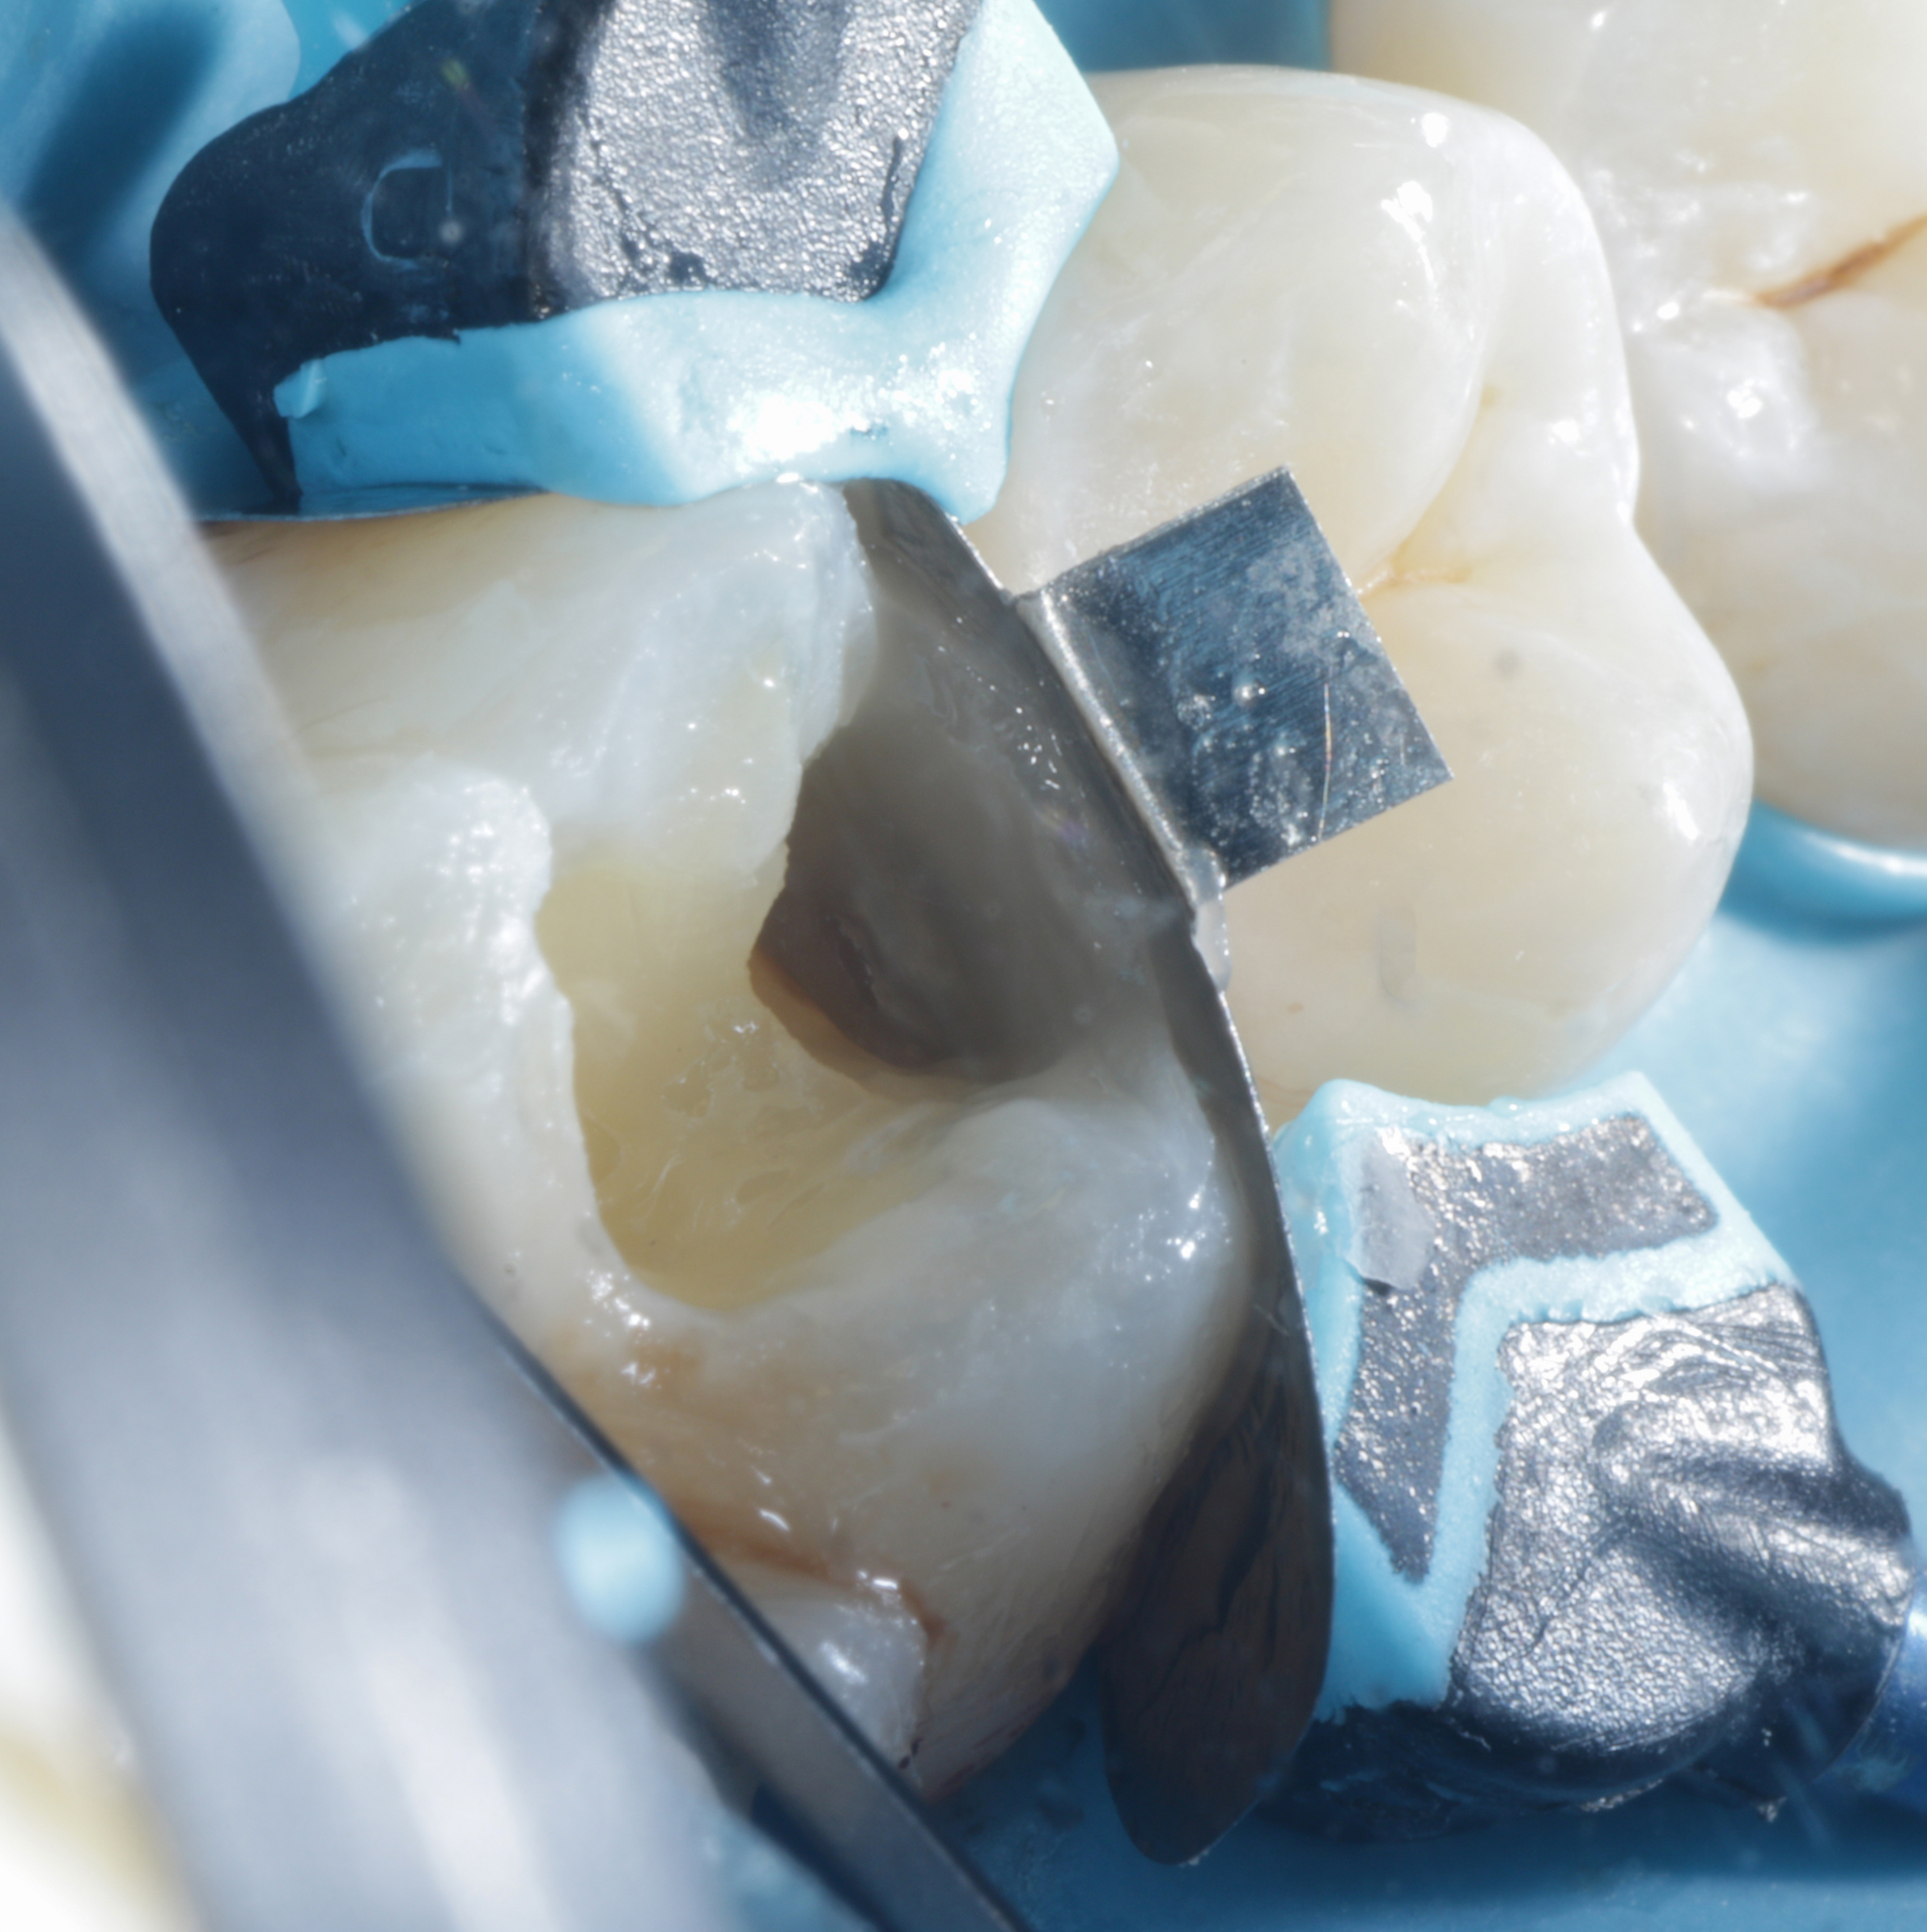
The old composite restoration on tooth #26 was carefully removed using a high-speed round bur. As we approached the mesial area, suspected decay previously noted during the clinical examination became more apparent. We proceeded to remove additional tooth structure, which confirmed the presence of a typical Class II defect as seen in Figure 2.
|
| Figure 2. After initial drilling as suspected classical Class 2 defect. |
Rubber Dam Isolation achieved using a wingless clamp with heavy rubber dam to achieve optimal bonding and increase the longevity of the restoration. Proper isolation is crucial for a successful adhesive process.
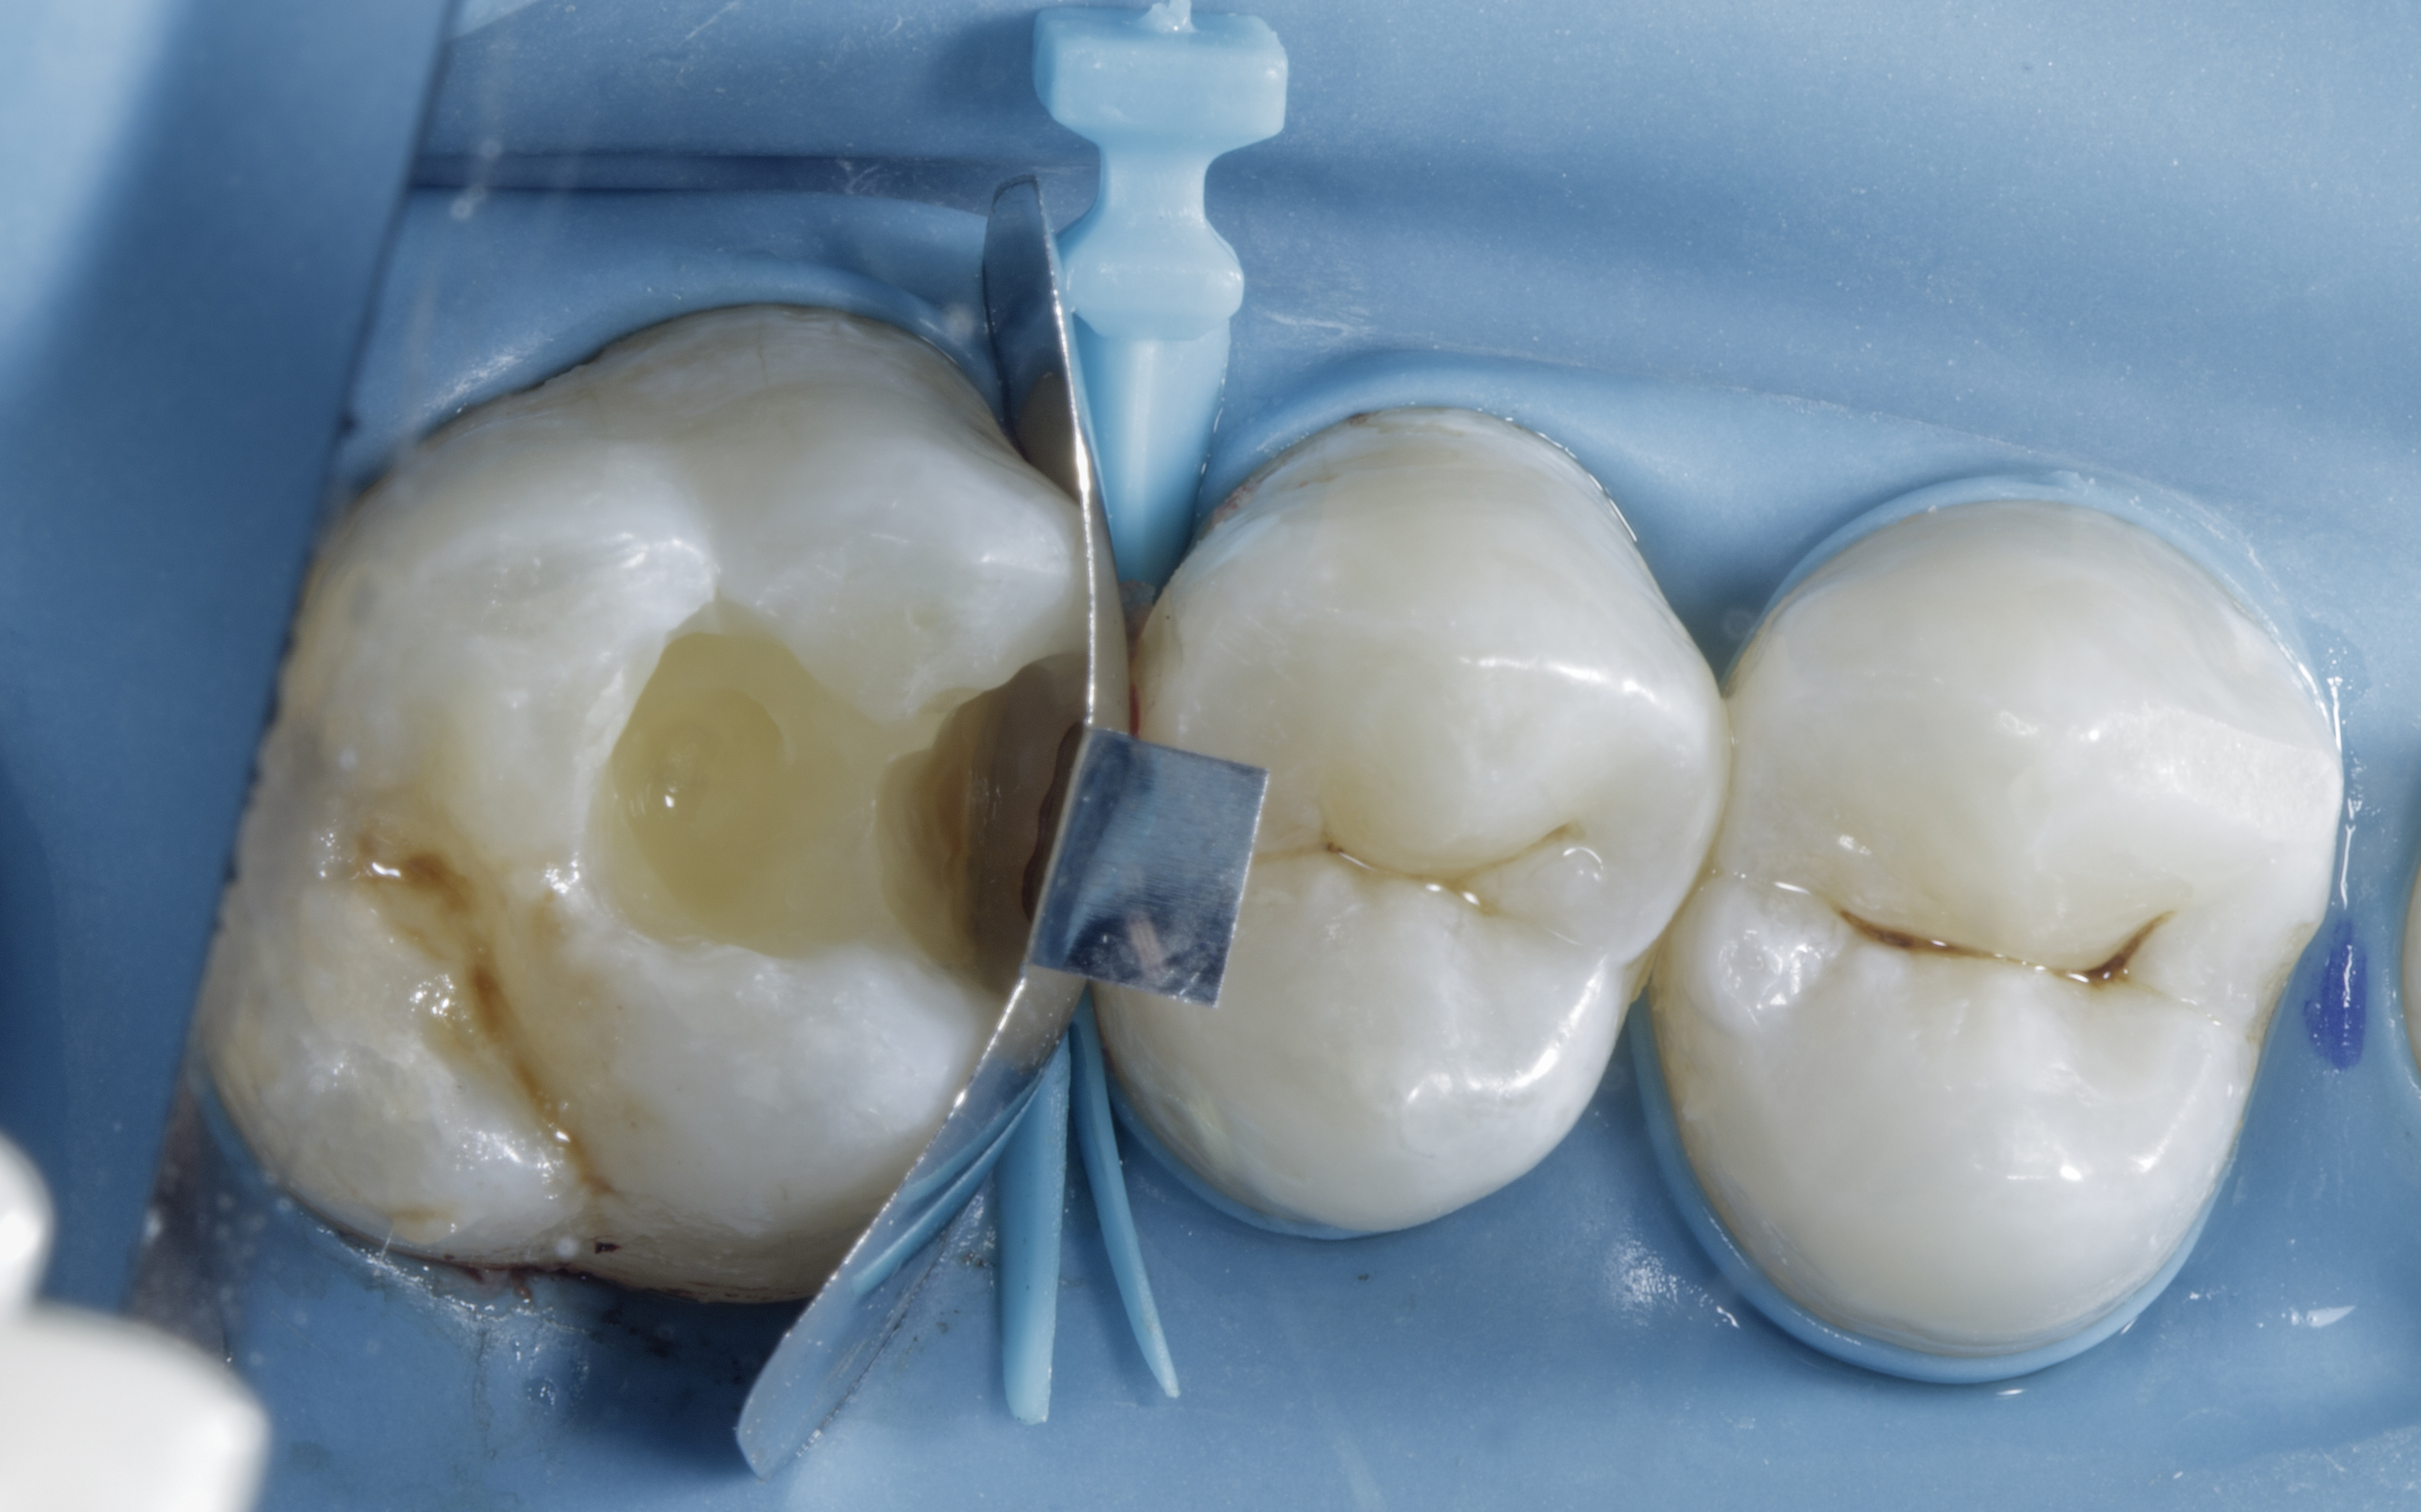
Composite / Silver/ Caries Removal: Silver restoration removed carefully using high speed round bur. Utilize caries dye for the thorough removal of carious tissue in teeth #26, #27, infected caries is removed using slow speed round carbide bur with use of caries dye. It is essential to establish a peripheral seal zone free from infected and affected dentine to ensure the best bonding strength.
Enamel / Proxima Box Preparation: Remove all unsupported enamel using a Super Fine Diamond Bur (yellow band). Contact broken in order to place the matrix band perfectly. Finish the proximal walls with Shofu Super-Snap disks: start with the violet disk, followed by green and pink disks. This approach ensures optimal bonding to the enamel and helps prevent potential microleakage. Air particle abrasion using 25-micron aluminum oxide powder for more than 5 secs. This process cleans the cavity preparation and enhances bonding strength. (Figure 3)
|
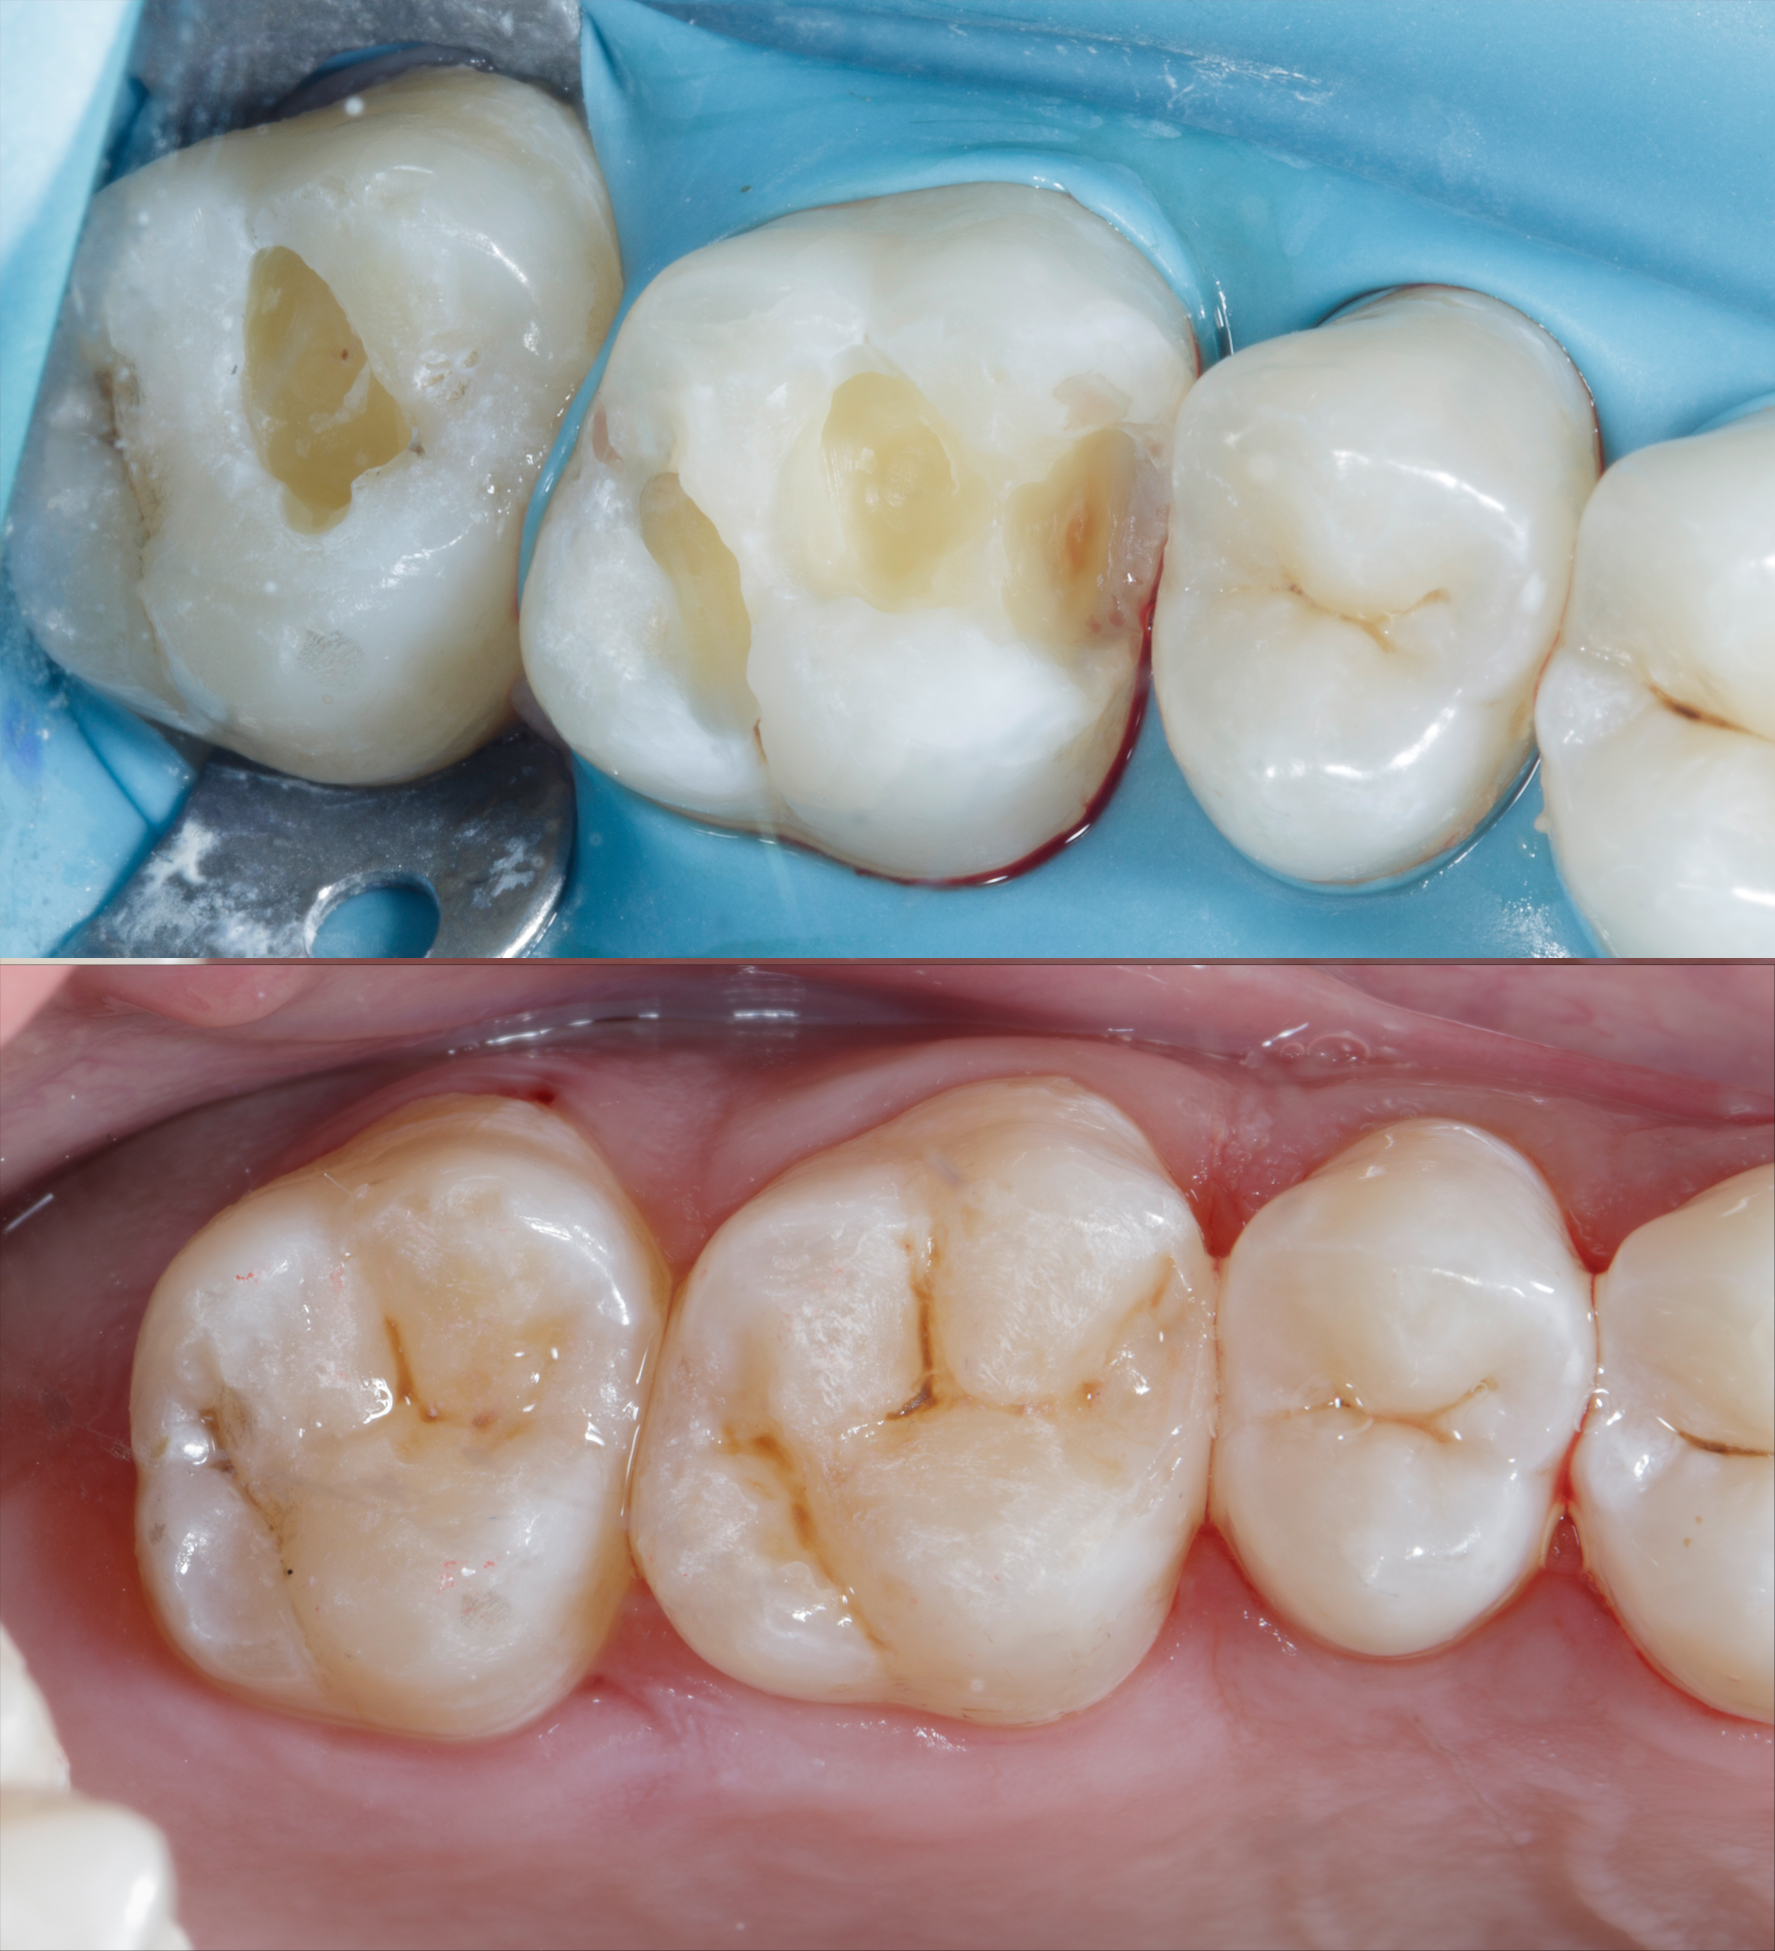
| Figure 3. Caries removal, achieving peripheral seal zone, Removing unsupported enamel. The picture was taken after air abrasion and selective etching was performed. |
We began by restoring the most distal defect on tooth #27 and the distal aspect of tooth #26 using Shofu Bioactive composite, employing an incremental, cusp-by-cusp morphological layering technique.
Once these restorations were completed, we proceeded to the critical step of addressing the Class II defect on tooth #26.
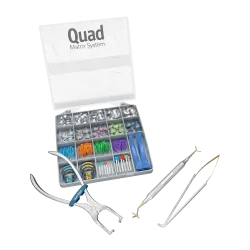
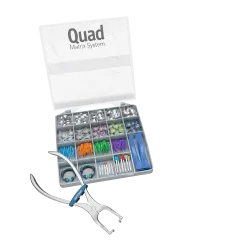
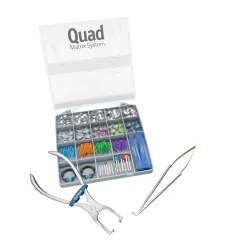
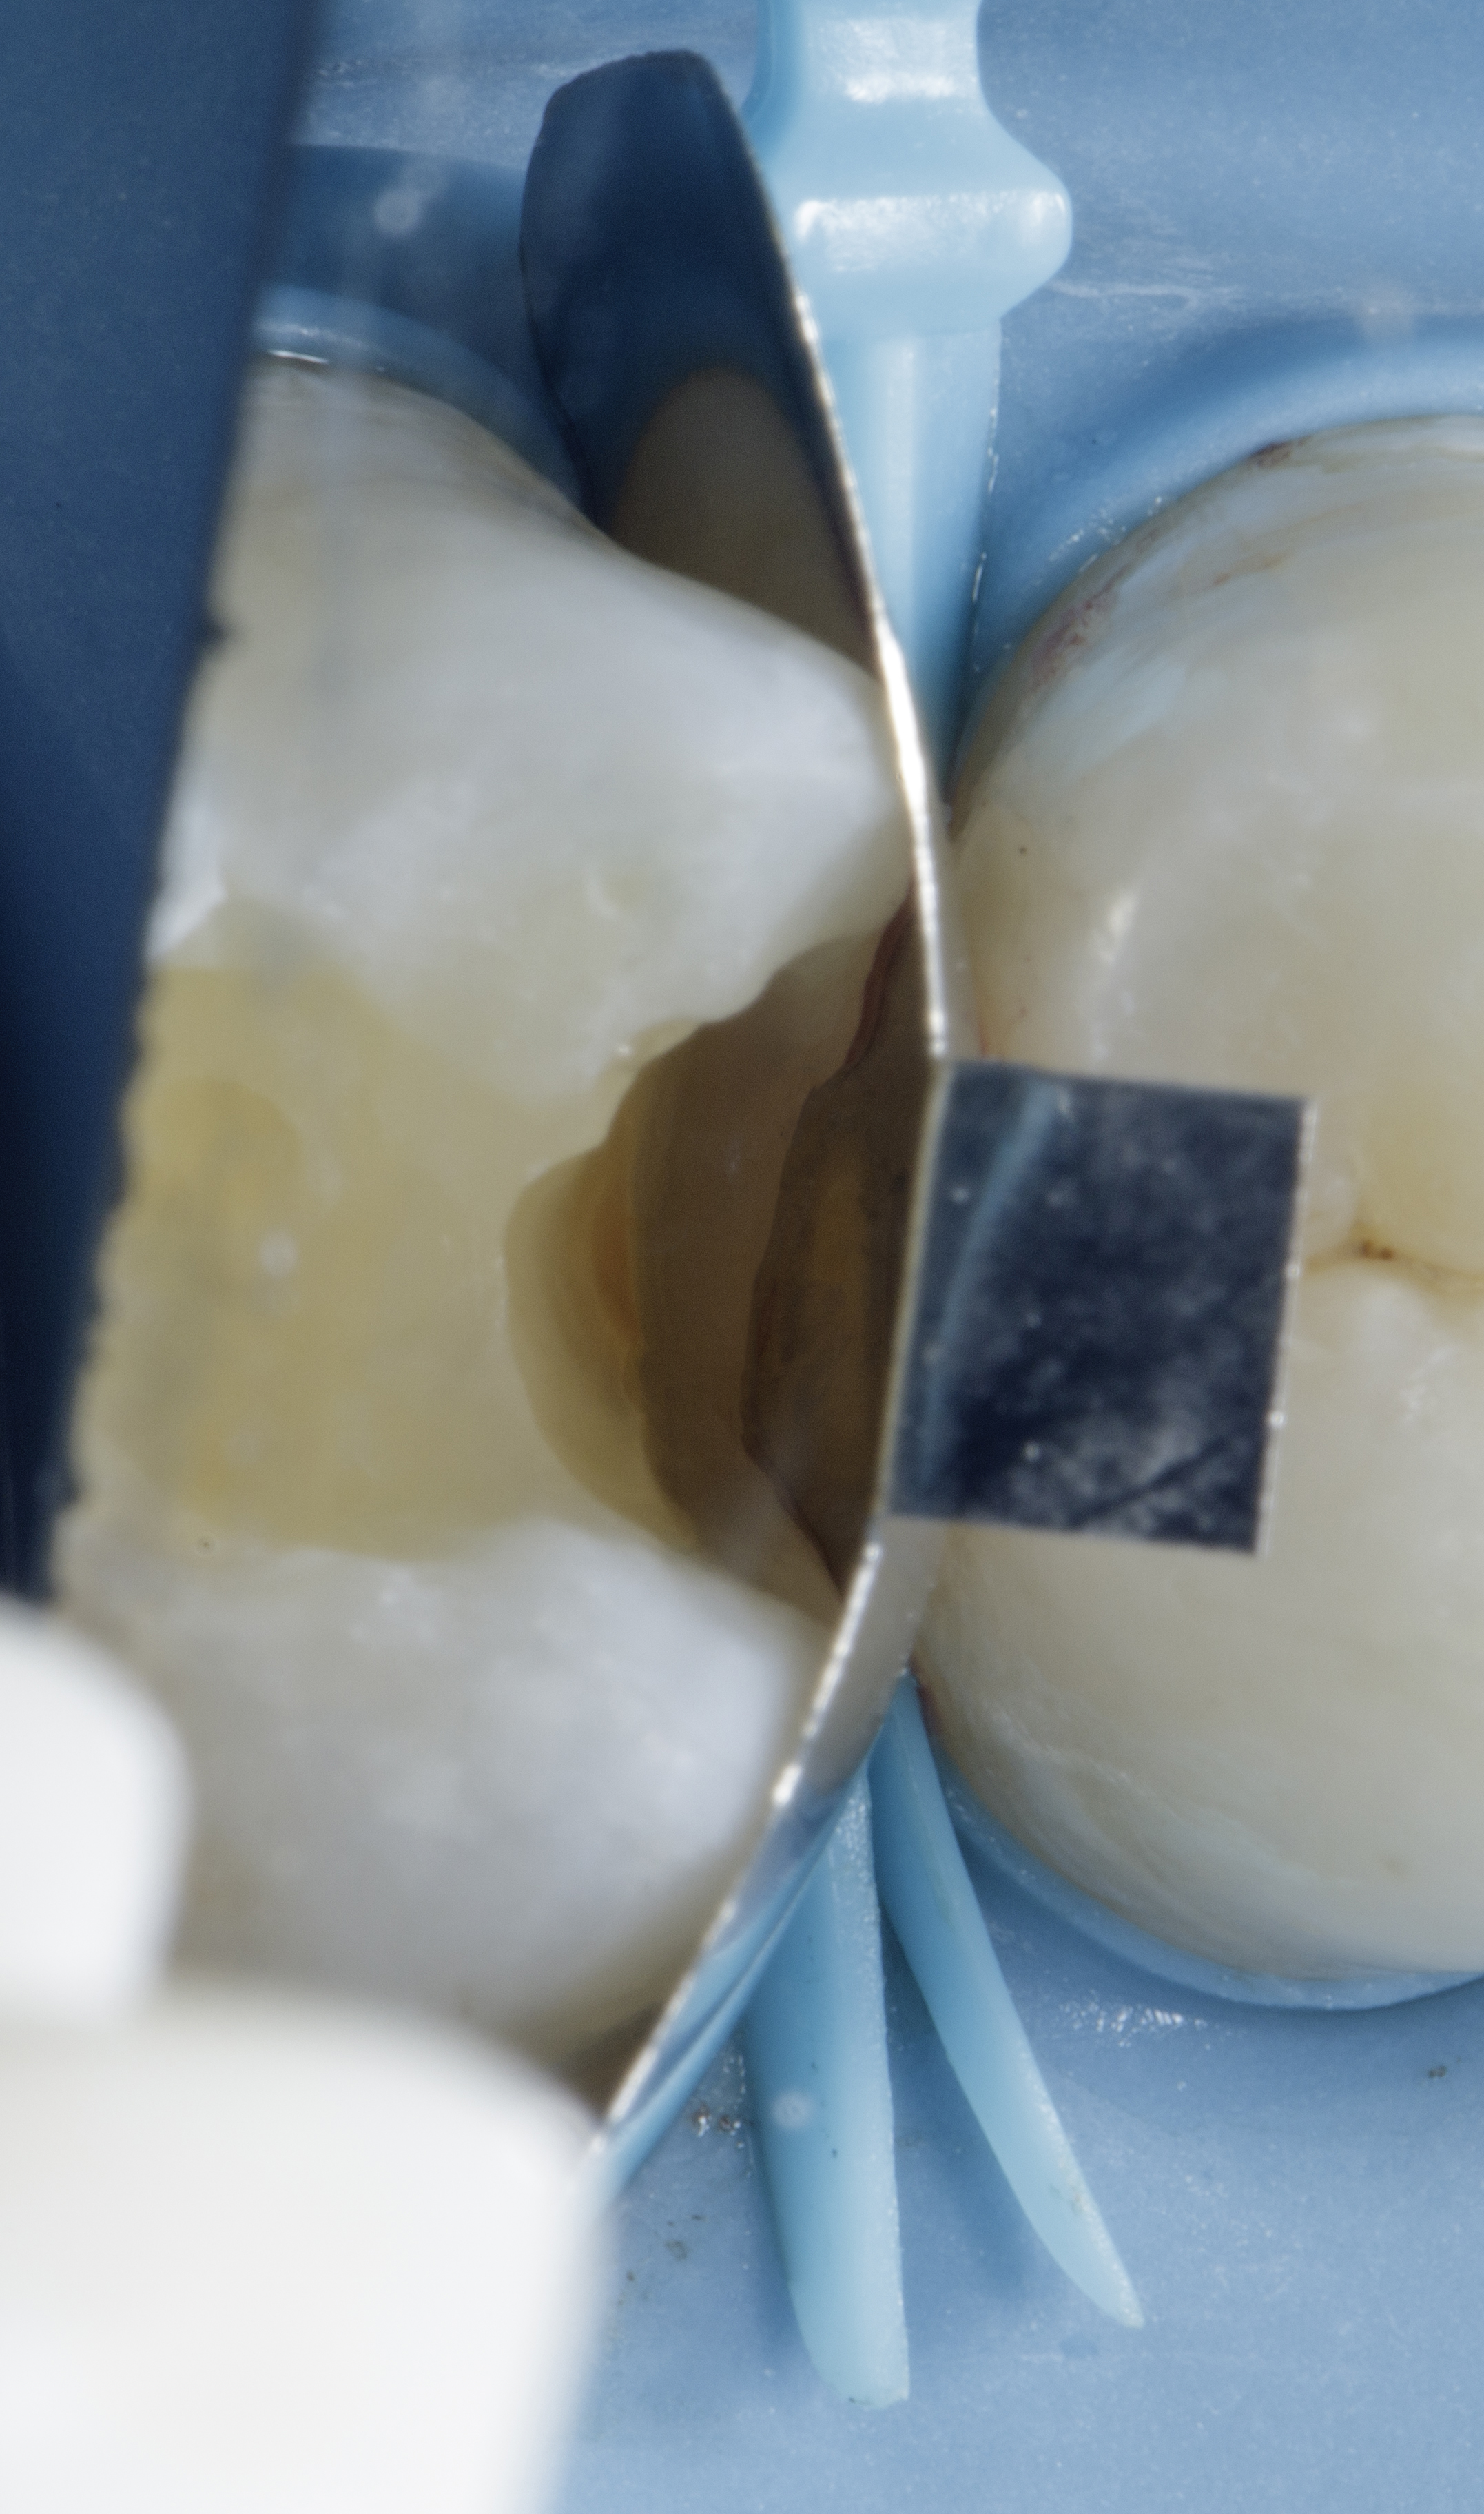
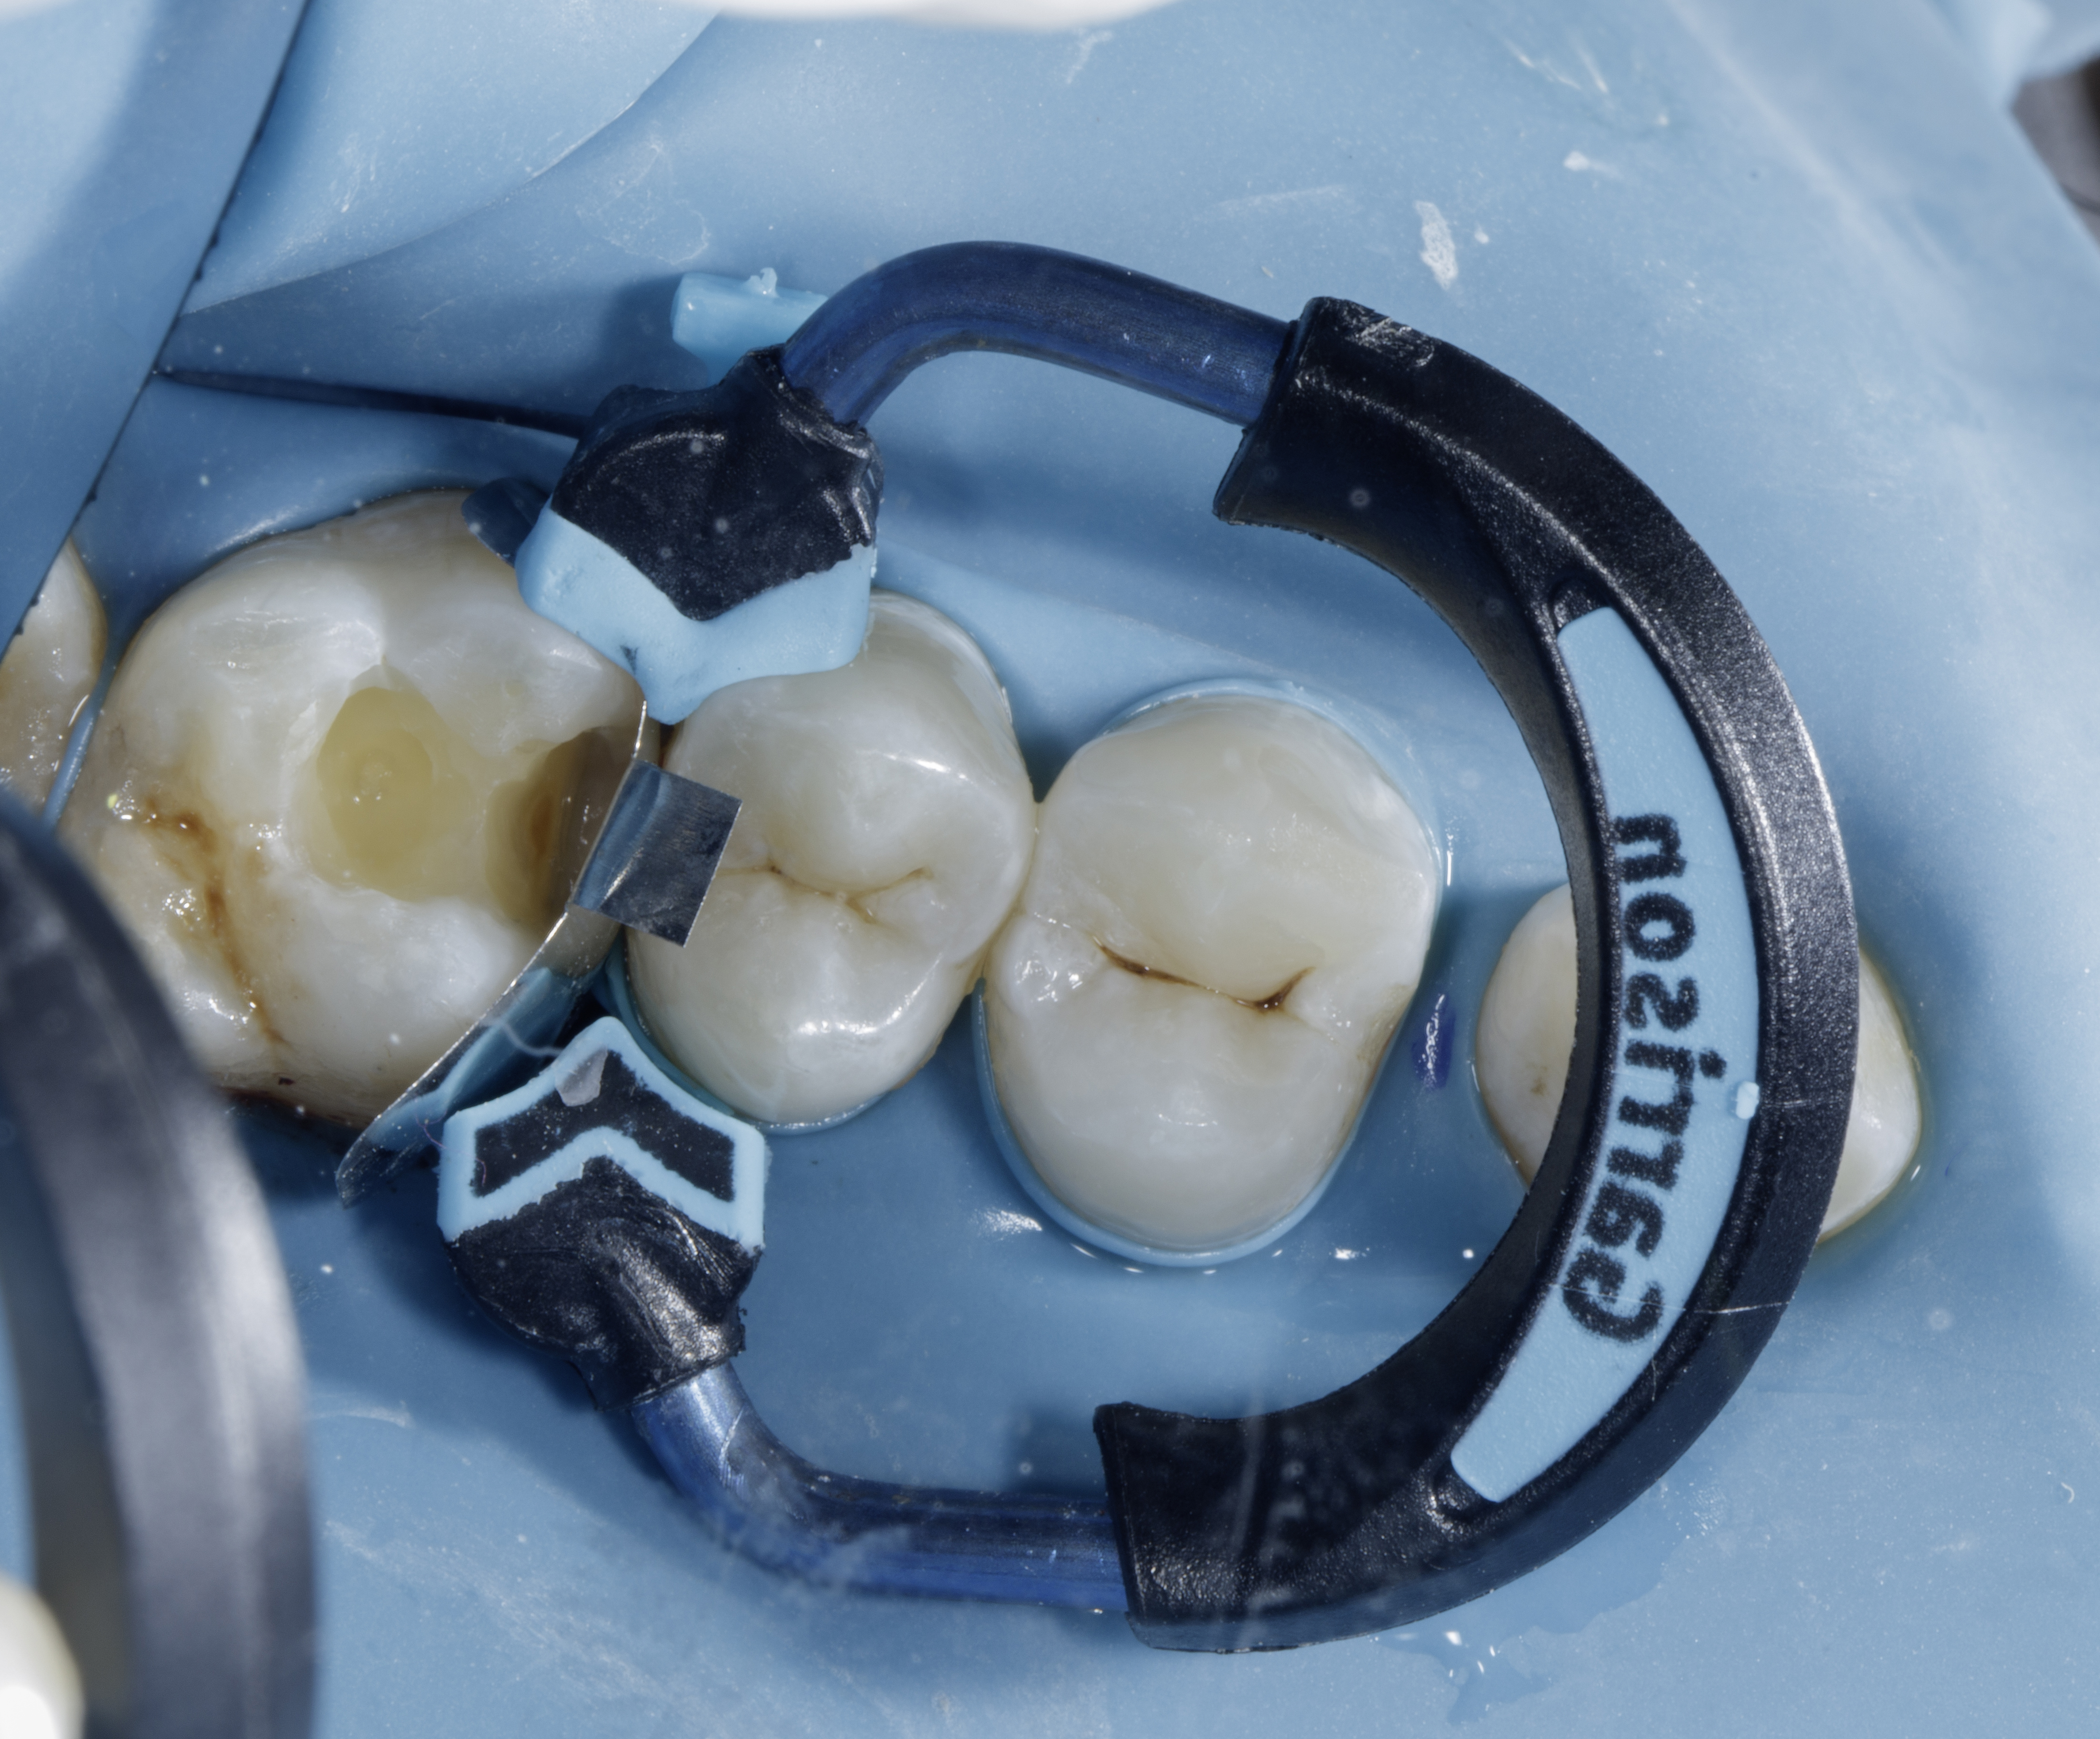
Selecting the appropriate sectional matrix system is crucial in class 2 defect cases so we choose Garrison Quad system. Its completely myth that Quad matrix system can be used only for adjacent class 2 defects. It works very well in single class 2 as well more efficiently.
It is essential to ensure that the marginal ridge is correctly dimensioned and aligns with the occlusal anatomy. This alignment is vital for creating well-defined adjacent triangular fossae and a properly shaped occlusal embrasure. Therefore, the height of the marginal ridge largely depends on the choice of band height. Here we choose Firm band FXH 200.
|
| Figure 4. Placement of FXH 200 firm band secured with the Quad blue wedge, checking the proximal seal. |
The firmness of the band material facilitates easy placement and secure fitting, the bands maintain their shape and do not distort during layering the composite ensuring accurate and reliable restoration outcomes. The band is secured with a Quad blue wedge, selected based on fitting firmness - a larger wedge is chosen if the fit is loose. Proper placement involves passing both arms of the wedge to the other side. Given the Class 2 defect's location in the middle area with equal tooth structure on both sides, a buccal-to-palatal wedge placement was used, following the classical approach. (Figure 4)
After placing securing band and wedge, carefully seen the proximal box seal, took photos to ensure 100% seal. (Figure 5)
|
|
| Figure 5. Proximal Box seal before placing the Matrix Ring. | Figure 6. The Quad ring was placed with its driver tip from the buccal side. |
Once the band is securely in place, the Quad ring is selected and positioned with its driver tip on the buccal side, following the placement of the wedge from the palatal. (Figure 6)
|
| Figure 7. Converting Class 2 to Class1, Making the wall / marginal ridge. |
After applying the bonding agent Shofu BeautiBond X, we used a thin layer of Shofu Injectable Xsl—a high-strength, self-levelling, 2nd generation injectable material—to seal the dentine. This initial layer, approximately 0.5 mm thick, is crucial for protecting the hybrid layer from shrinkage stress. The self-levelling properties of this material allow it to effectively adapt to uneven surfaces, ensuring a smooth application without air bubbles and minimizing post-operative sensitivity.
Time to convert the Class 2 into a Class 1 by first creating the wall. To achieve this, we used the snow plough technique with a stress-reducing layering approach. This involved building the walls separately on the palatal and buccal sides using Shofu Injectable XSL A3O and Packable Shofu Beautifil LS II A3 (Figure 7)

|
| Figure 8. After removal of the Garrison quad matrix system, time for morphological layering. |
After curing from all sides, the band and wedge are removed. Due to the rigidity of the band no excess flange and over contoured seen due to placing adjacent band (Figure 8)
|
| Figure 9. Morphological layering cusp by cusp. |
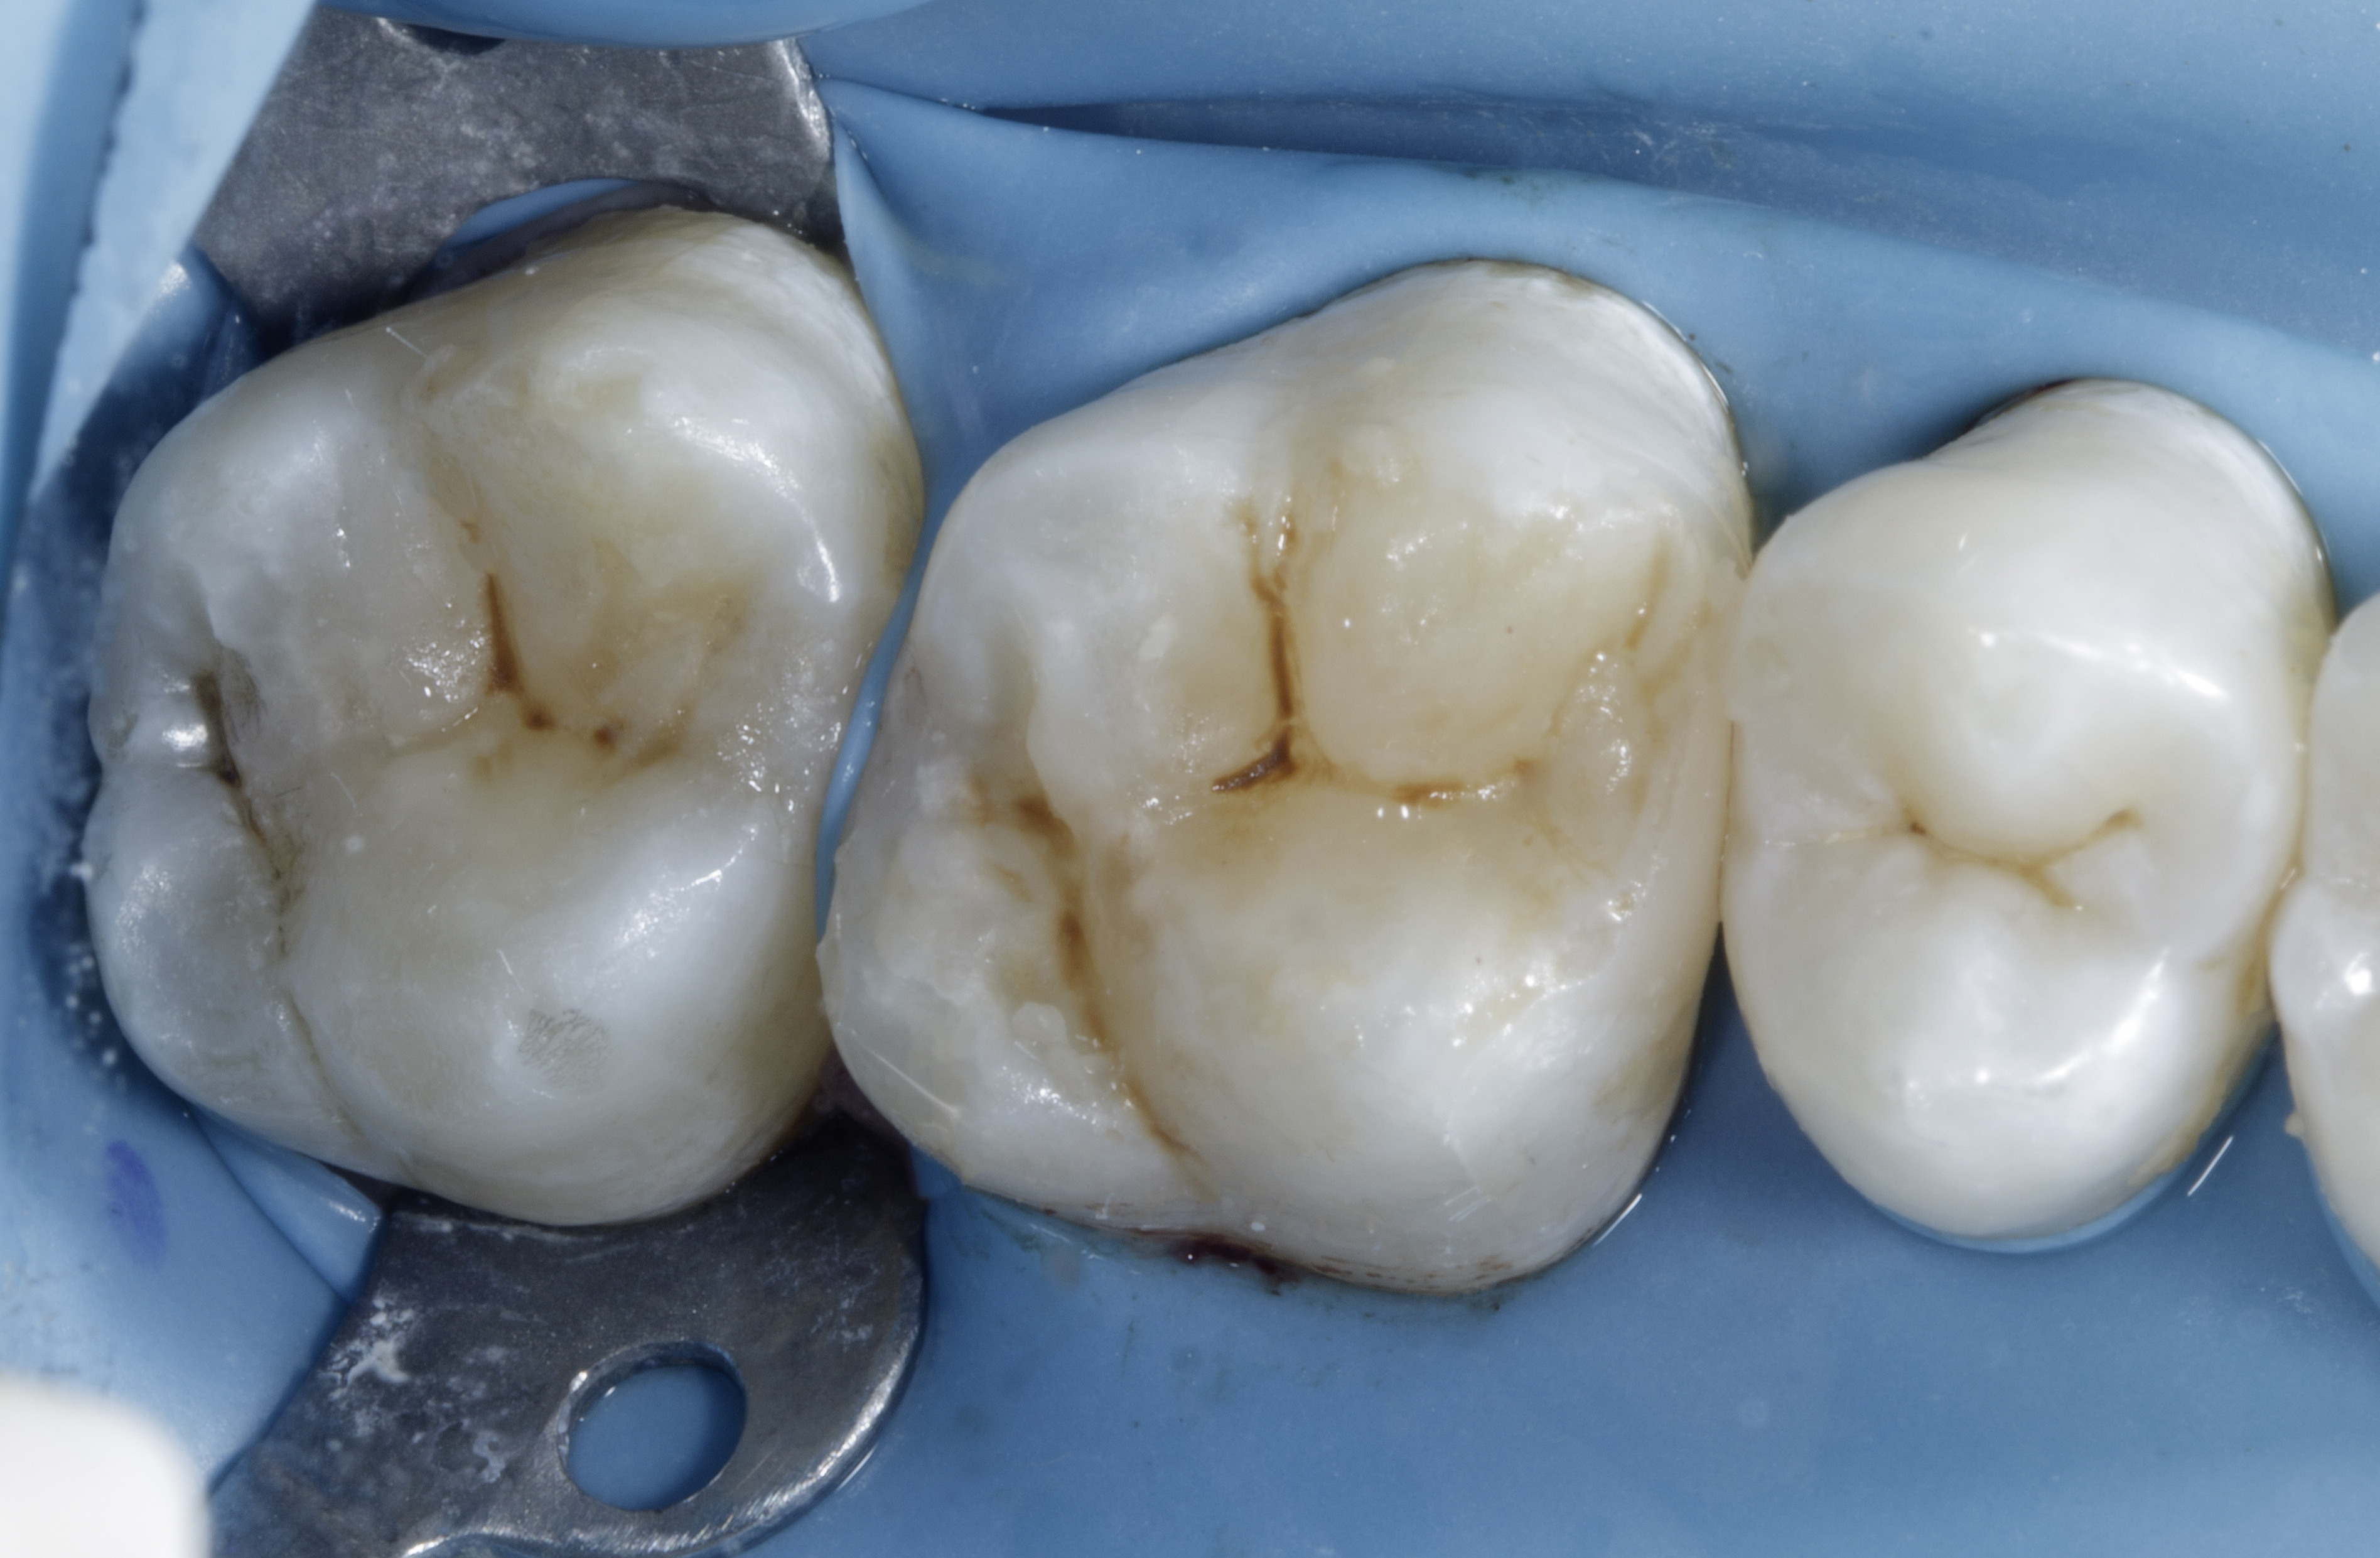
After converting to Class I, the occlusal defect of tooth #26 is restored with Shofu Beautifil LSII in shade A2 by using the cusp-by-cusp morphological layering method. (Figure 9) The contours and embrasures were well established and finished using a Shofu Super Snap purple disk. The oxygen inhibition layer was removed using sodium bicarbonate powder with an air polisher unit.
|
| Figure 10. After removal of the rubber dam. |
A rubber dam was removed, and high points were checked using 40-micron paper, followed by 8-micron foil in static occlusion. For dynamic occlusion, 200-micron paper was used, and adjustments were made to the cuspal slopes and non-functional cusps.
Finishing and Polishing Protocols:
|
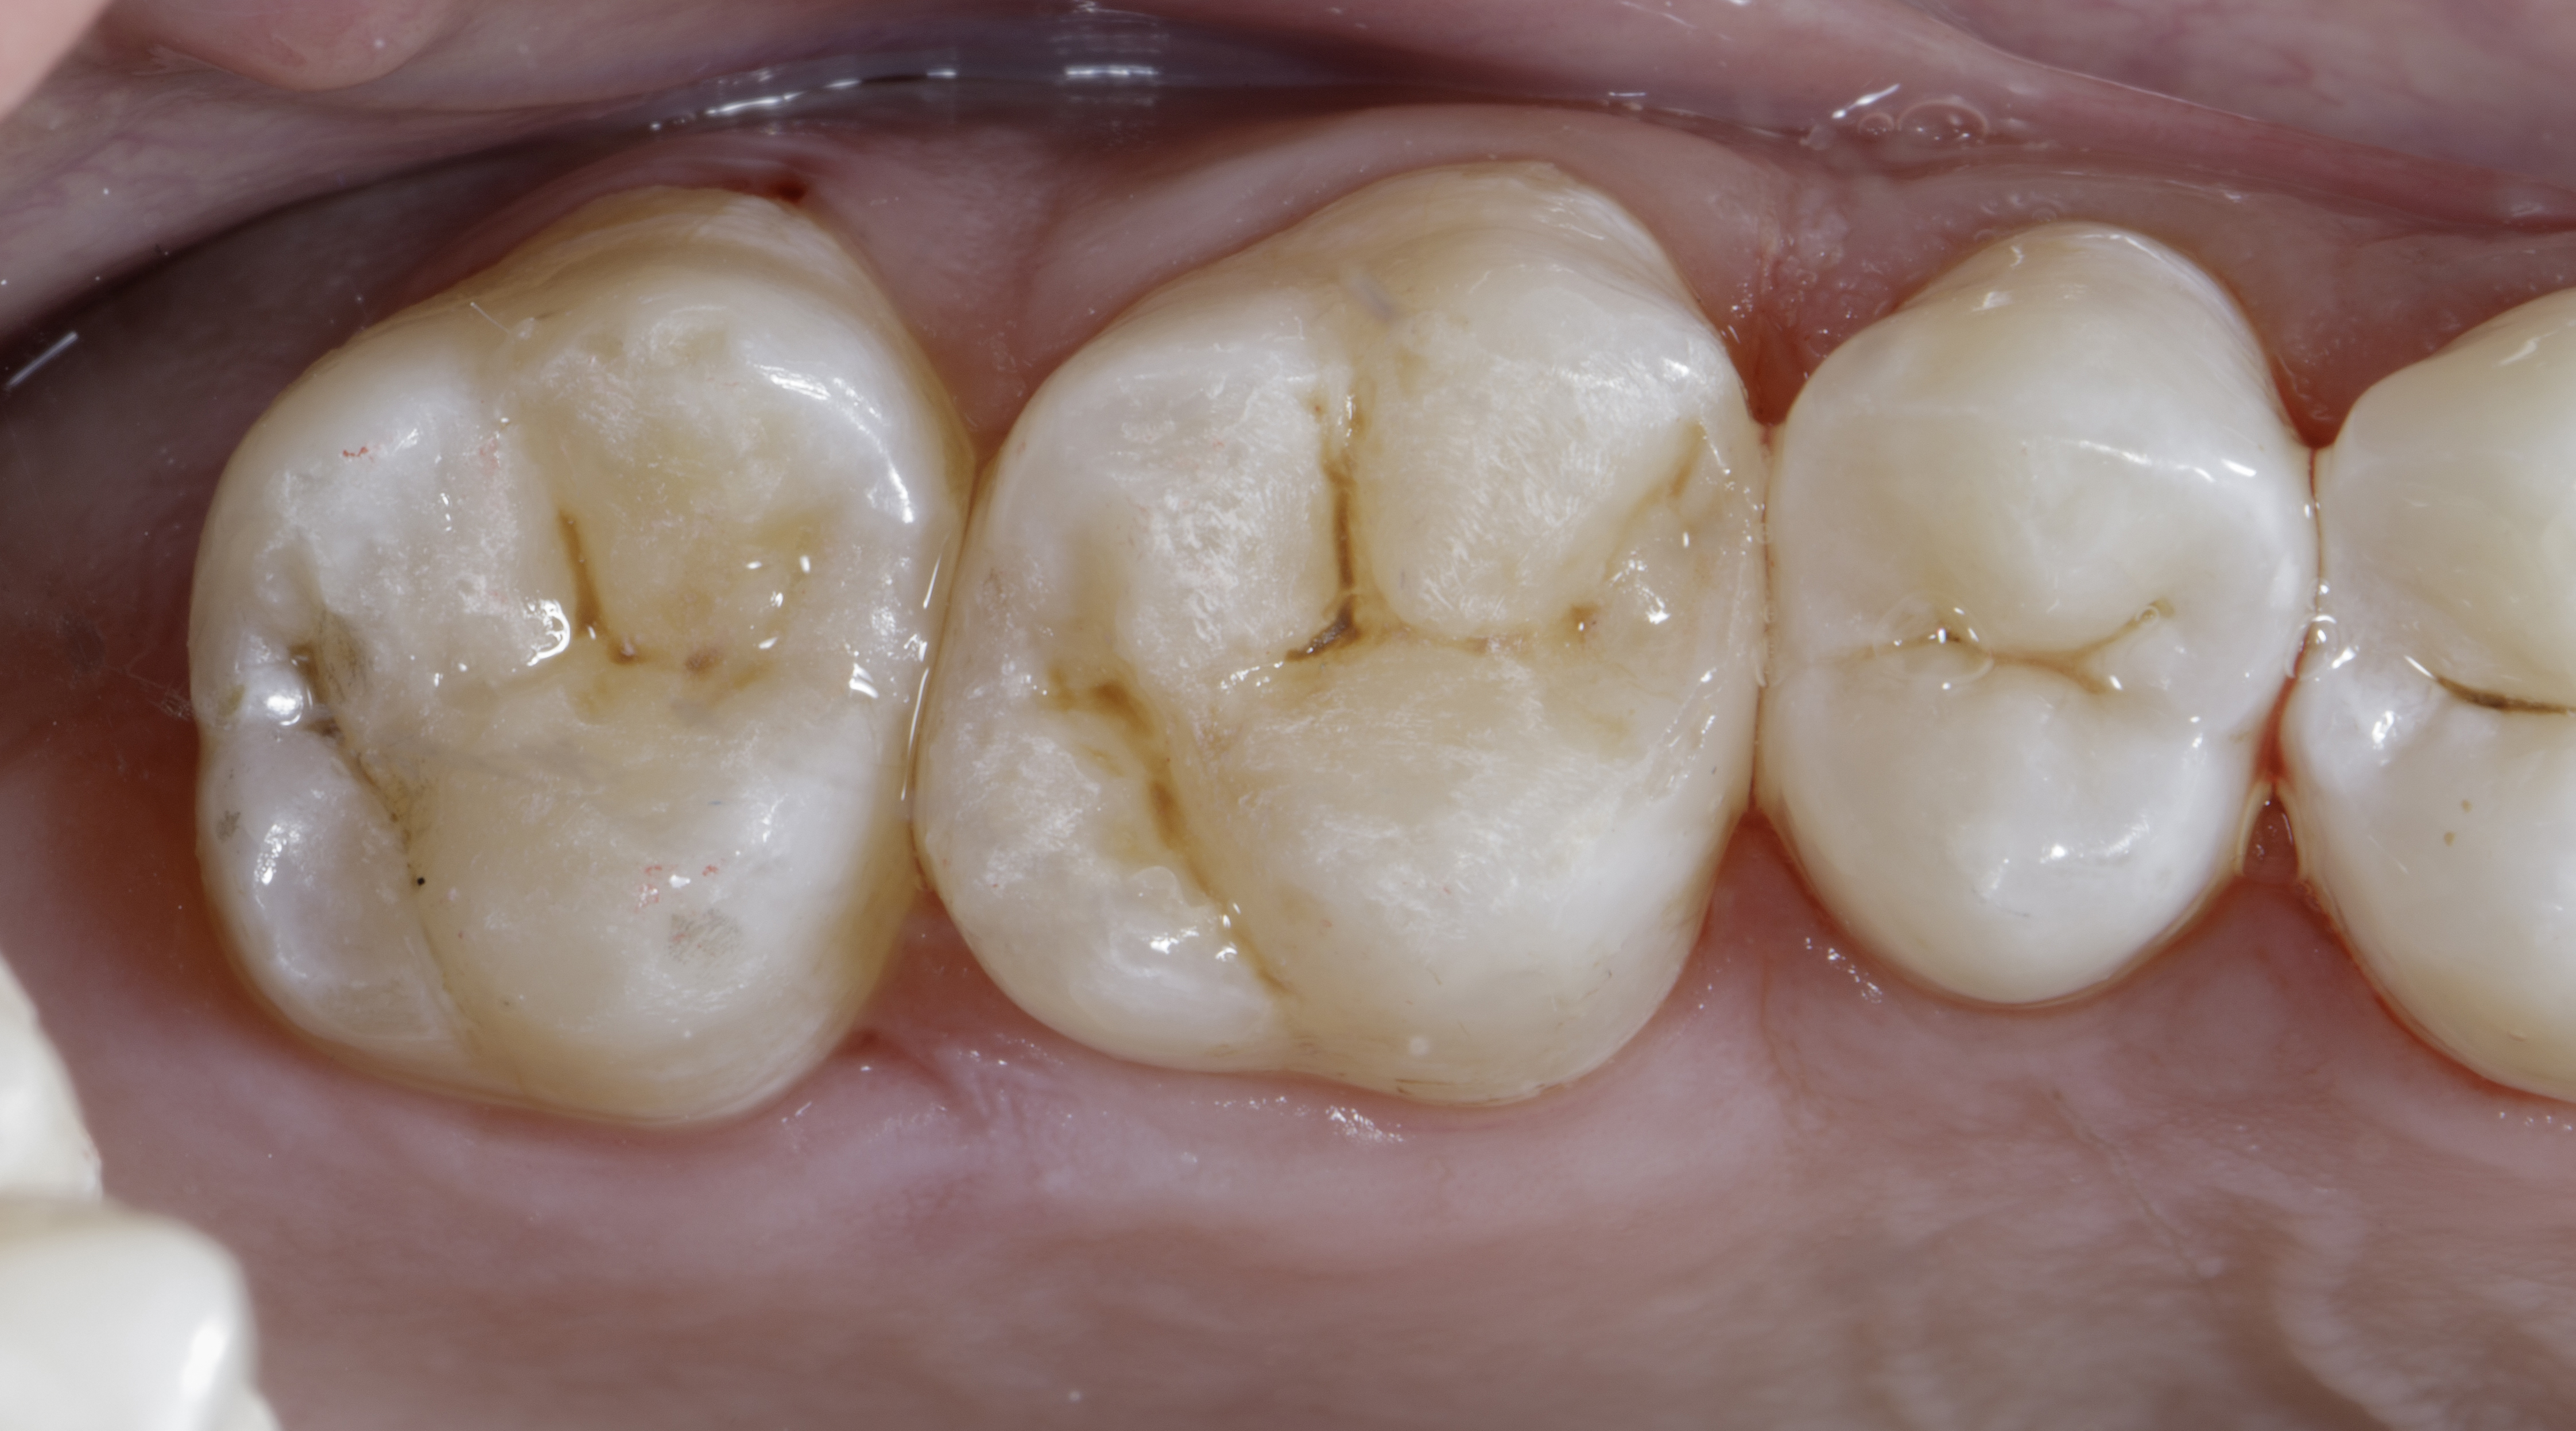
| Figure 11. Different angle shows invisible restoration with ideal contours and contact and ht. of marginal ridge. |
|
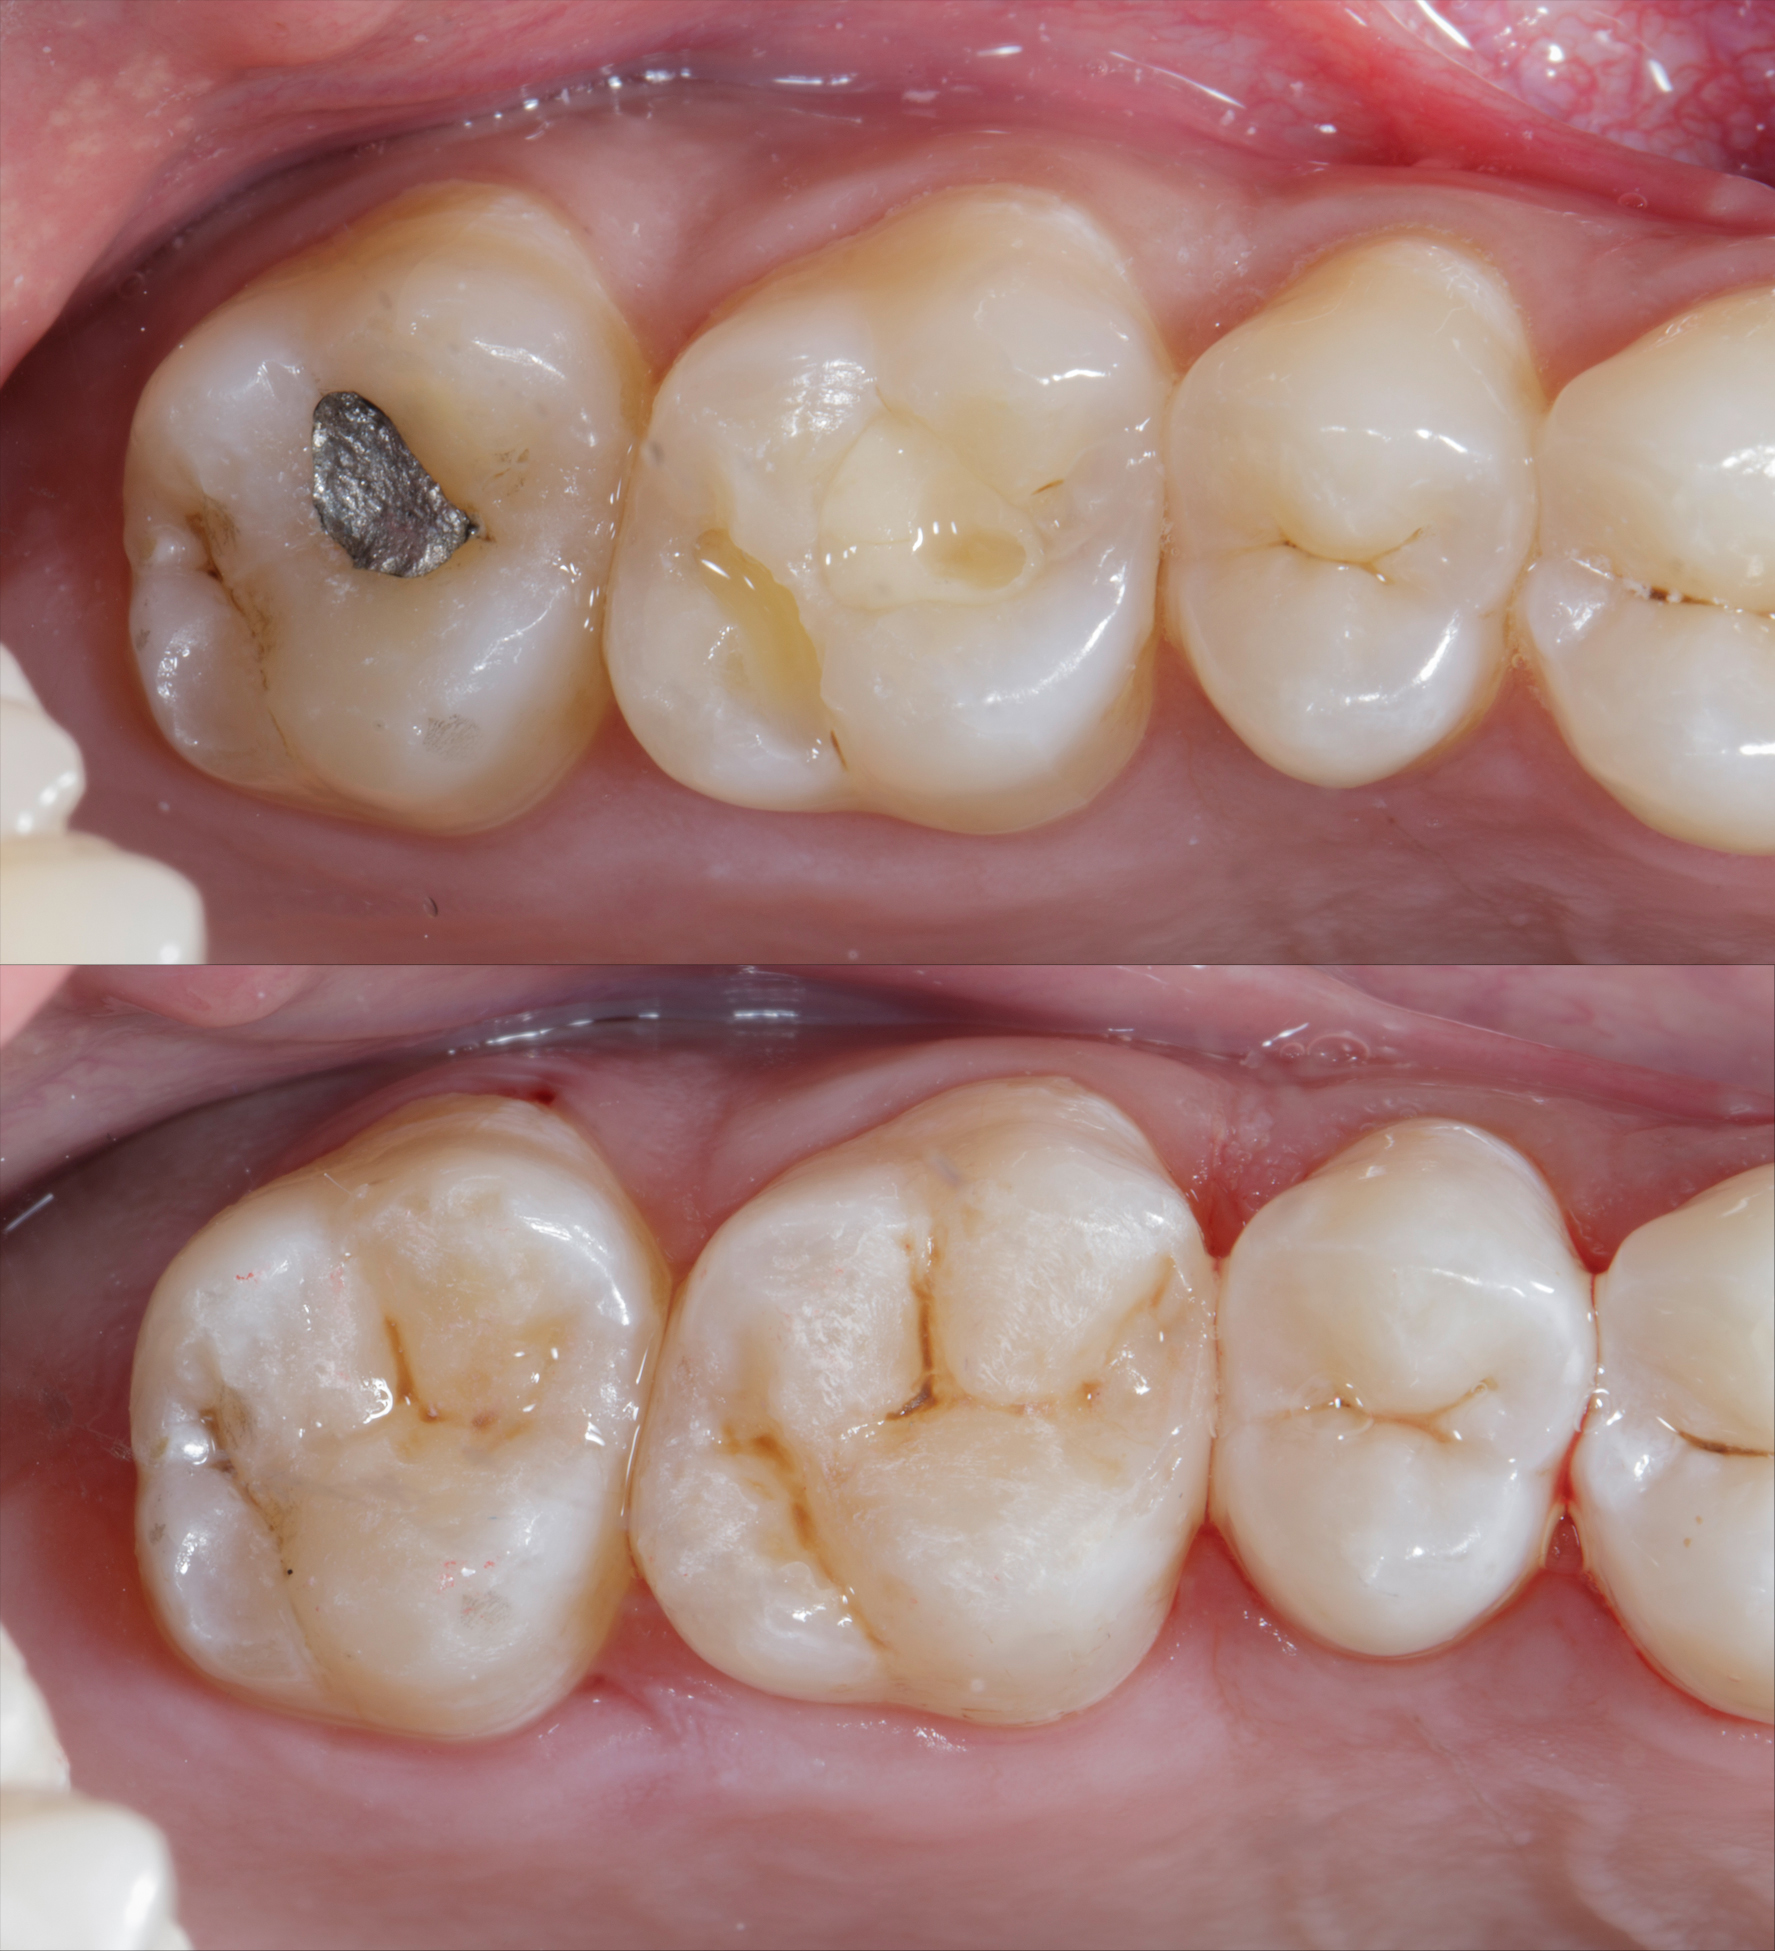
|
| Figure 12. Before and after shows natural form and functionally restored teeth. | Figure 13. Before and after shows natural form and functionally restored teeth. |