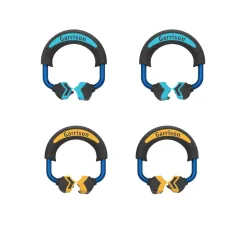
Background
The class II composite resin restoration is one of the most common procedures performed in general dental practice. When treating a single proximal surface, establishing correct anatomical contours, a tight contact area, and proper embrasure spaces can be challenging. Historically, amalgam was dense enough to deform a Tofflemire matrix band, and creating good contact with an adjacent tooth was not difficult. Composite resin, however, is less dense than amalgam, and those who used Tofflemire matrix bands for interproximal class II composite restorations often discovered that their restorations lacked good contour and solid contact, and that the contact was often at the marginal ridge rather than at the height of contour.
The introduction of sectional (kidney shaped) precontoured bands and separating rings largely solved that problem. They helped to create nice convex contour and broad solid contact with the neighboring tooth, with the contact area at the height of contour as was desired. A number of systems were introduced by manufacturers such as Palodent, Garrison Dental, and Triodent, among others, and they quickly gained popularity. Users, however, occasionally encountered situations that these systems struggled to address, such as a wide or extra deep interproximal box for example. In my experience, Garrison Dental’s systems continued to evolve to conquer one or more of the complications that practitioners faced.
One of the more vexing problems has been a situation where a patient presents with adjacent interproximal cavities—necessitating what is often referred to in clinical terms as back-to-back Class II restorations. In these situations, the technical difficulty increases significantly.
Restoring two adjacent proximal surfaces simultaneously requires meticulous planning and a structured clinical workflow. Without the right approach, clinicians risk creating broad, flat contacts, overhangs, or open contacts that lead to food impaction, periodontal inflammation, and recurrent decay. In the past, any one of a number of strategies might have been used. Preparation and restoration of one tooth, followed by preparation and restoration of the adjacent tooth has worked, but requires the repetition of multiple steps. It also requires great care to prevent scarring the newly restored neighboring tooth. Another approach involves the preparation of both teeth, placement of both sectional bands (often quite challenging since the bands are typically dead soft) and a wedge and separating ring, followed by restoration of the first tooth. Then the ring is removed, the band used to restore the first tooth is also removed (allowing there to then be the thickness of just a single band) as the ring is then placed again and the second tooth then gets restored.
The ultimate goal, the simultaneous restoration of back to back lesions, proved elusive until the introduction of the latest iteration of Garrison’s matrix systems, the Quad Matrix. This kit introduces several elements which allow one to achieve that “holy grail” of perfect, and simultaneously placed, back-to-back restorations. The first of these was actually formerly introduced in a previous generation kit, the Strata-G system.
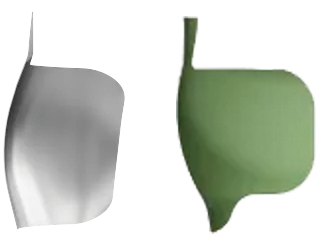
| In addition to the dead soft sectional bands, which include a color coded non-stick surface, that kit included the so-called Firm Bands (shown right). These bands are no thicker than the dead soft version, but are much more rigid and so are less likely to bend or deform while working to properly position them. This becomes critically important when trying to place them back-to-back in an interproximal space. |
|
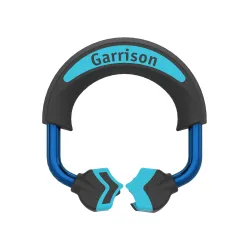
| The next new element is an asymmetric separating ring, with one conventional tip, which straddles the wedge on the buccal, and a Driver Tip (identifiable by a black arrow) (shown right) which is placed in the lingual or palatal embrasure. |
|
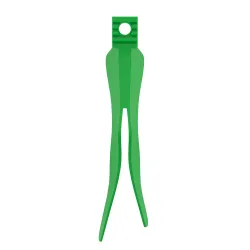
| The third new element is known as the Split Wedge (shown right). The wedge, always meant to be placed from the buccal, presses the bands against their respective teeth, and when the Driver Tip is placed between the two limbs of the Split Wedge, it secures those bands in such a way as to eliminate gingival flash, and to help replicate the tooth’s original anatomy, with the lingual embrasure typically being somewhat larger. The separating force of the new ring is great enough to ensure tight contacts, even though two thicknesses of band are present. |
|
Procedure
The 18 year old female patient, after her freshman year at college (where flossing didn’t always fit into her schedule) presented with small interproximal carious lesions on the mesial surface of tooth #14, on the distal of #13, the mesial of #13, and the distal of #12. It was just the type of case to showcase the streamlined workflow for which the Quad Matrix was designed.
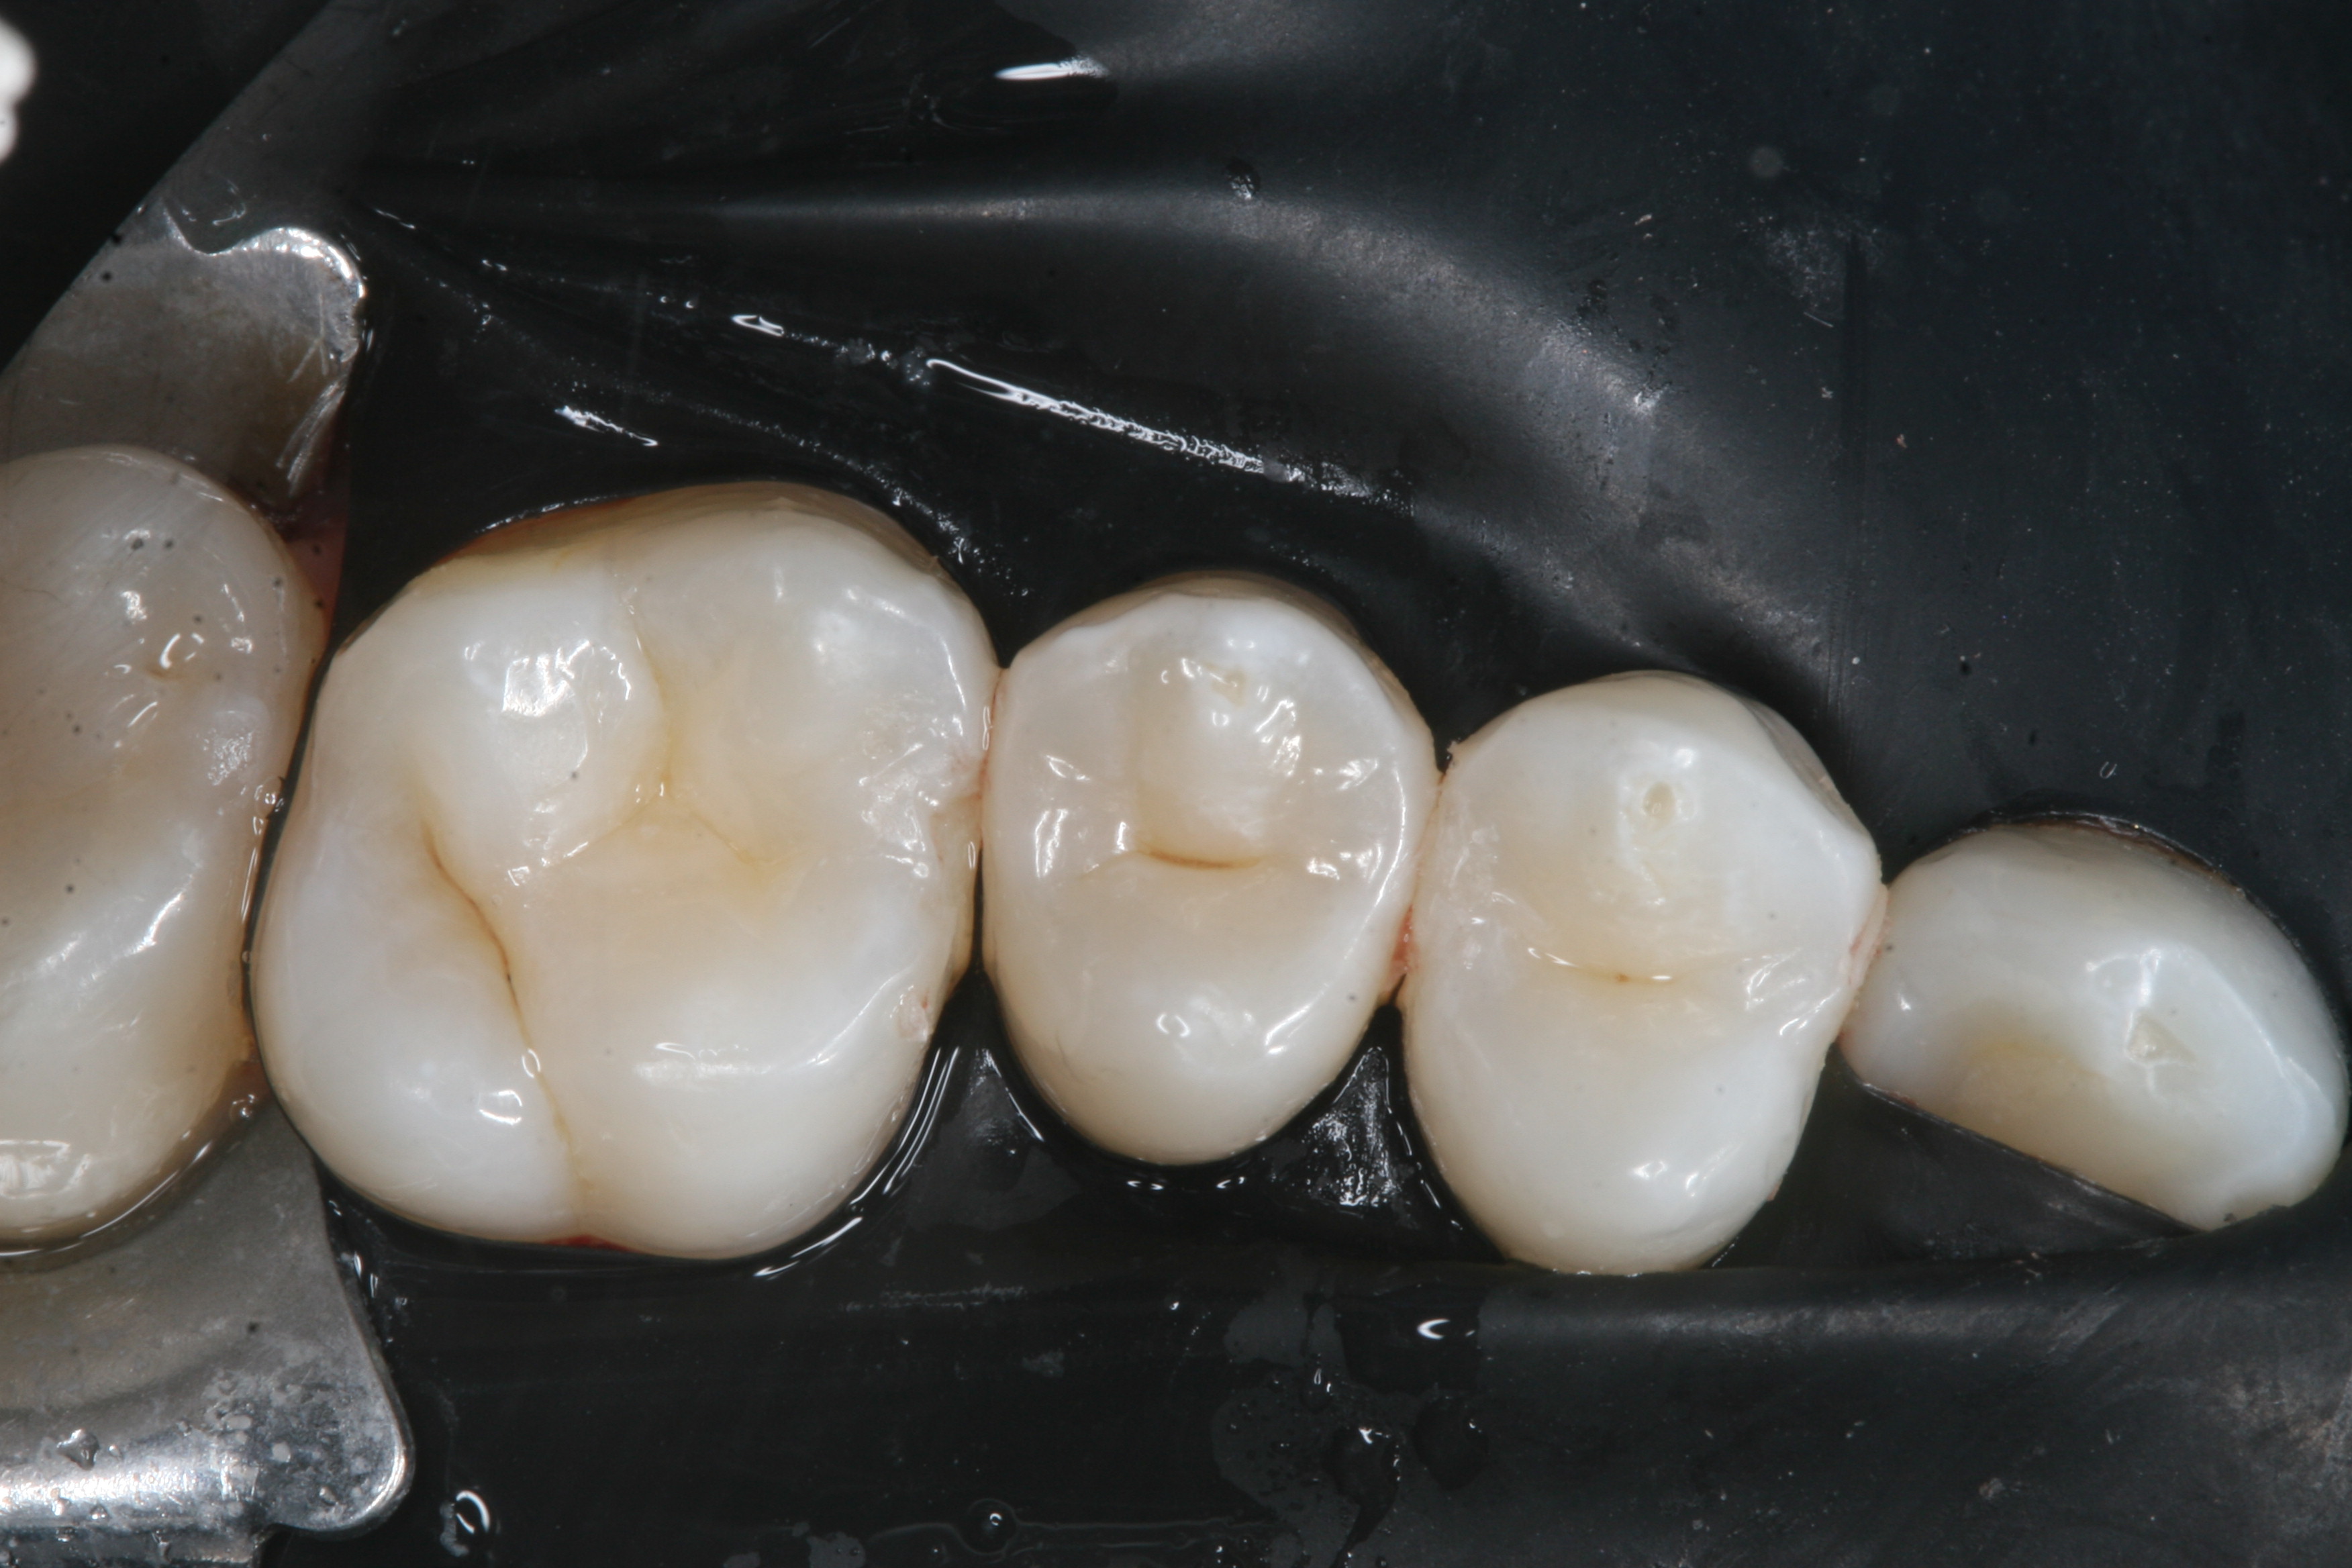
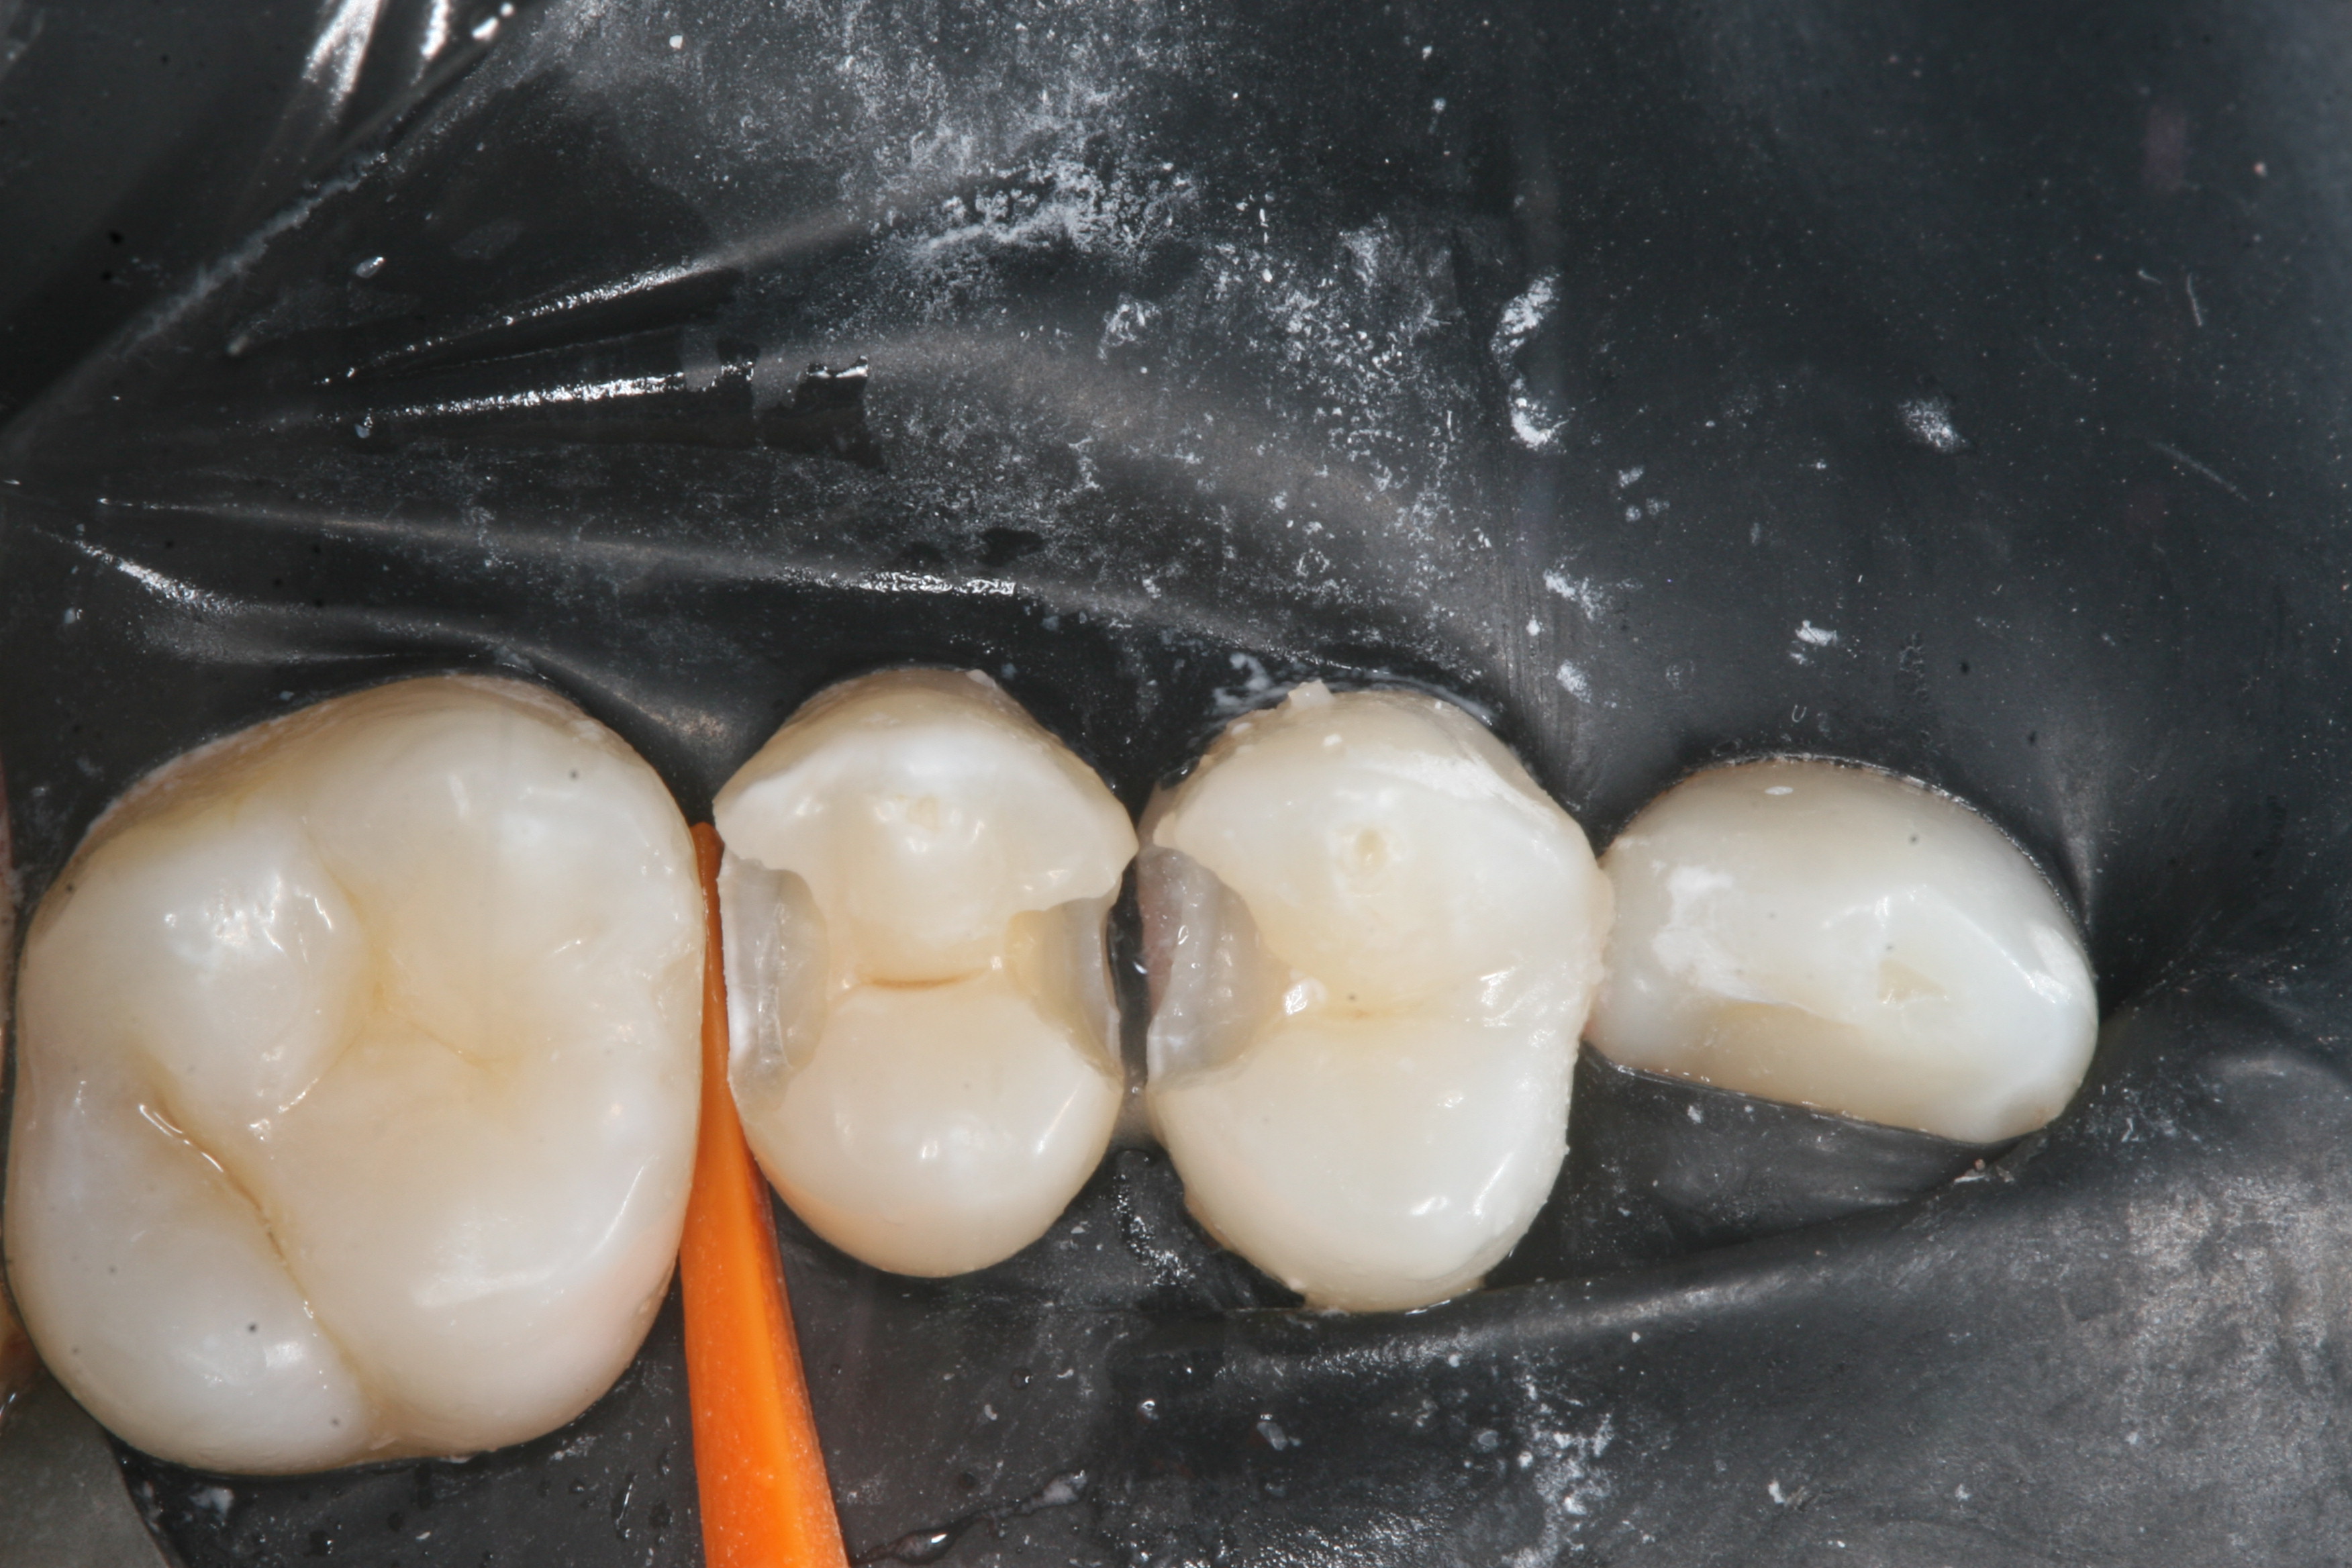
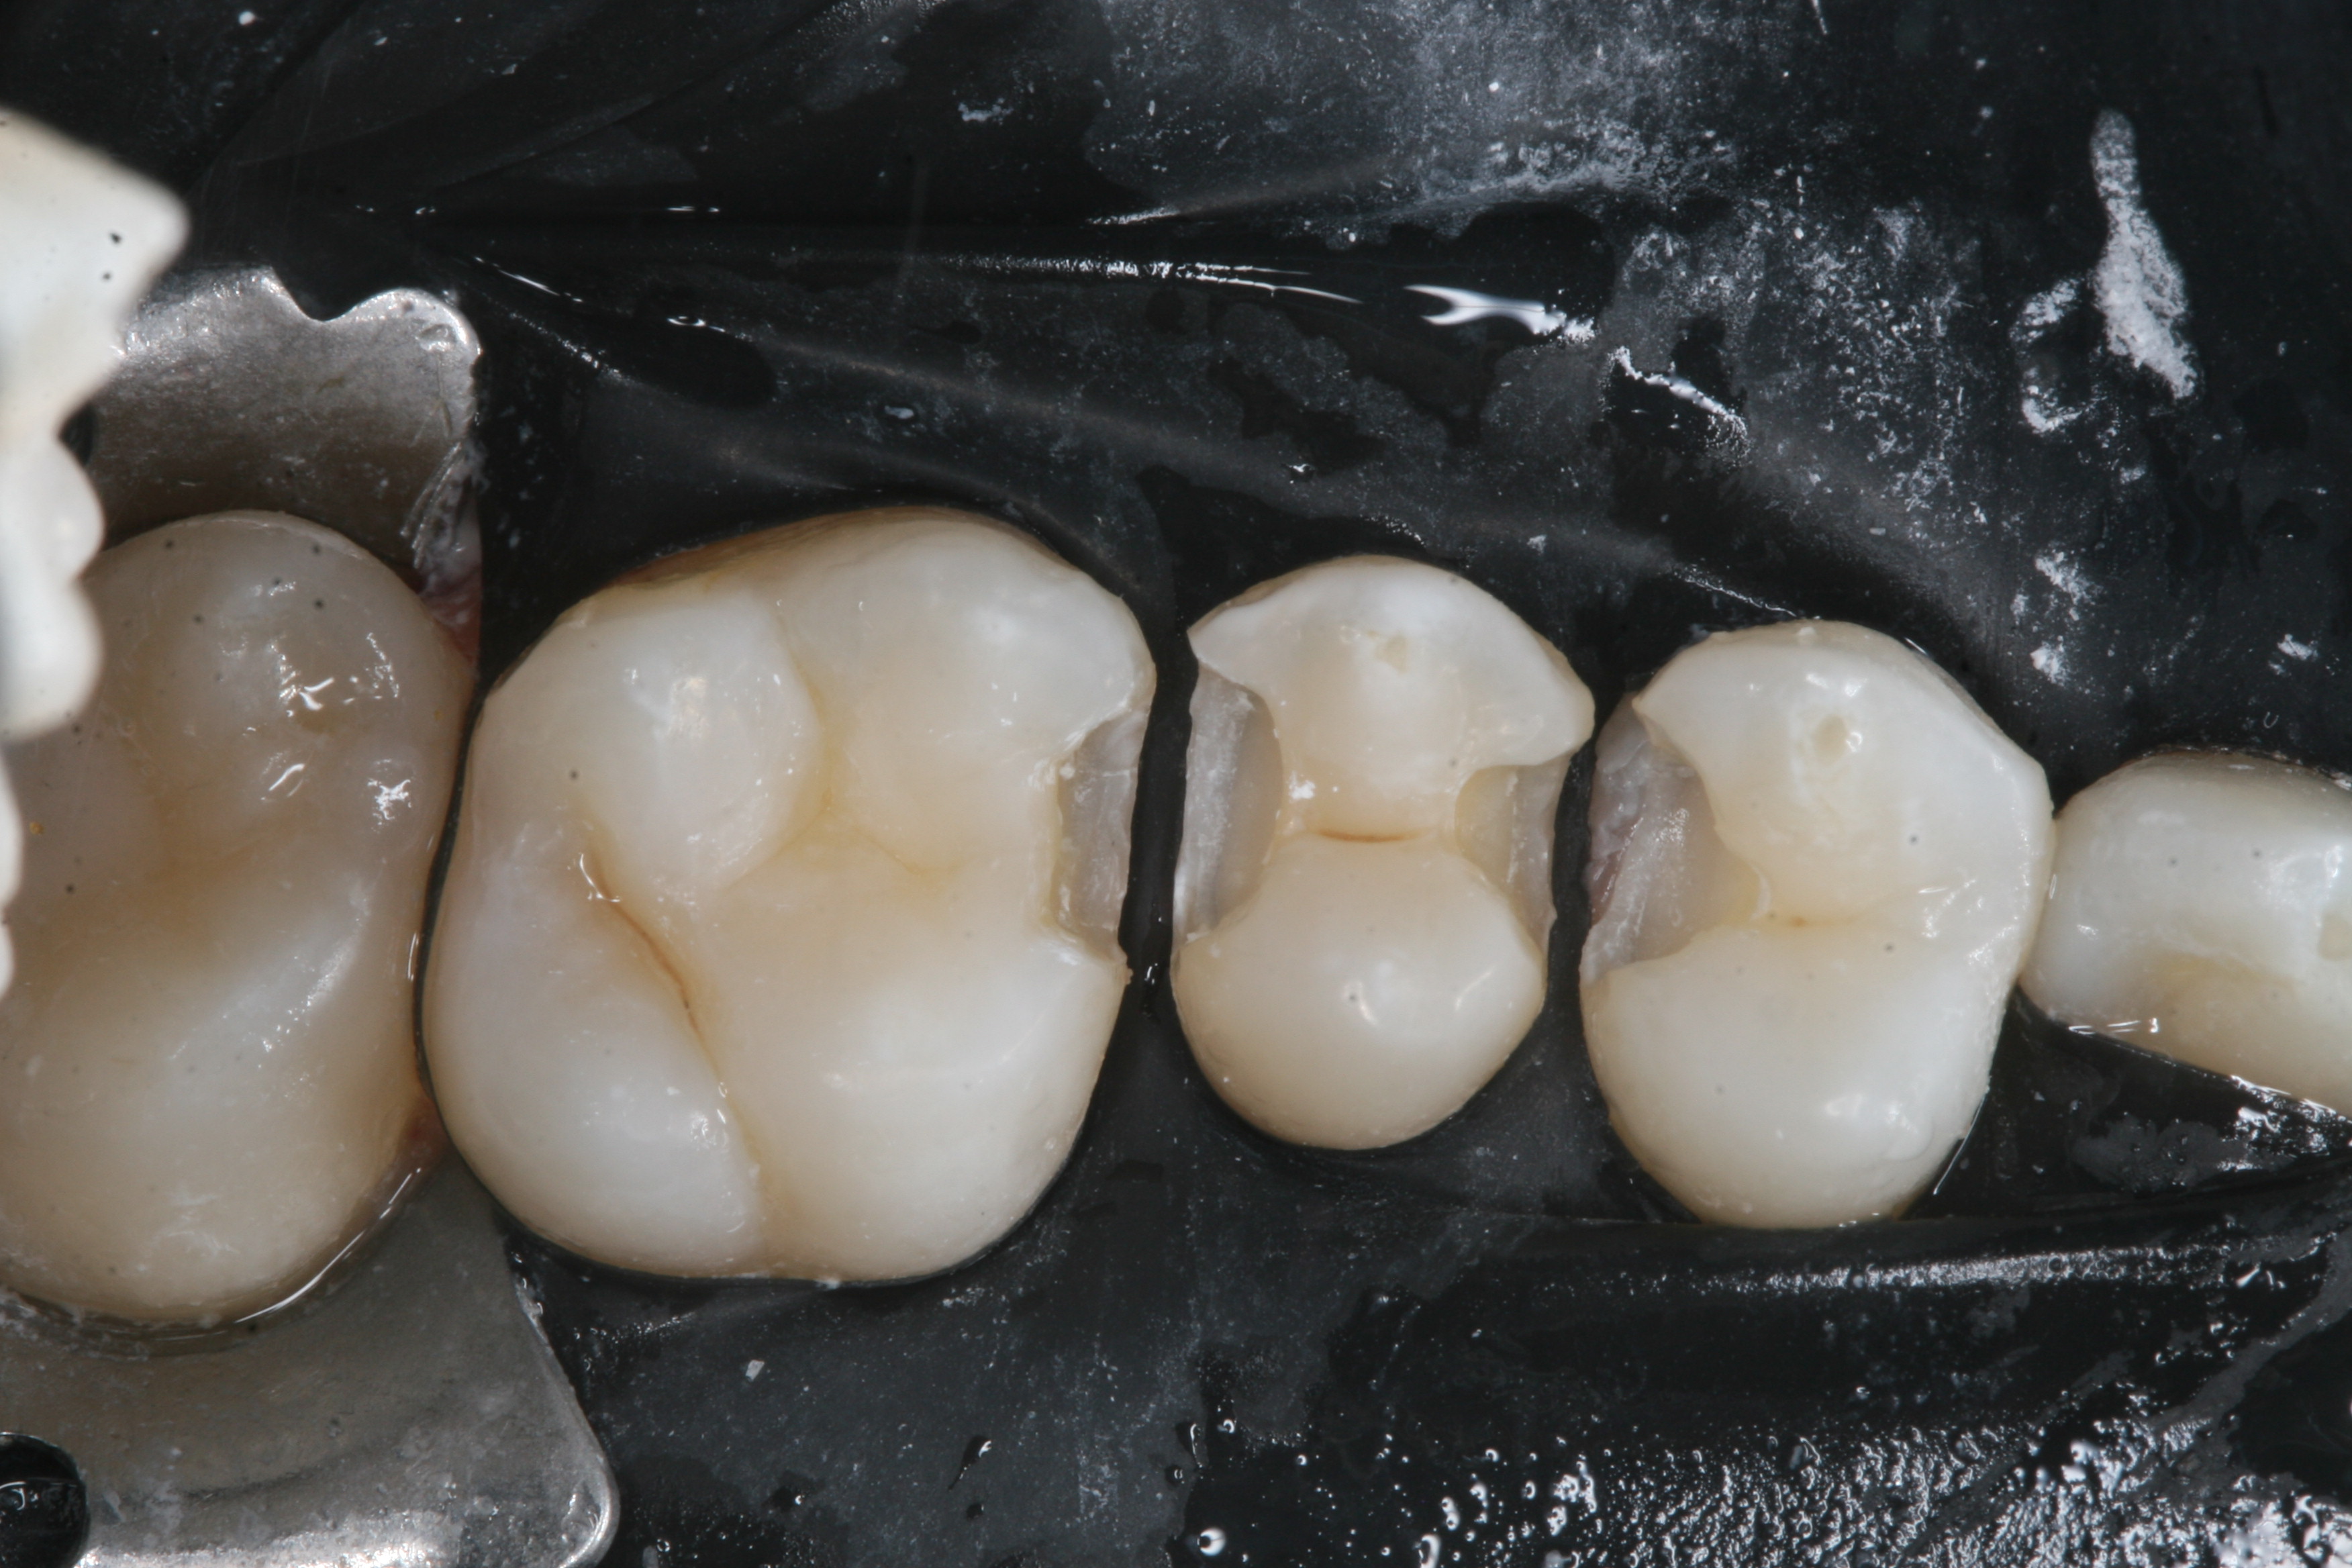
After administration of local anesthetic, and application of the rubber dam (Image 1), I placed a stiff wedge (from an earlier Garrison Composi-Tight system) to “pre-wedge”, or begin the separating process that will ensure tight contacts and also provide protection of the interproximal papilla. I then sequentially prepared conservative class II preps on teeth #’s 12, 13, and then 14 (Images 2 and 3).
|
|
|
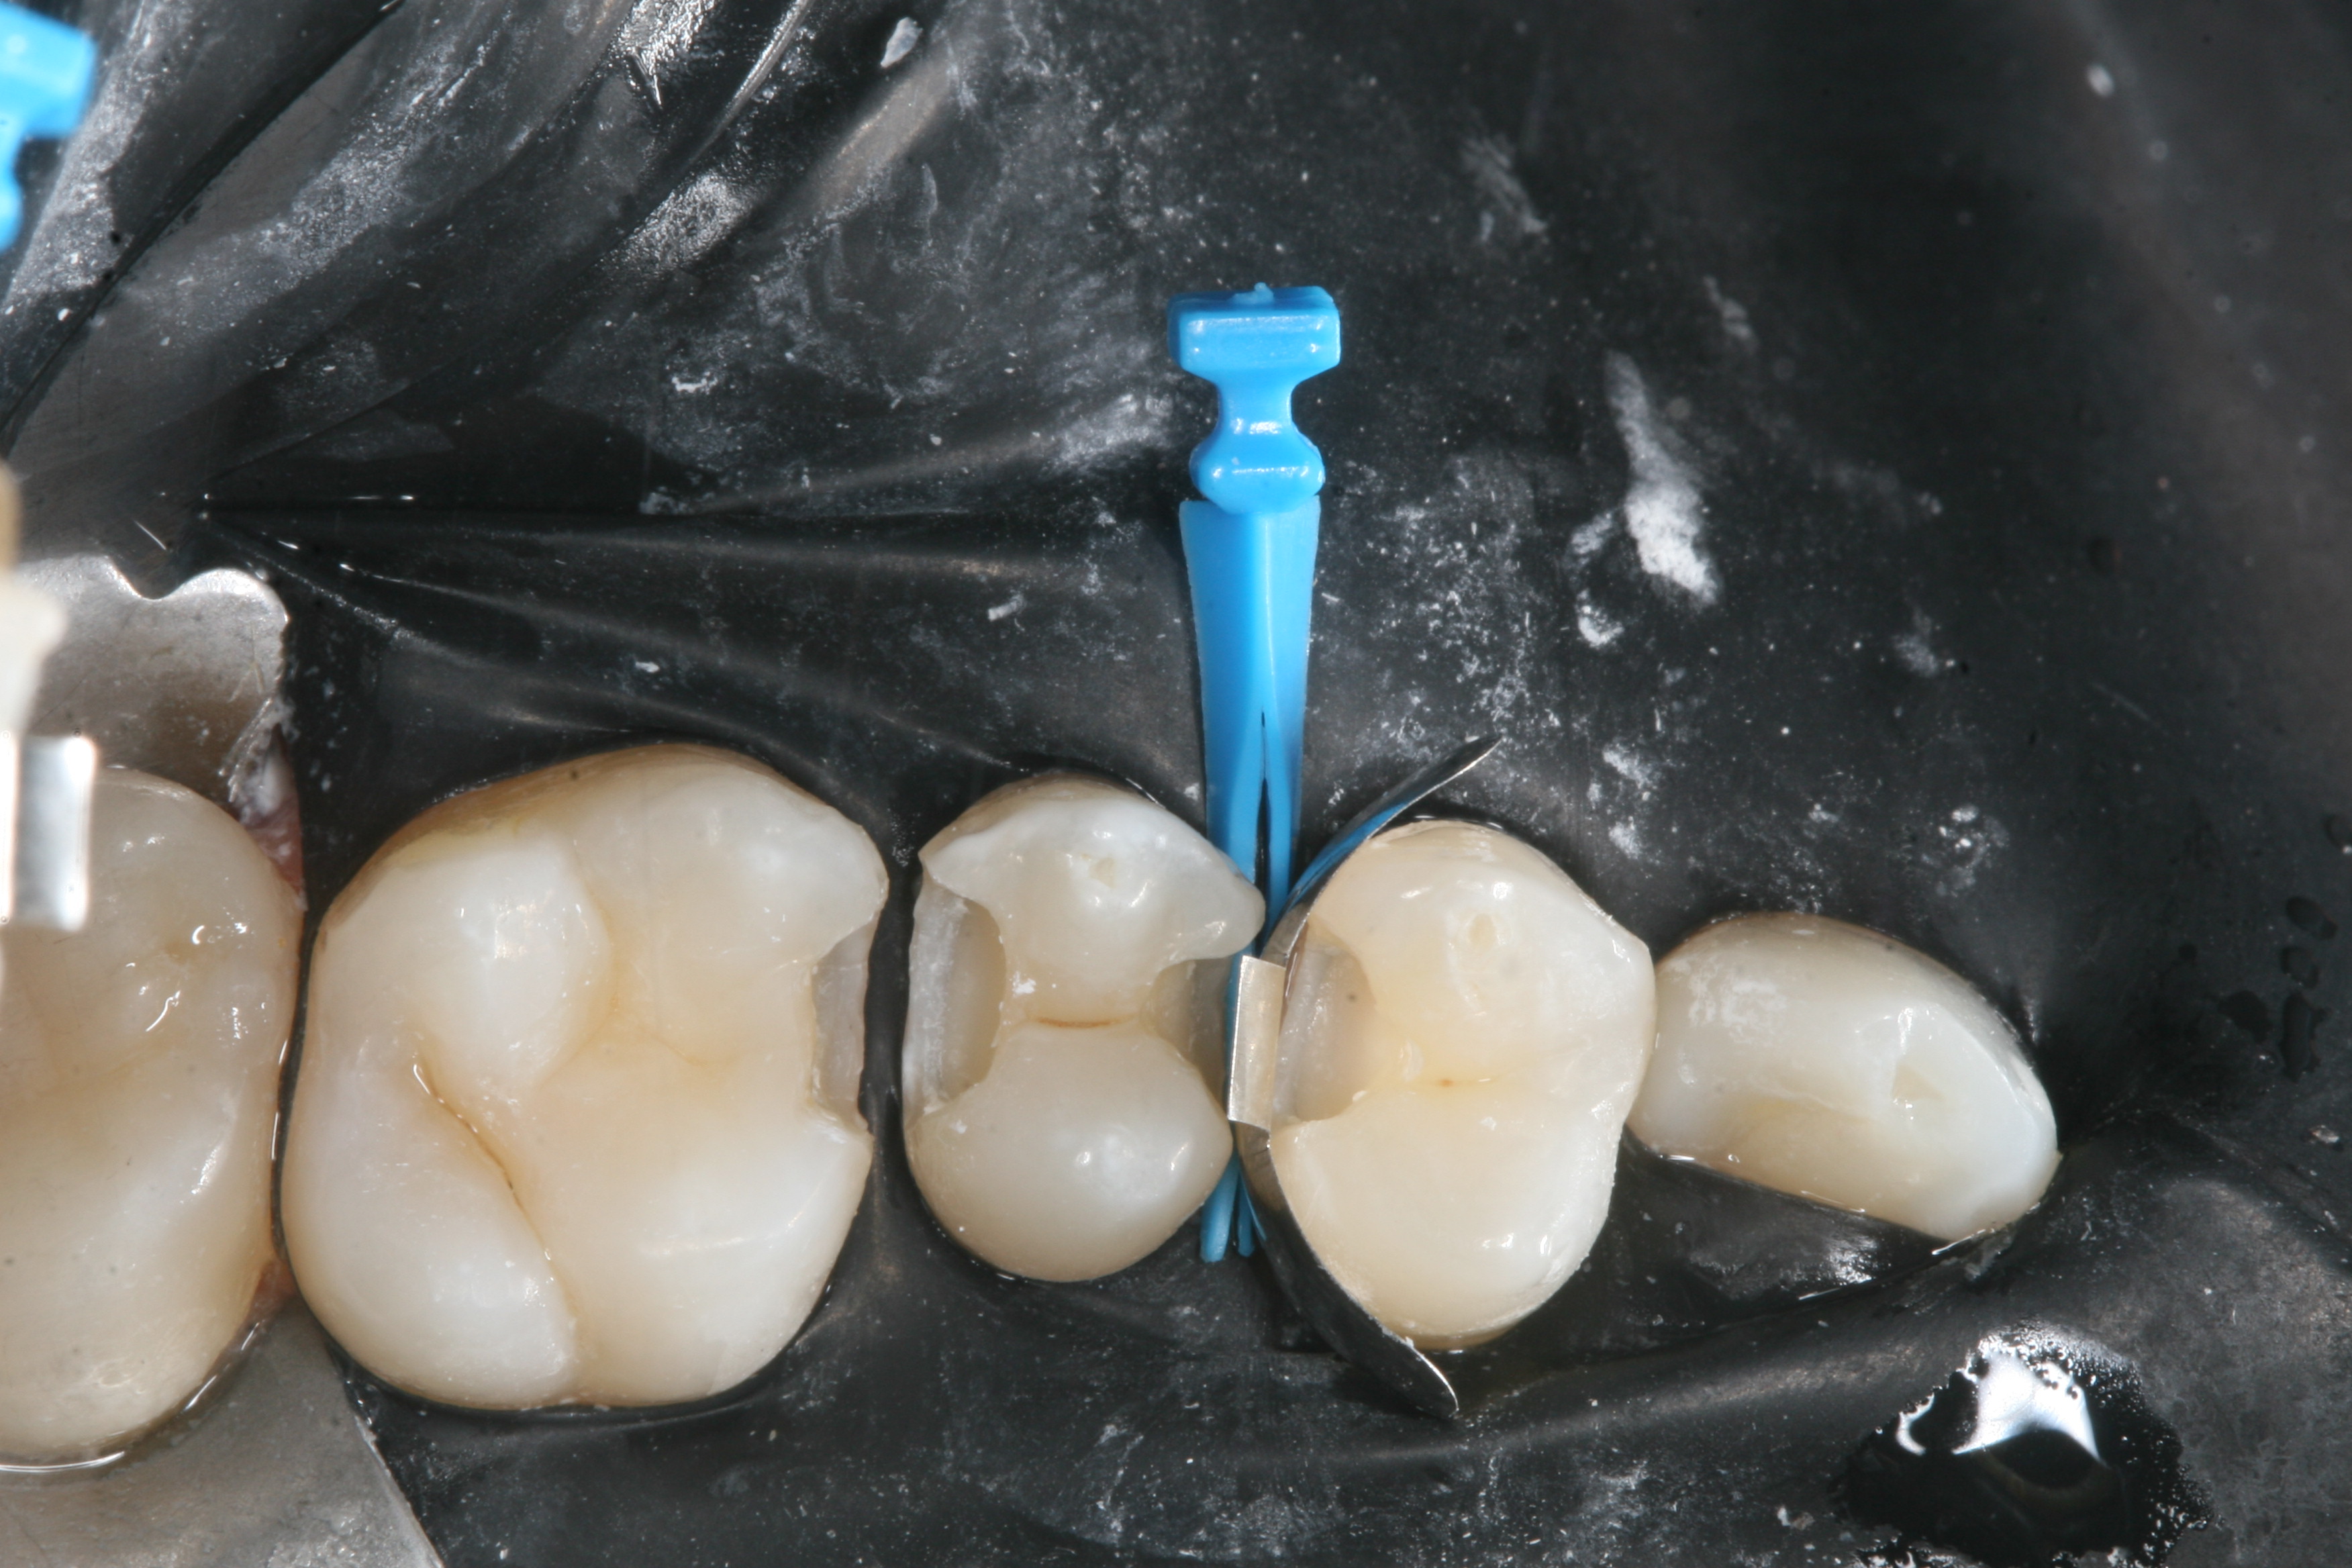
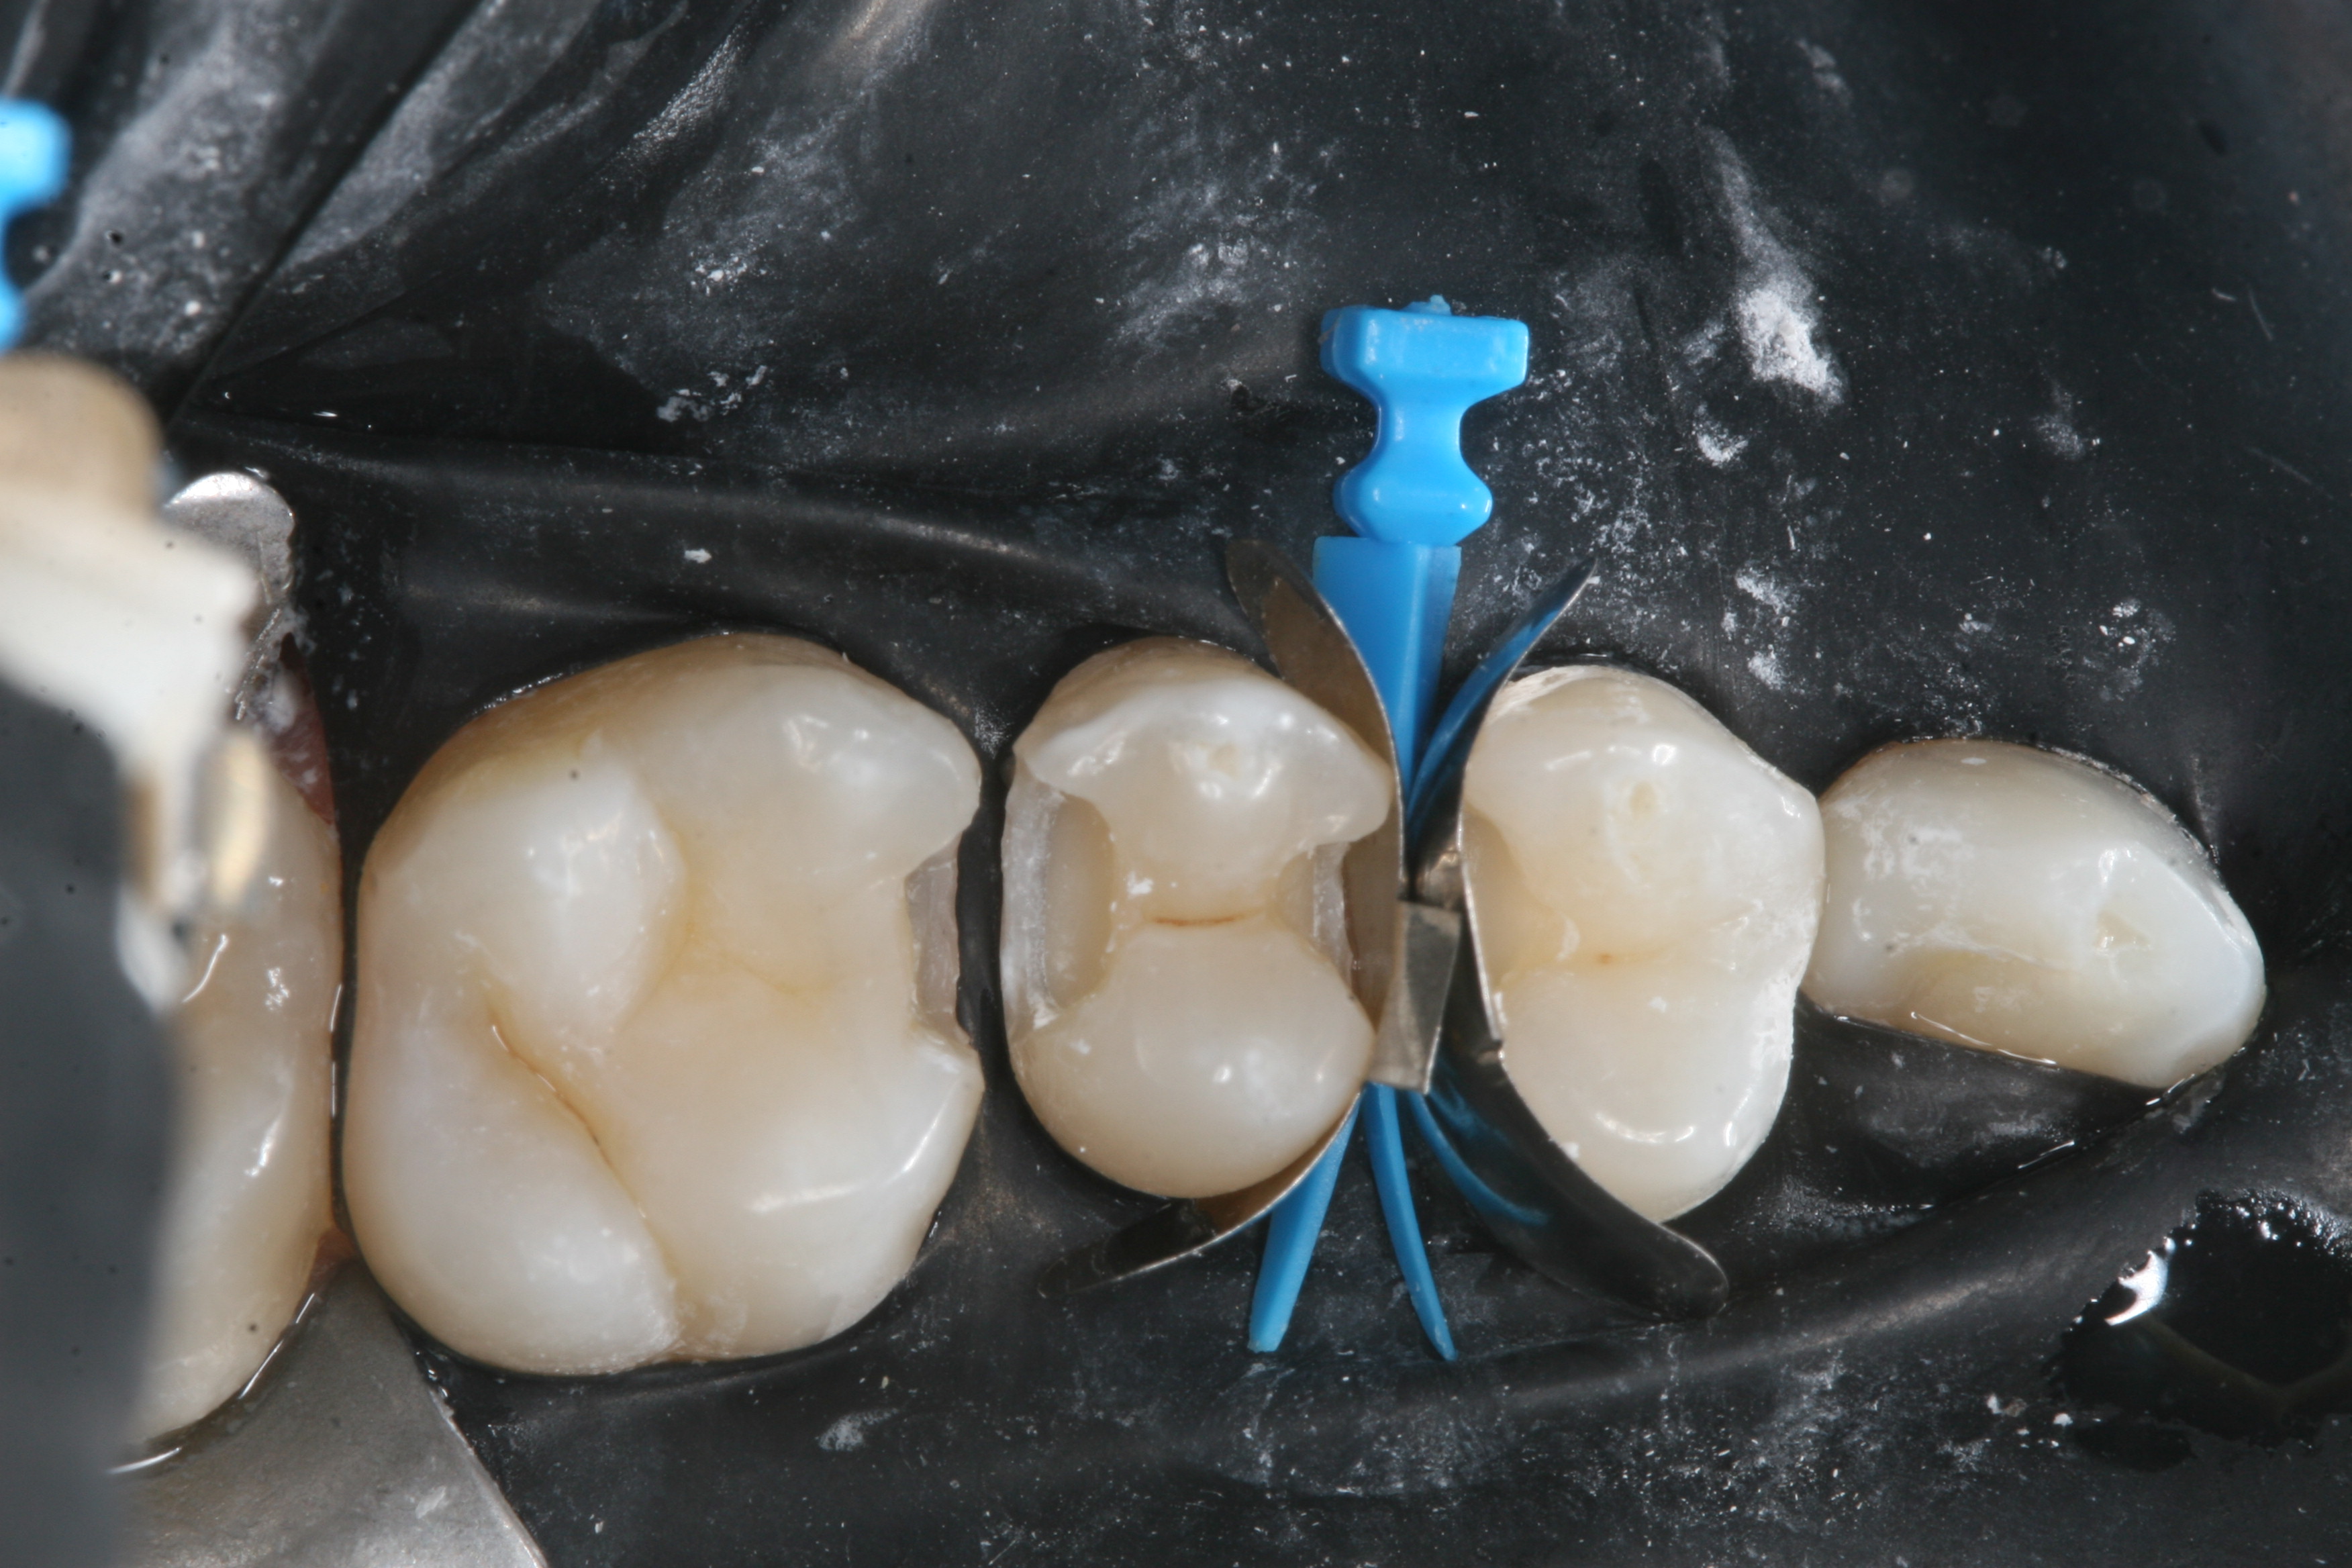
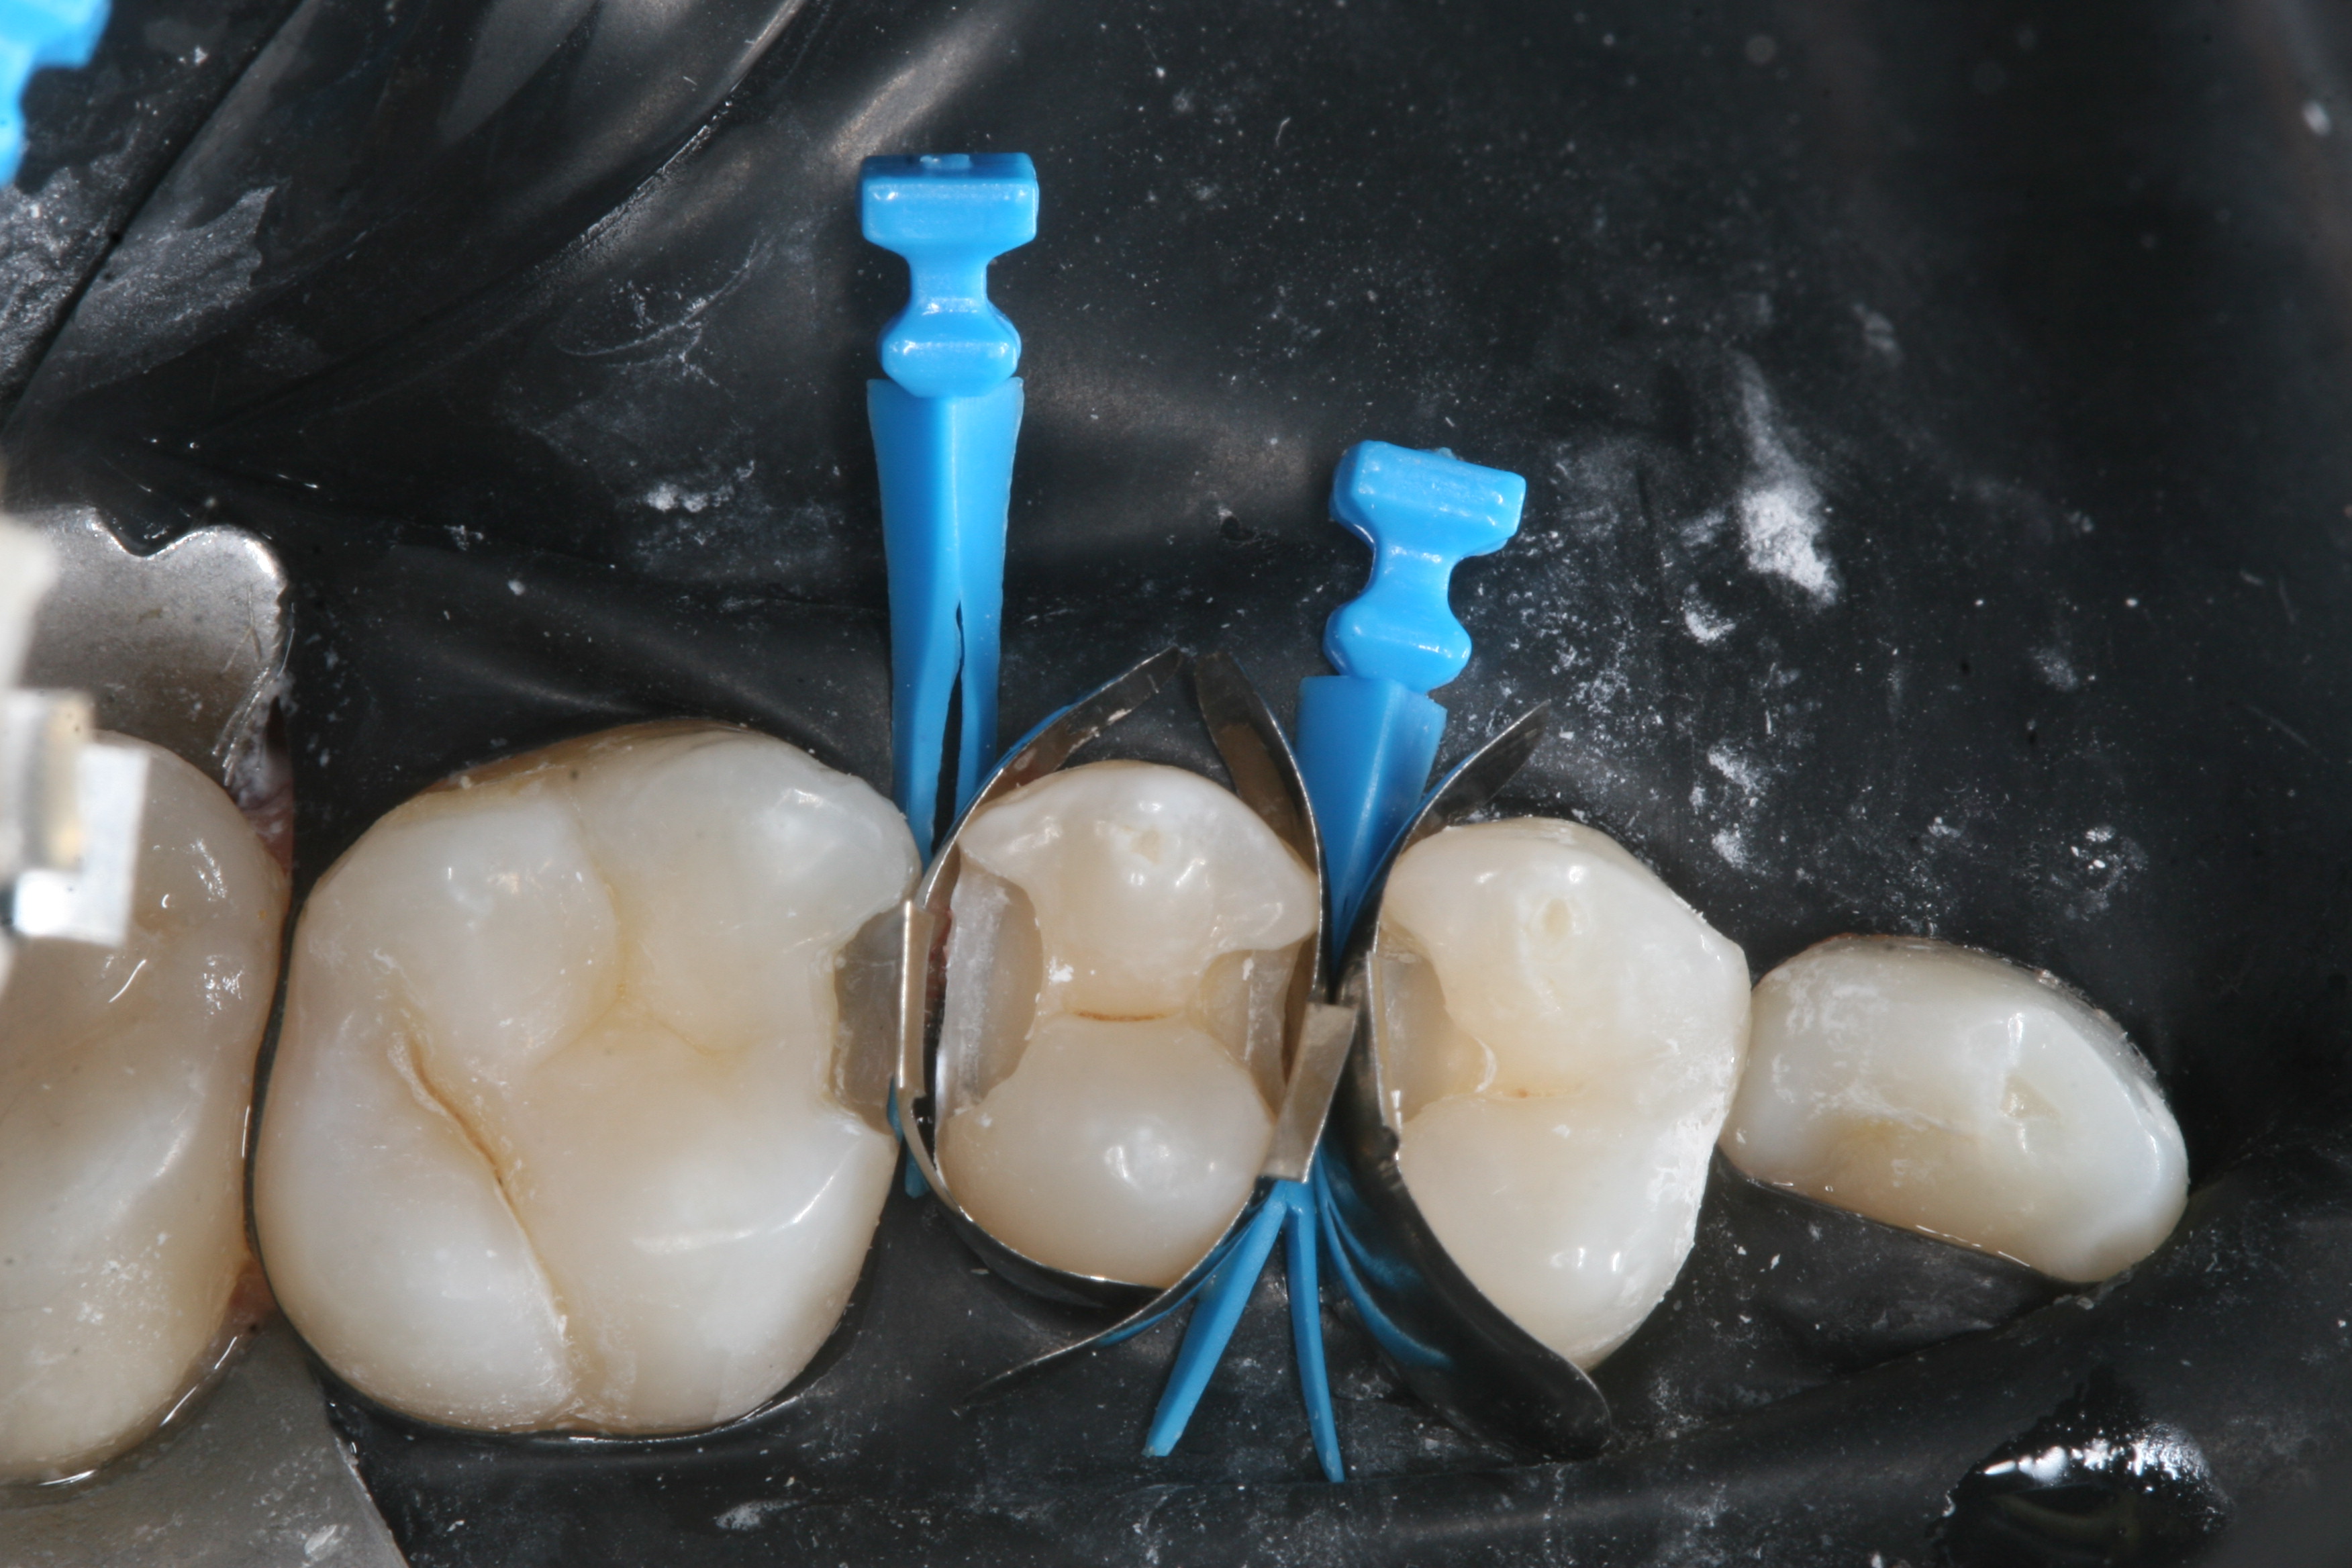
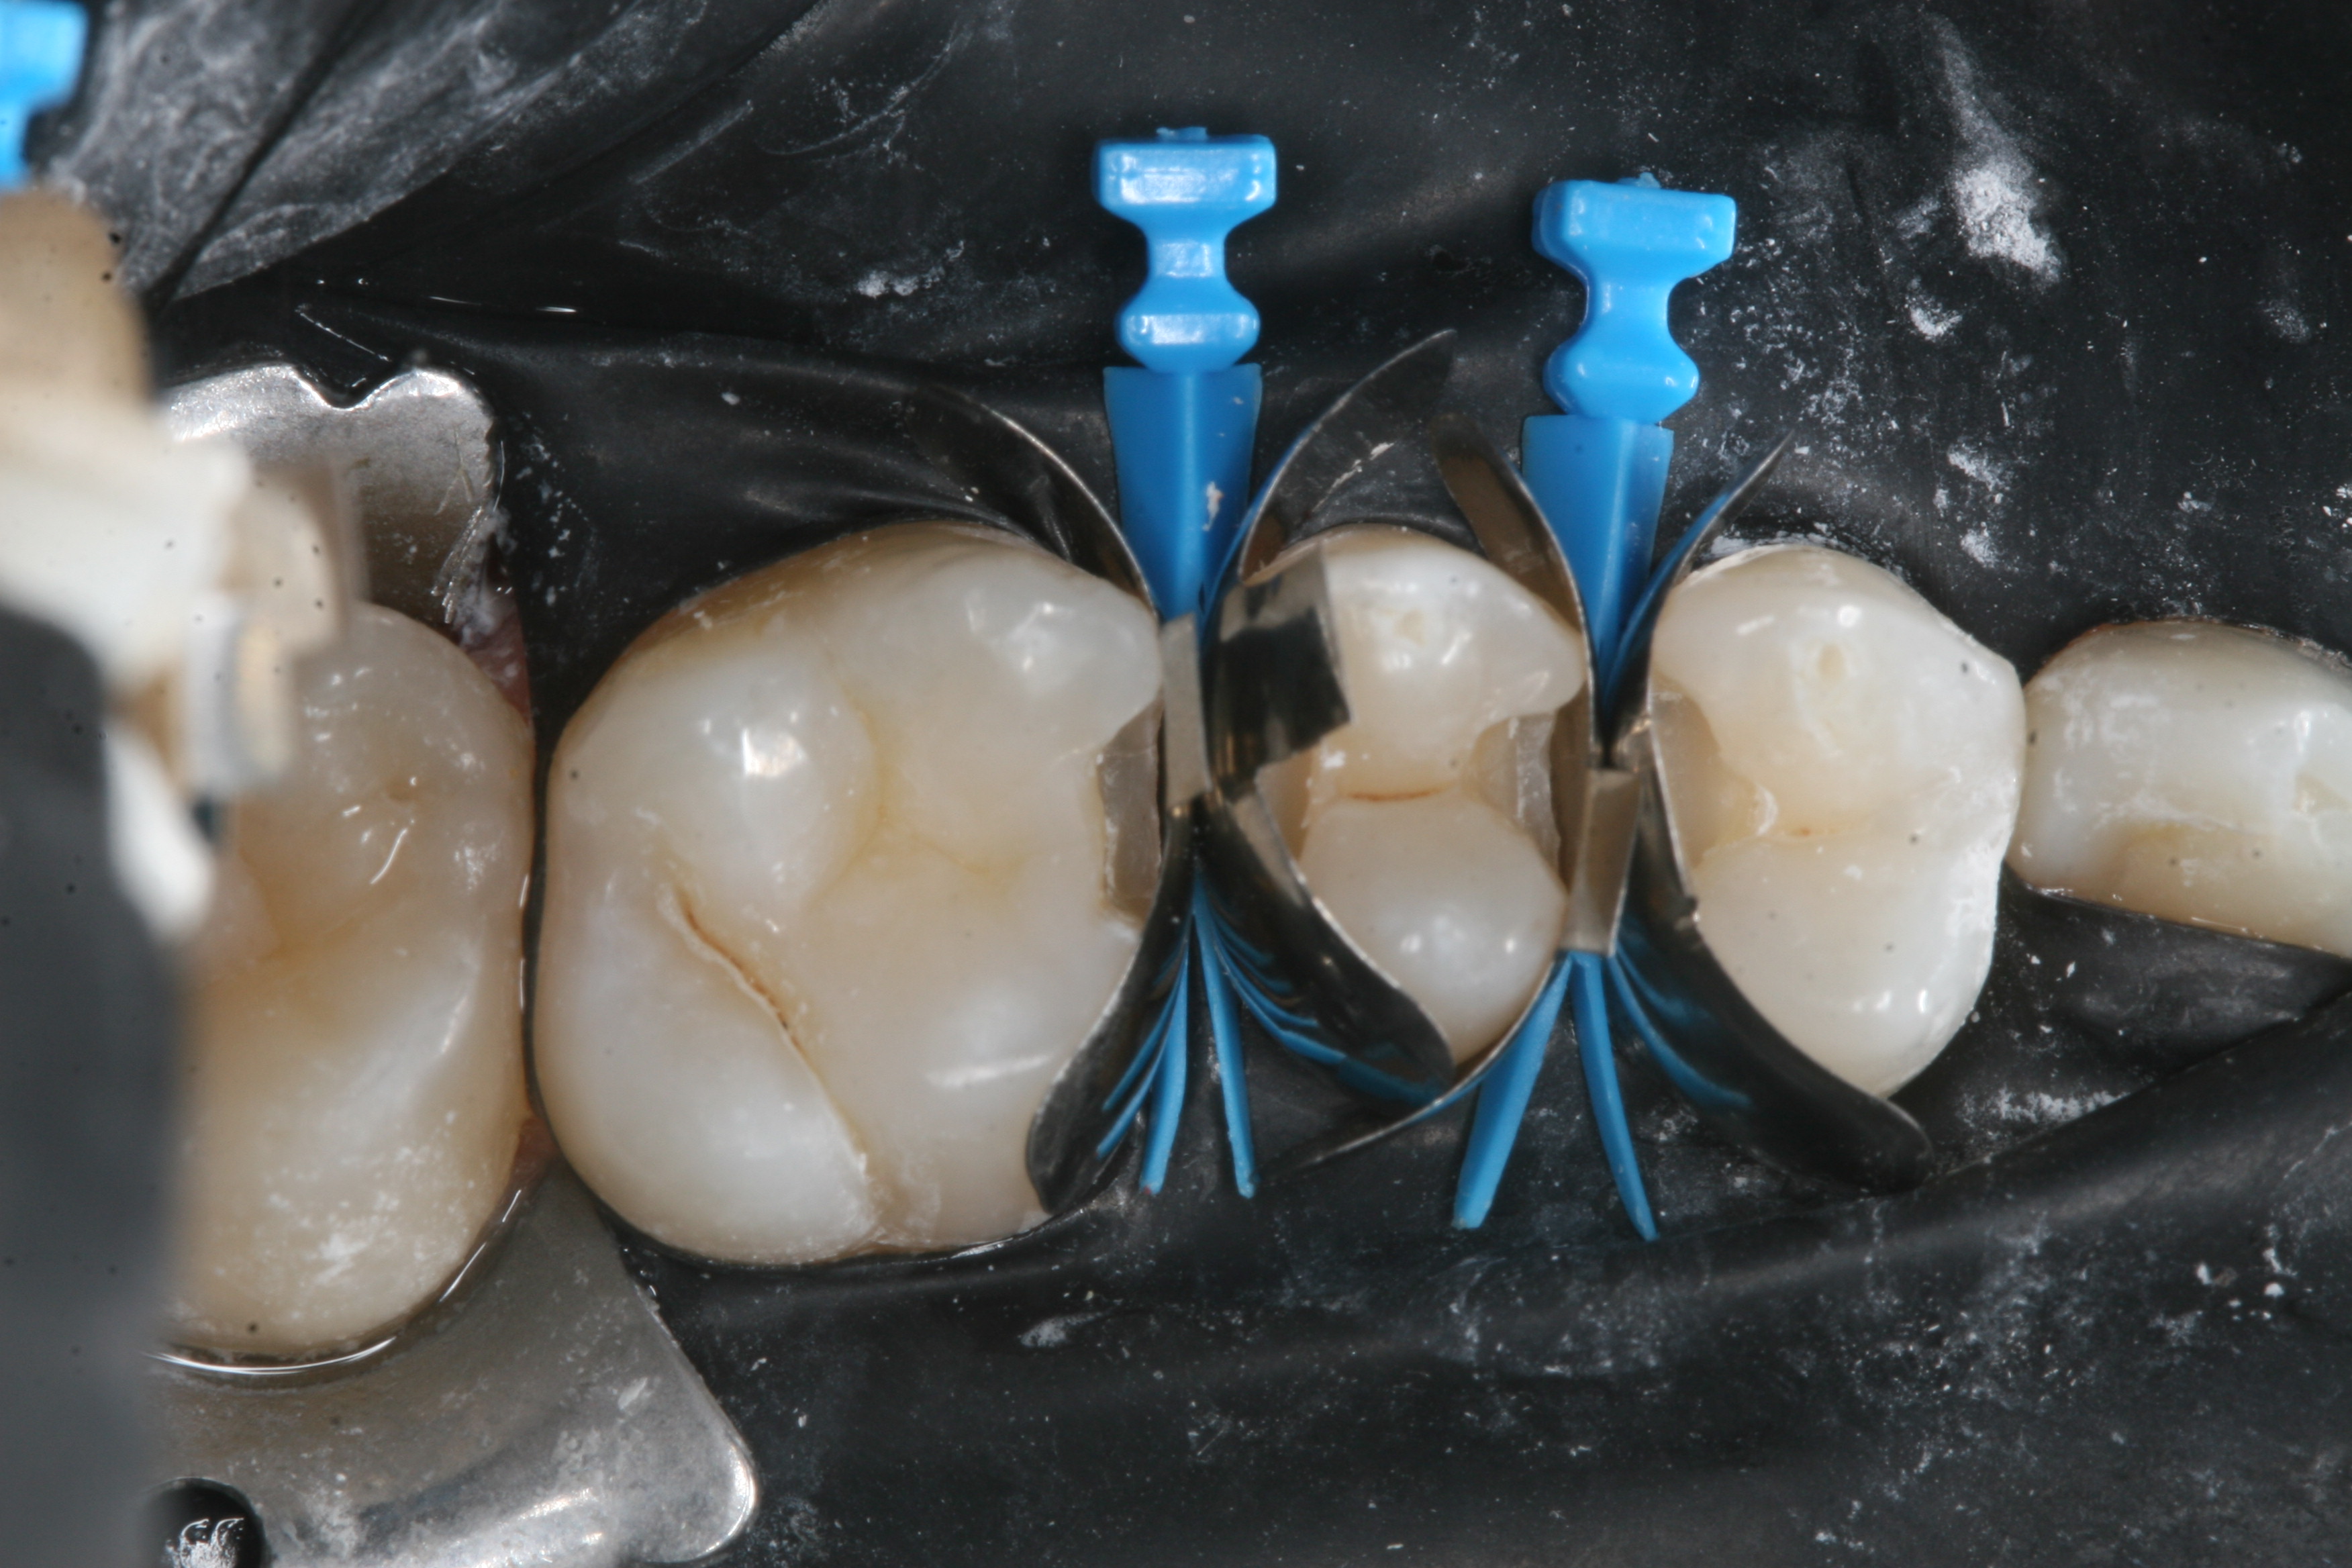
I placed my first Firm Band at the distal of tooth #12 (it is recommended to first place band 1 on the distal-facing tooth of a couple), and loosely inserted my Split Wedge. Placement of the band on the mesial of #13 is facilitated by slightly backing out the wedge, inserting the second band, and then firmly inserting the Split Wedge to securely hold the two bands in place (Images 4 and 5). I then proceeded to do the same thing on the next pair of cavity preps, distal of #13 and mesial of #14 (Images 6 and 7).
|
|
|
|
|
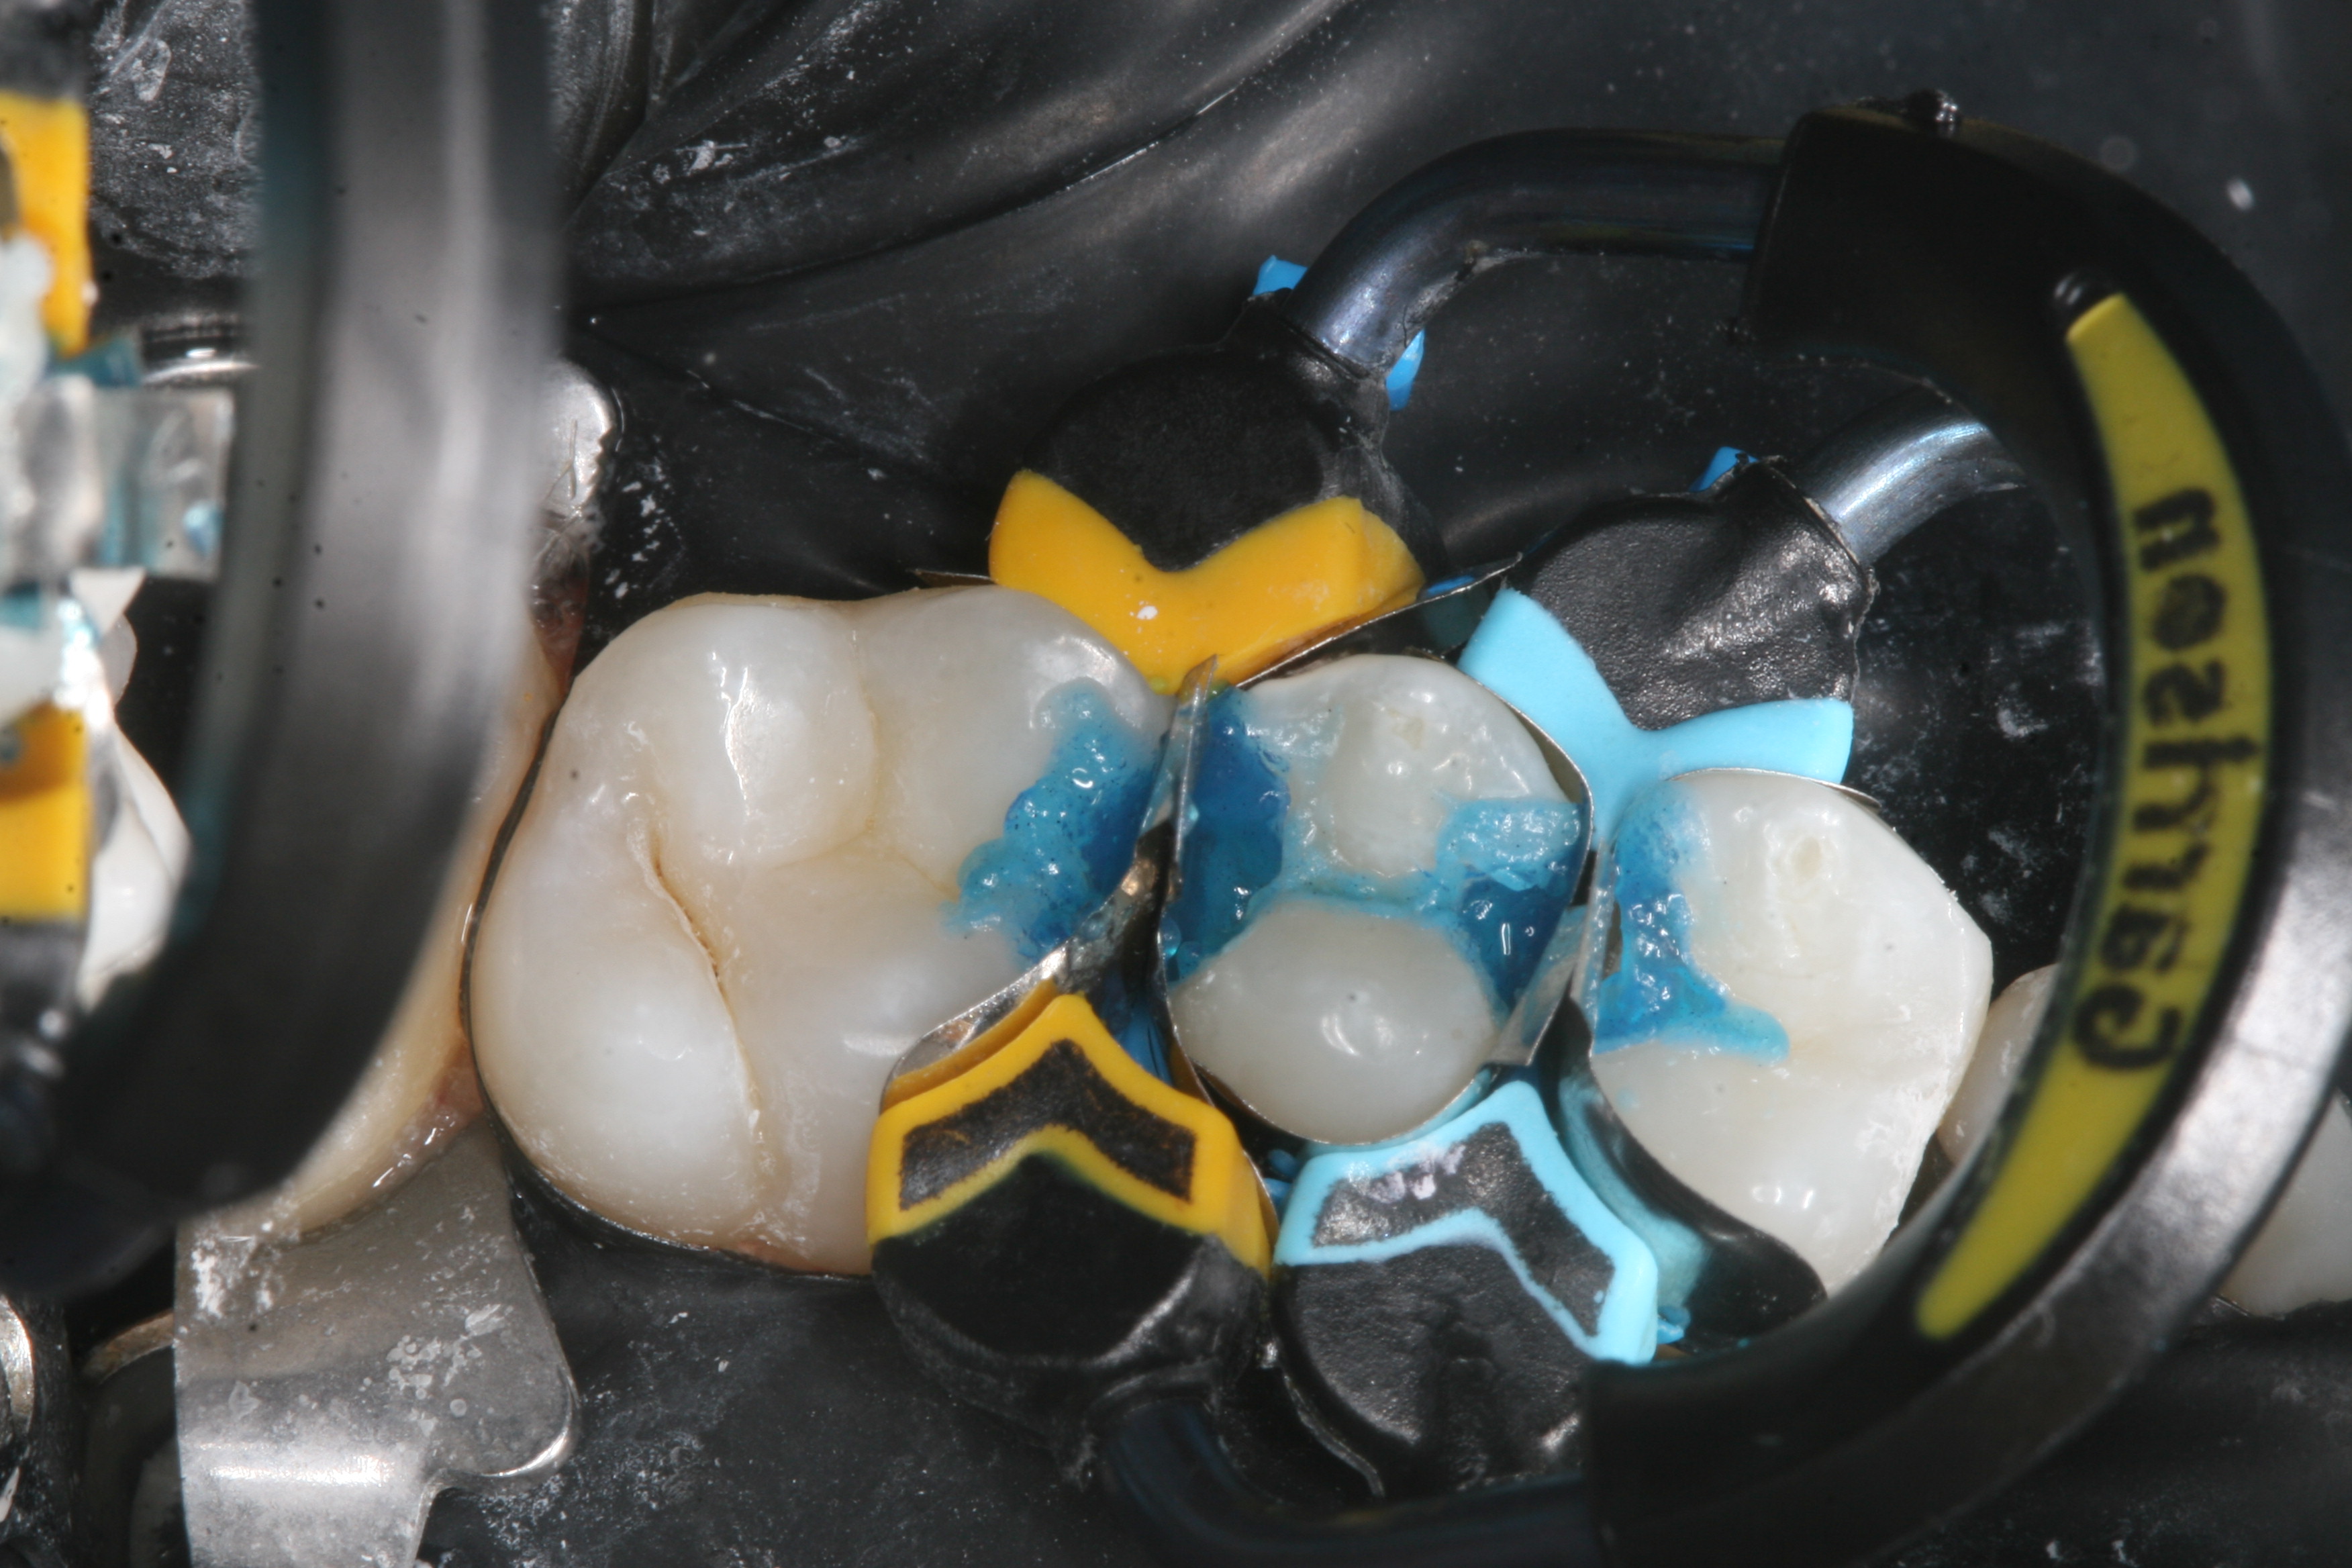
The separating rings are designed to be stackable, and so I carefully placed the first one, with Driver Tip in the palatal embrasure and between the two limbs of the Split Wedge, in the space between teeth #’s 12 and 13, followed by the second ring similarly placed in the space between #’s 13 and 14. I then applied phosphoric acid etch (Ultra Etch, Ultradent Products) simultaneously in all four preps (Image 8).
After applying bonding adhesive (Clearfil SE Protect, Kuraray Noritake) and light curing (Valo curing light, Ultradent Products), I placed my first increment of composite resin. Due to the small size of the lesions, it was decided that I would use a single-shade flowable bulk-fill material (Omnichroma Flow Bulk, Tokuyama America). This also simplified shade selection, as Omnichroma has the ability to match the appearance of the surrounding tooth structure.
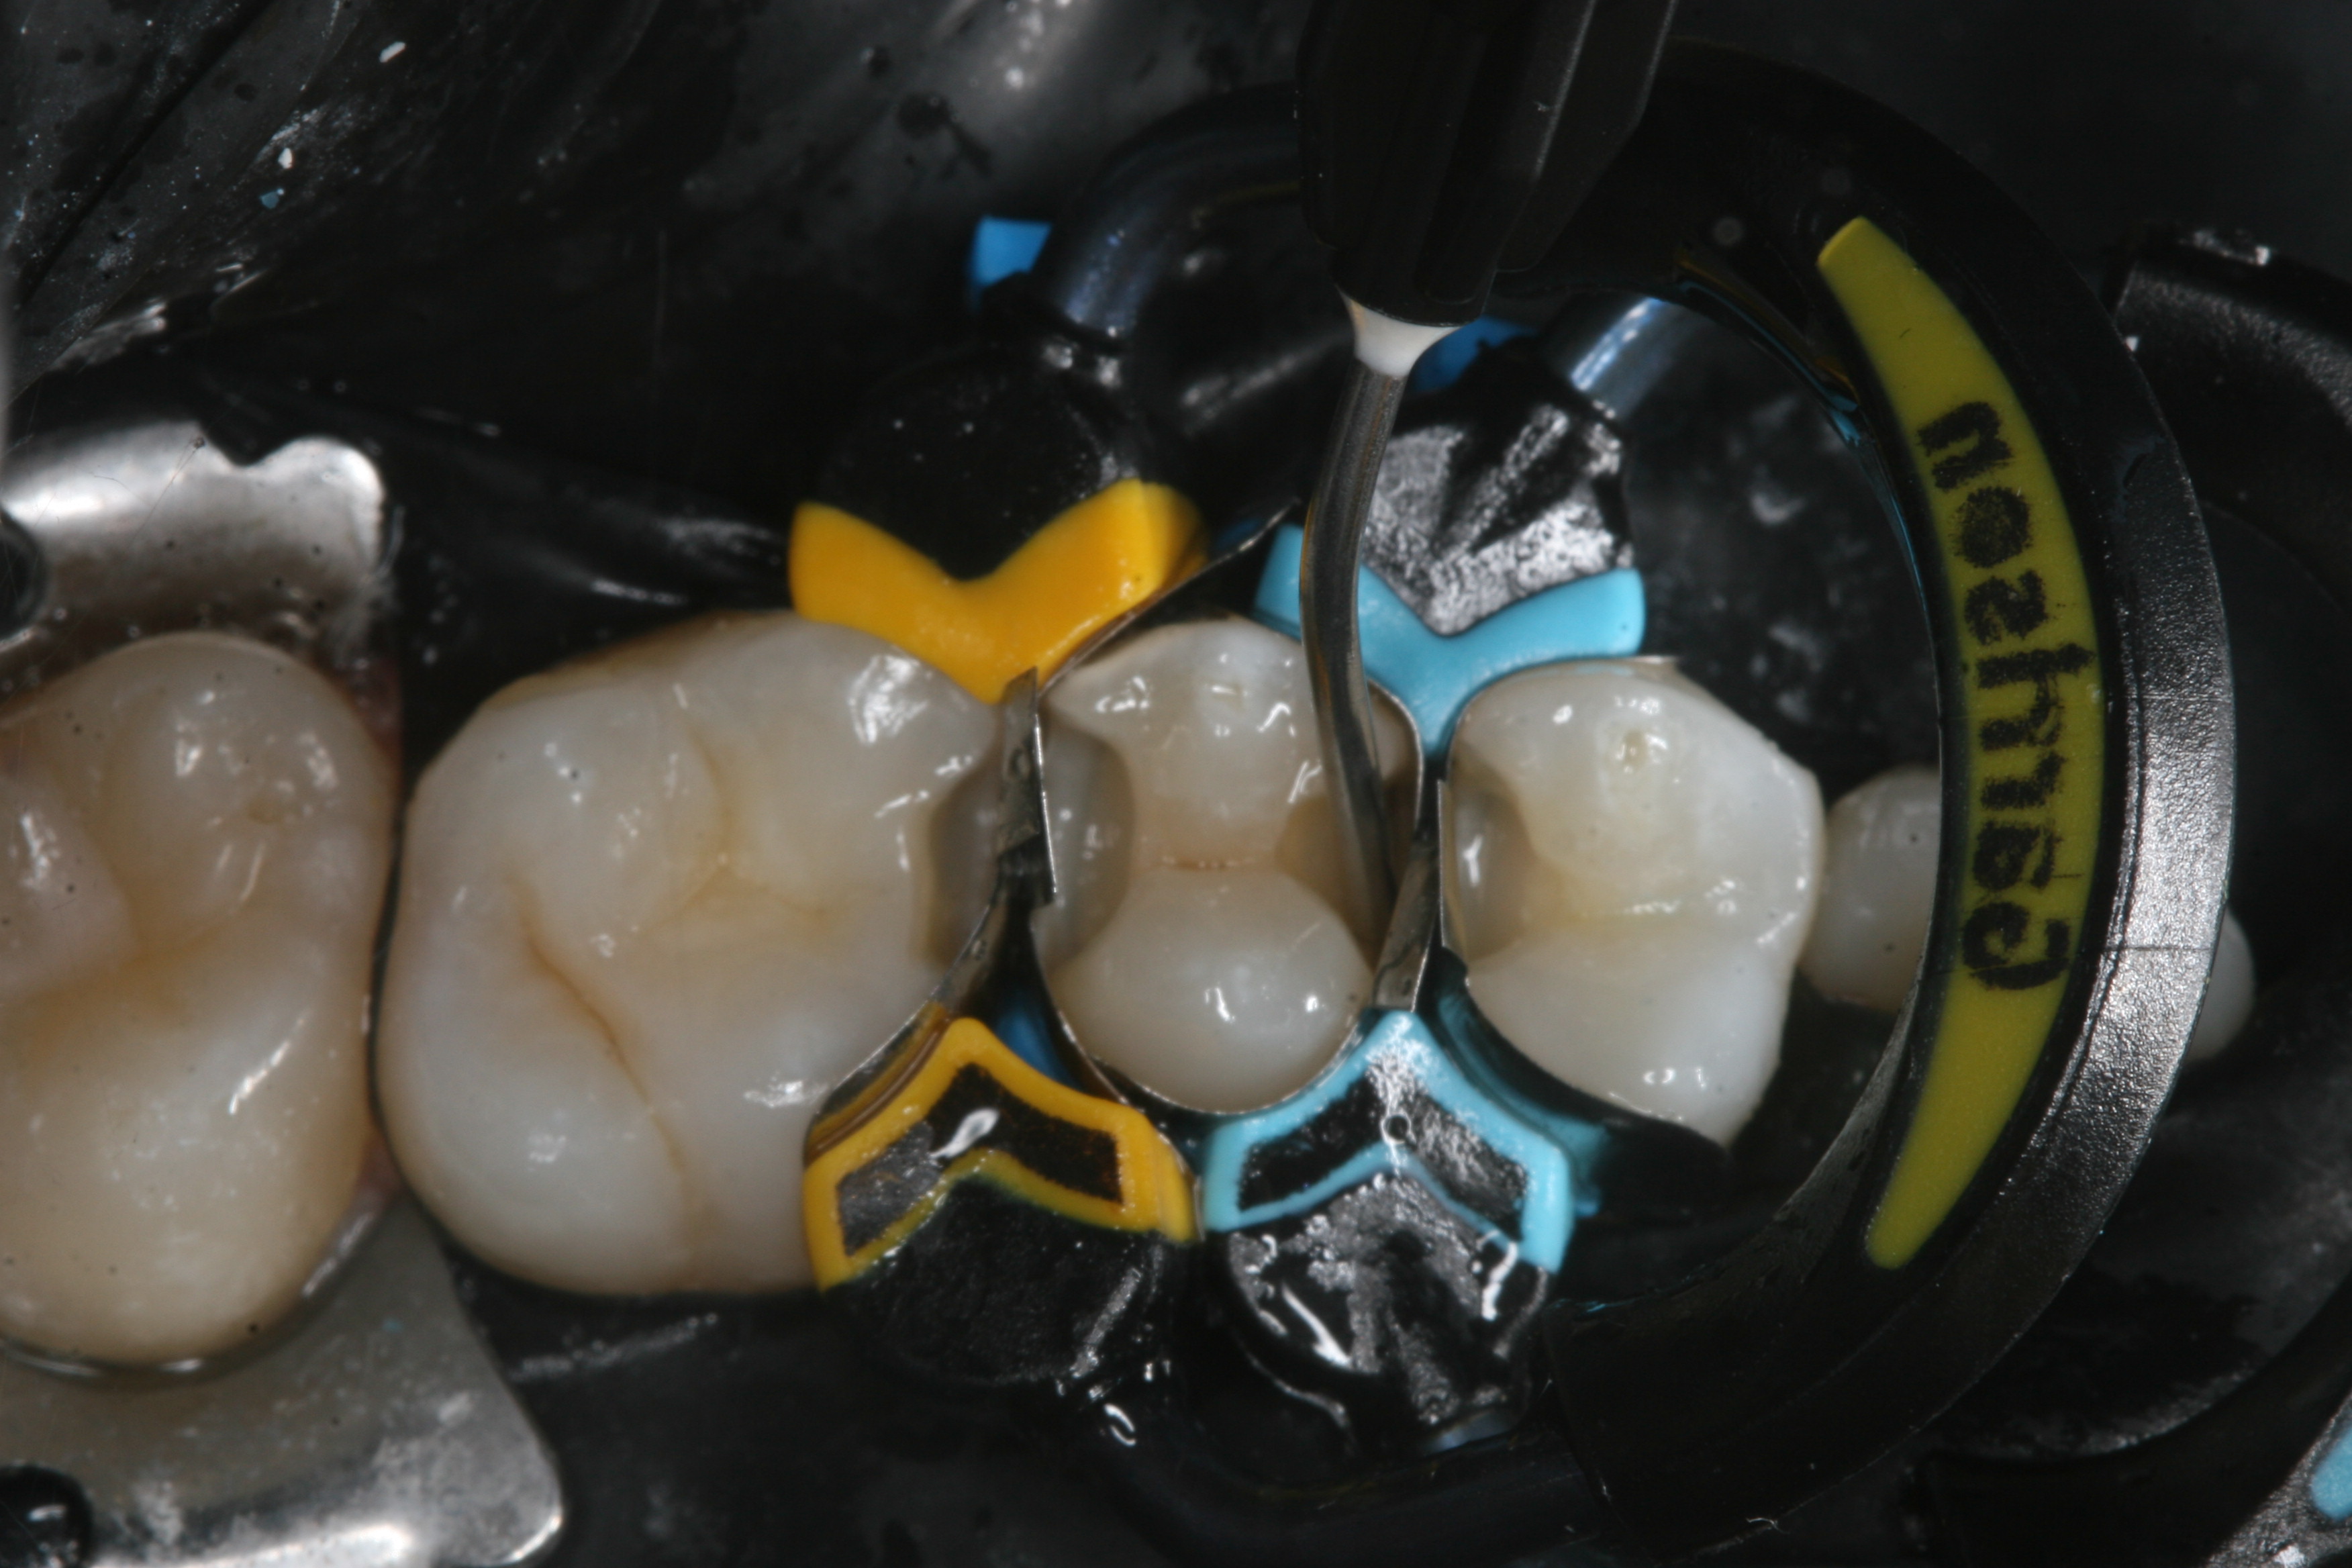
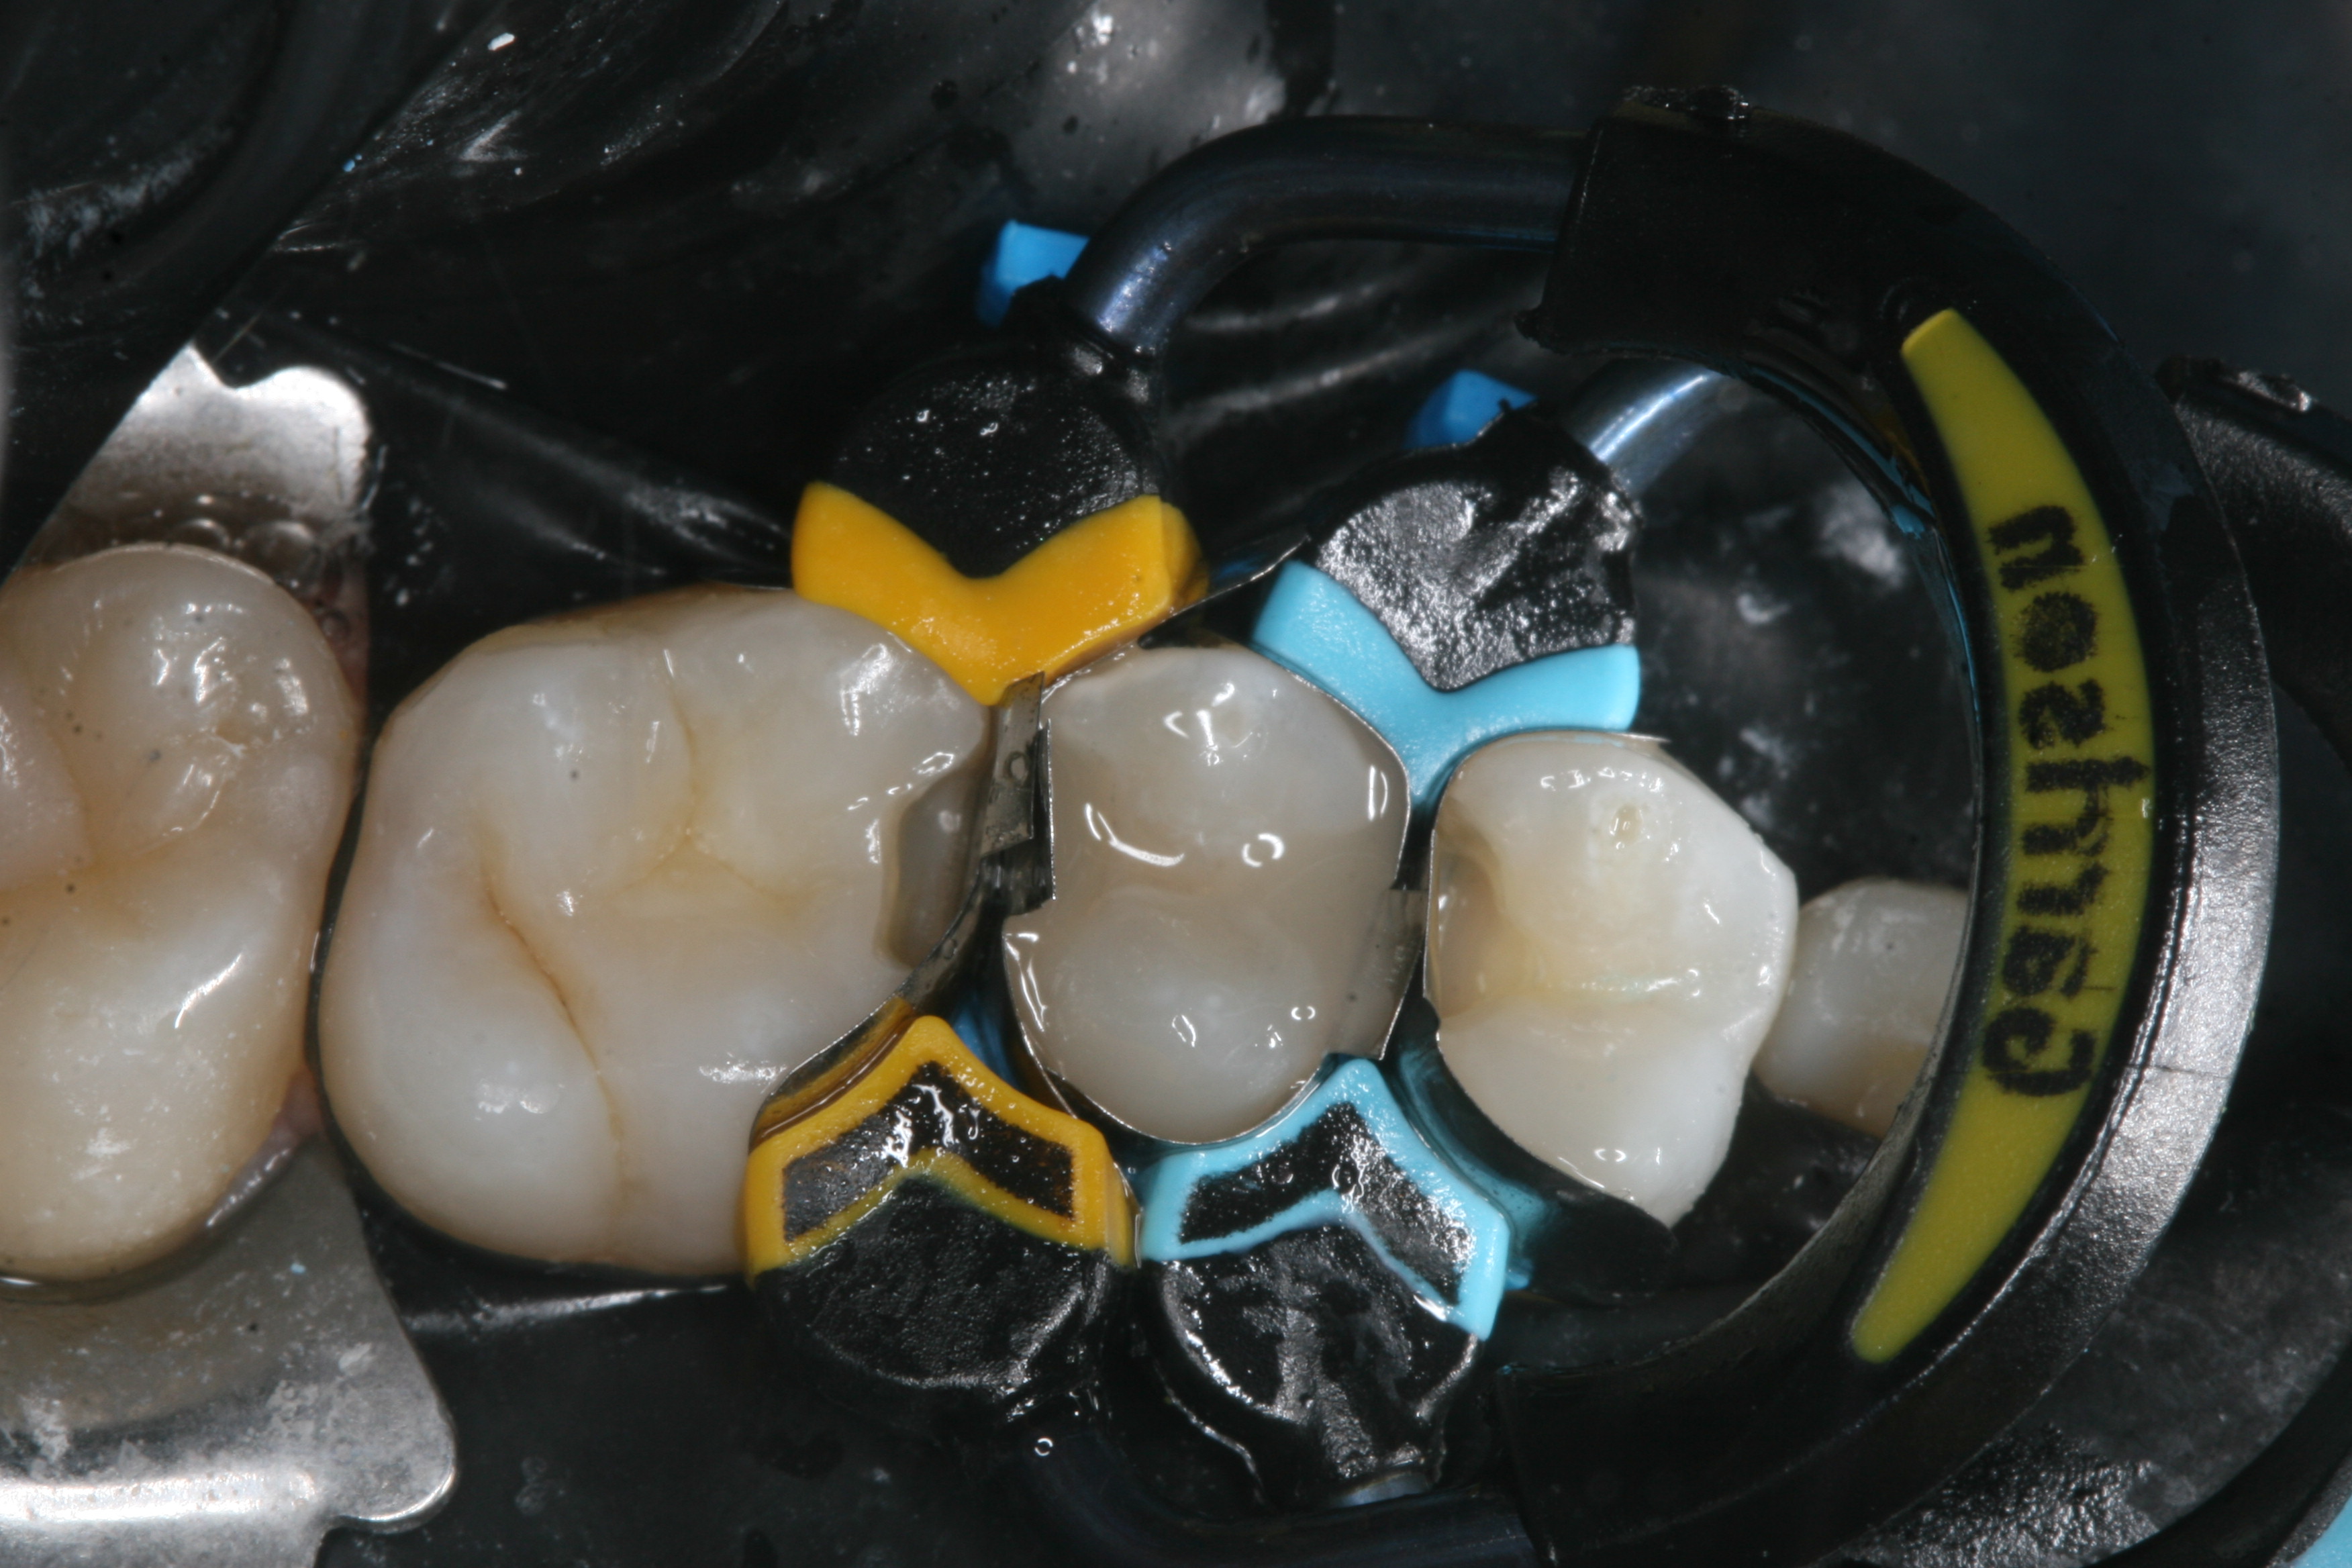
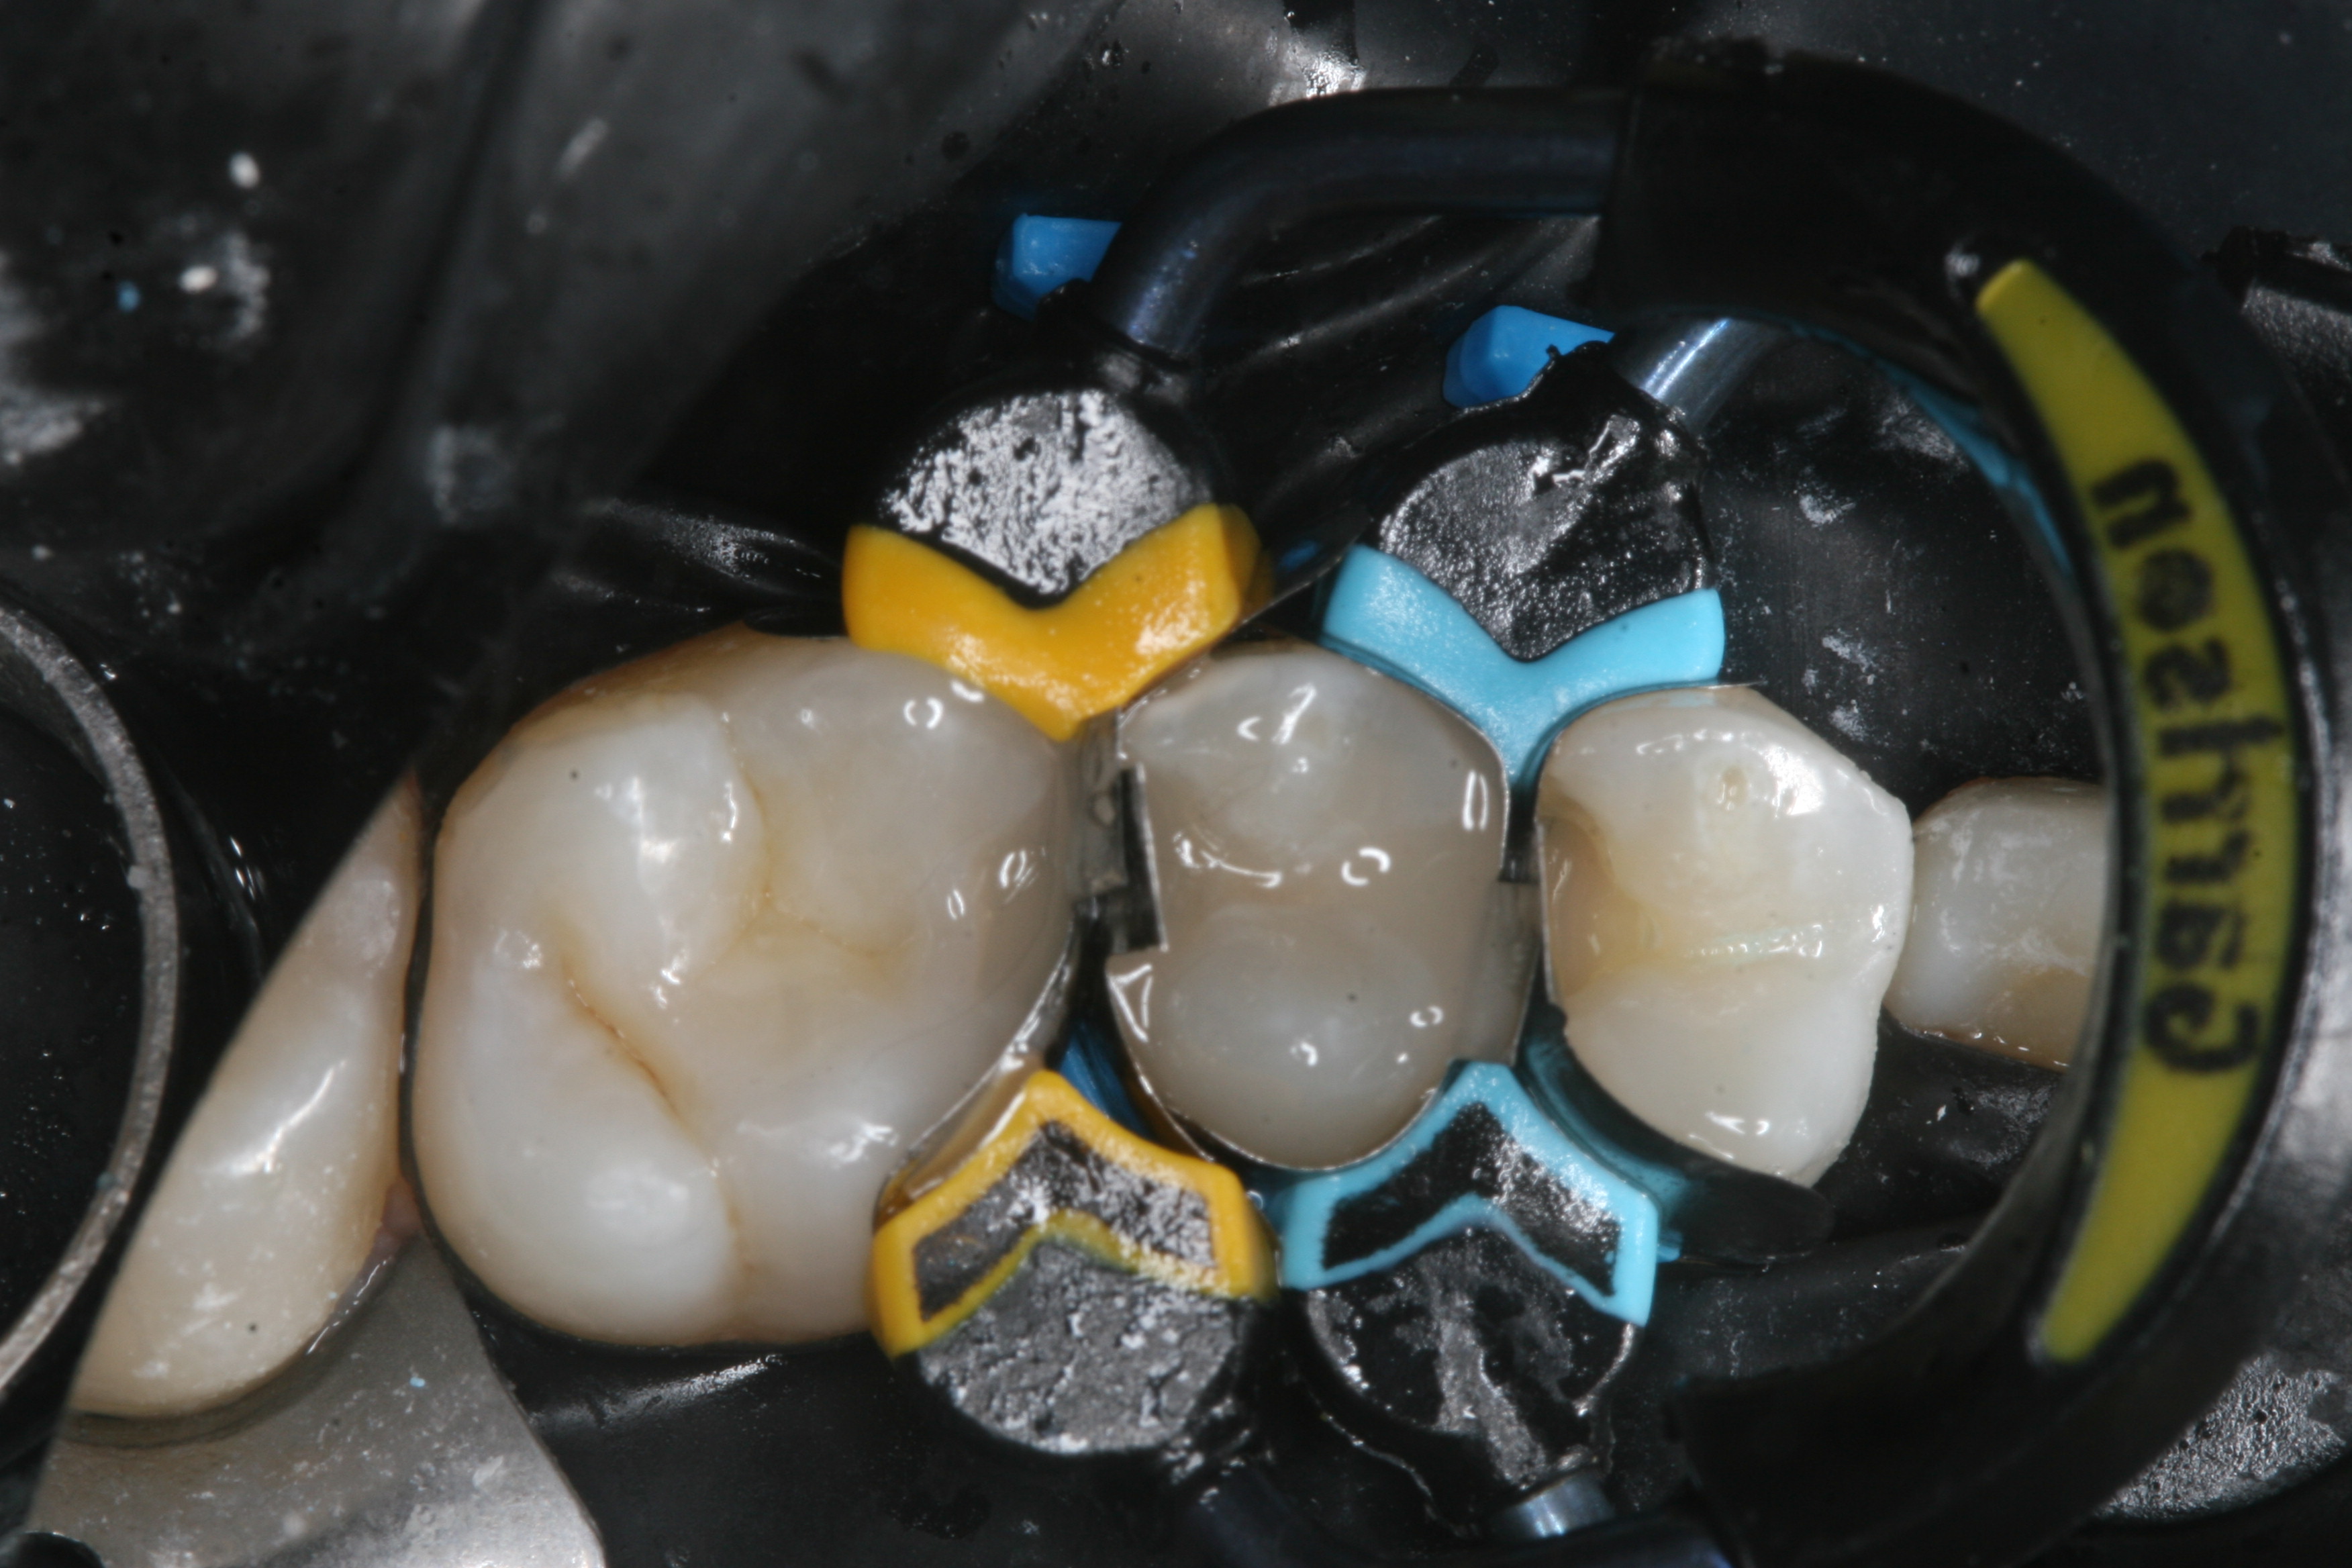
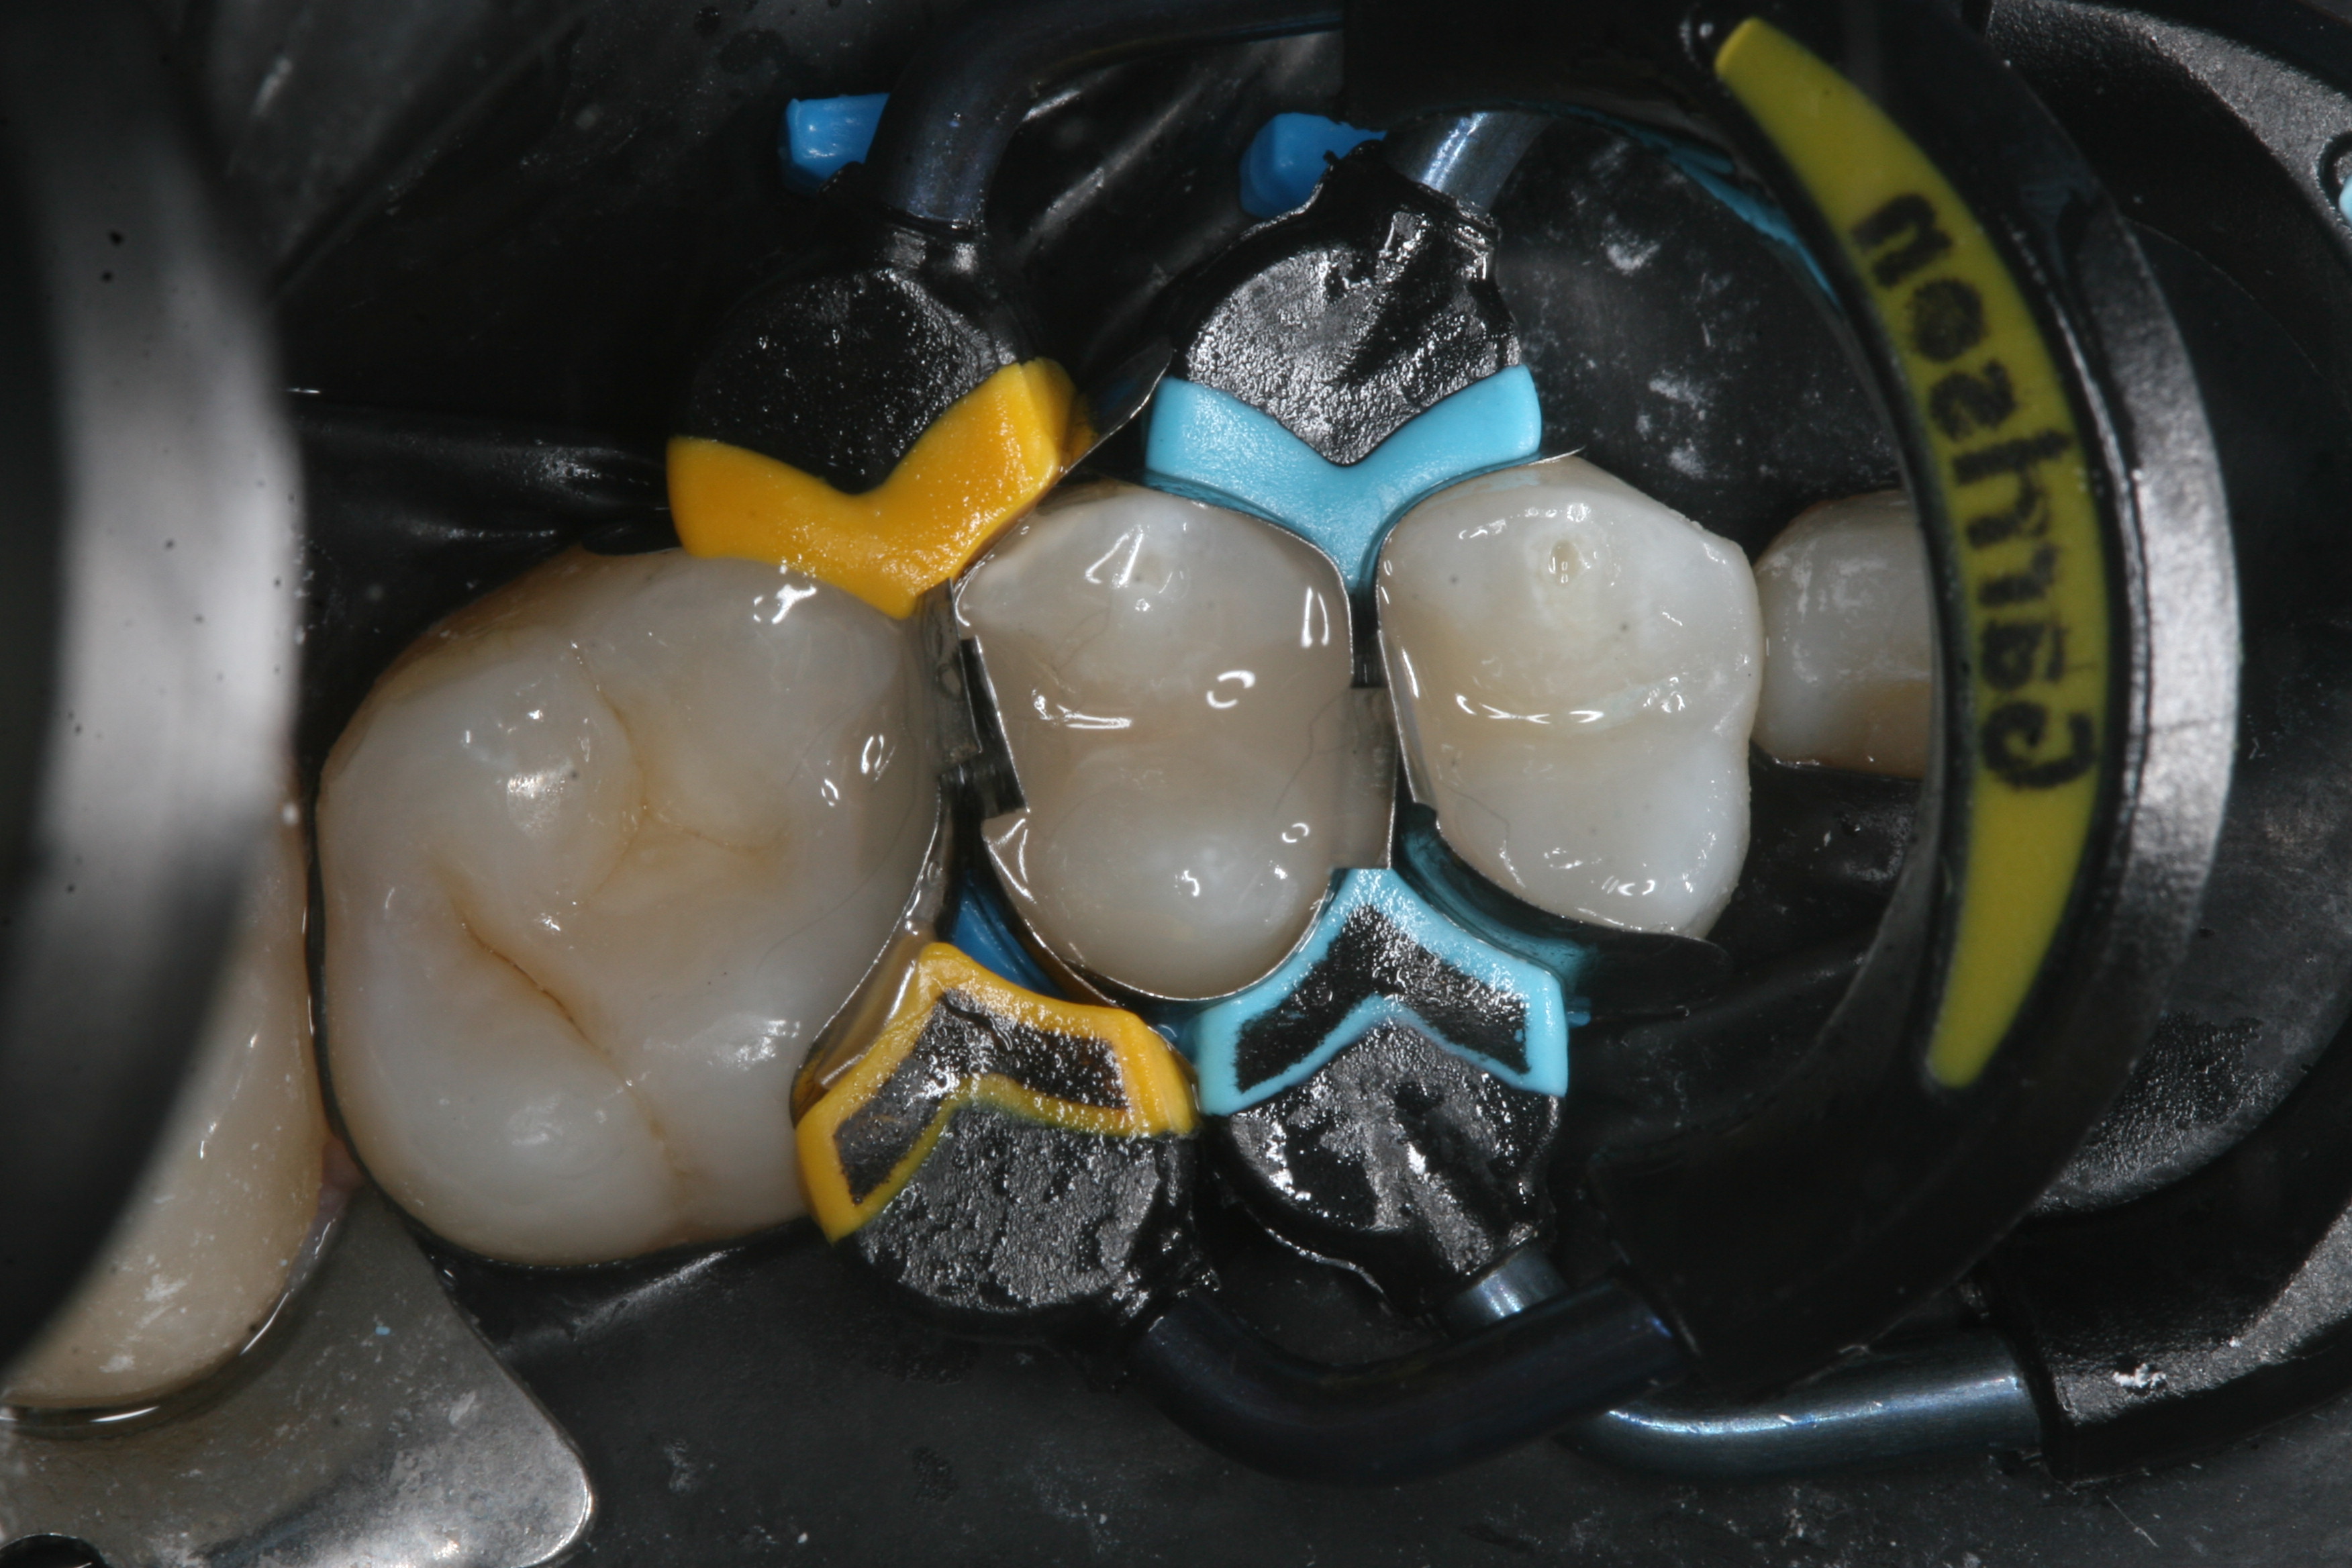
Without having to take apart and reset the matrices or rings, I stepwise filled one prep after another, light curing them after carefully filling them all (Images 9, 10 ,11, and 12).
|
|
|
|
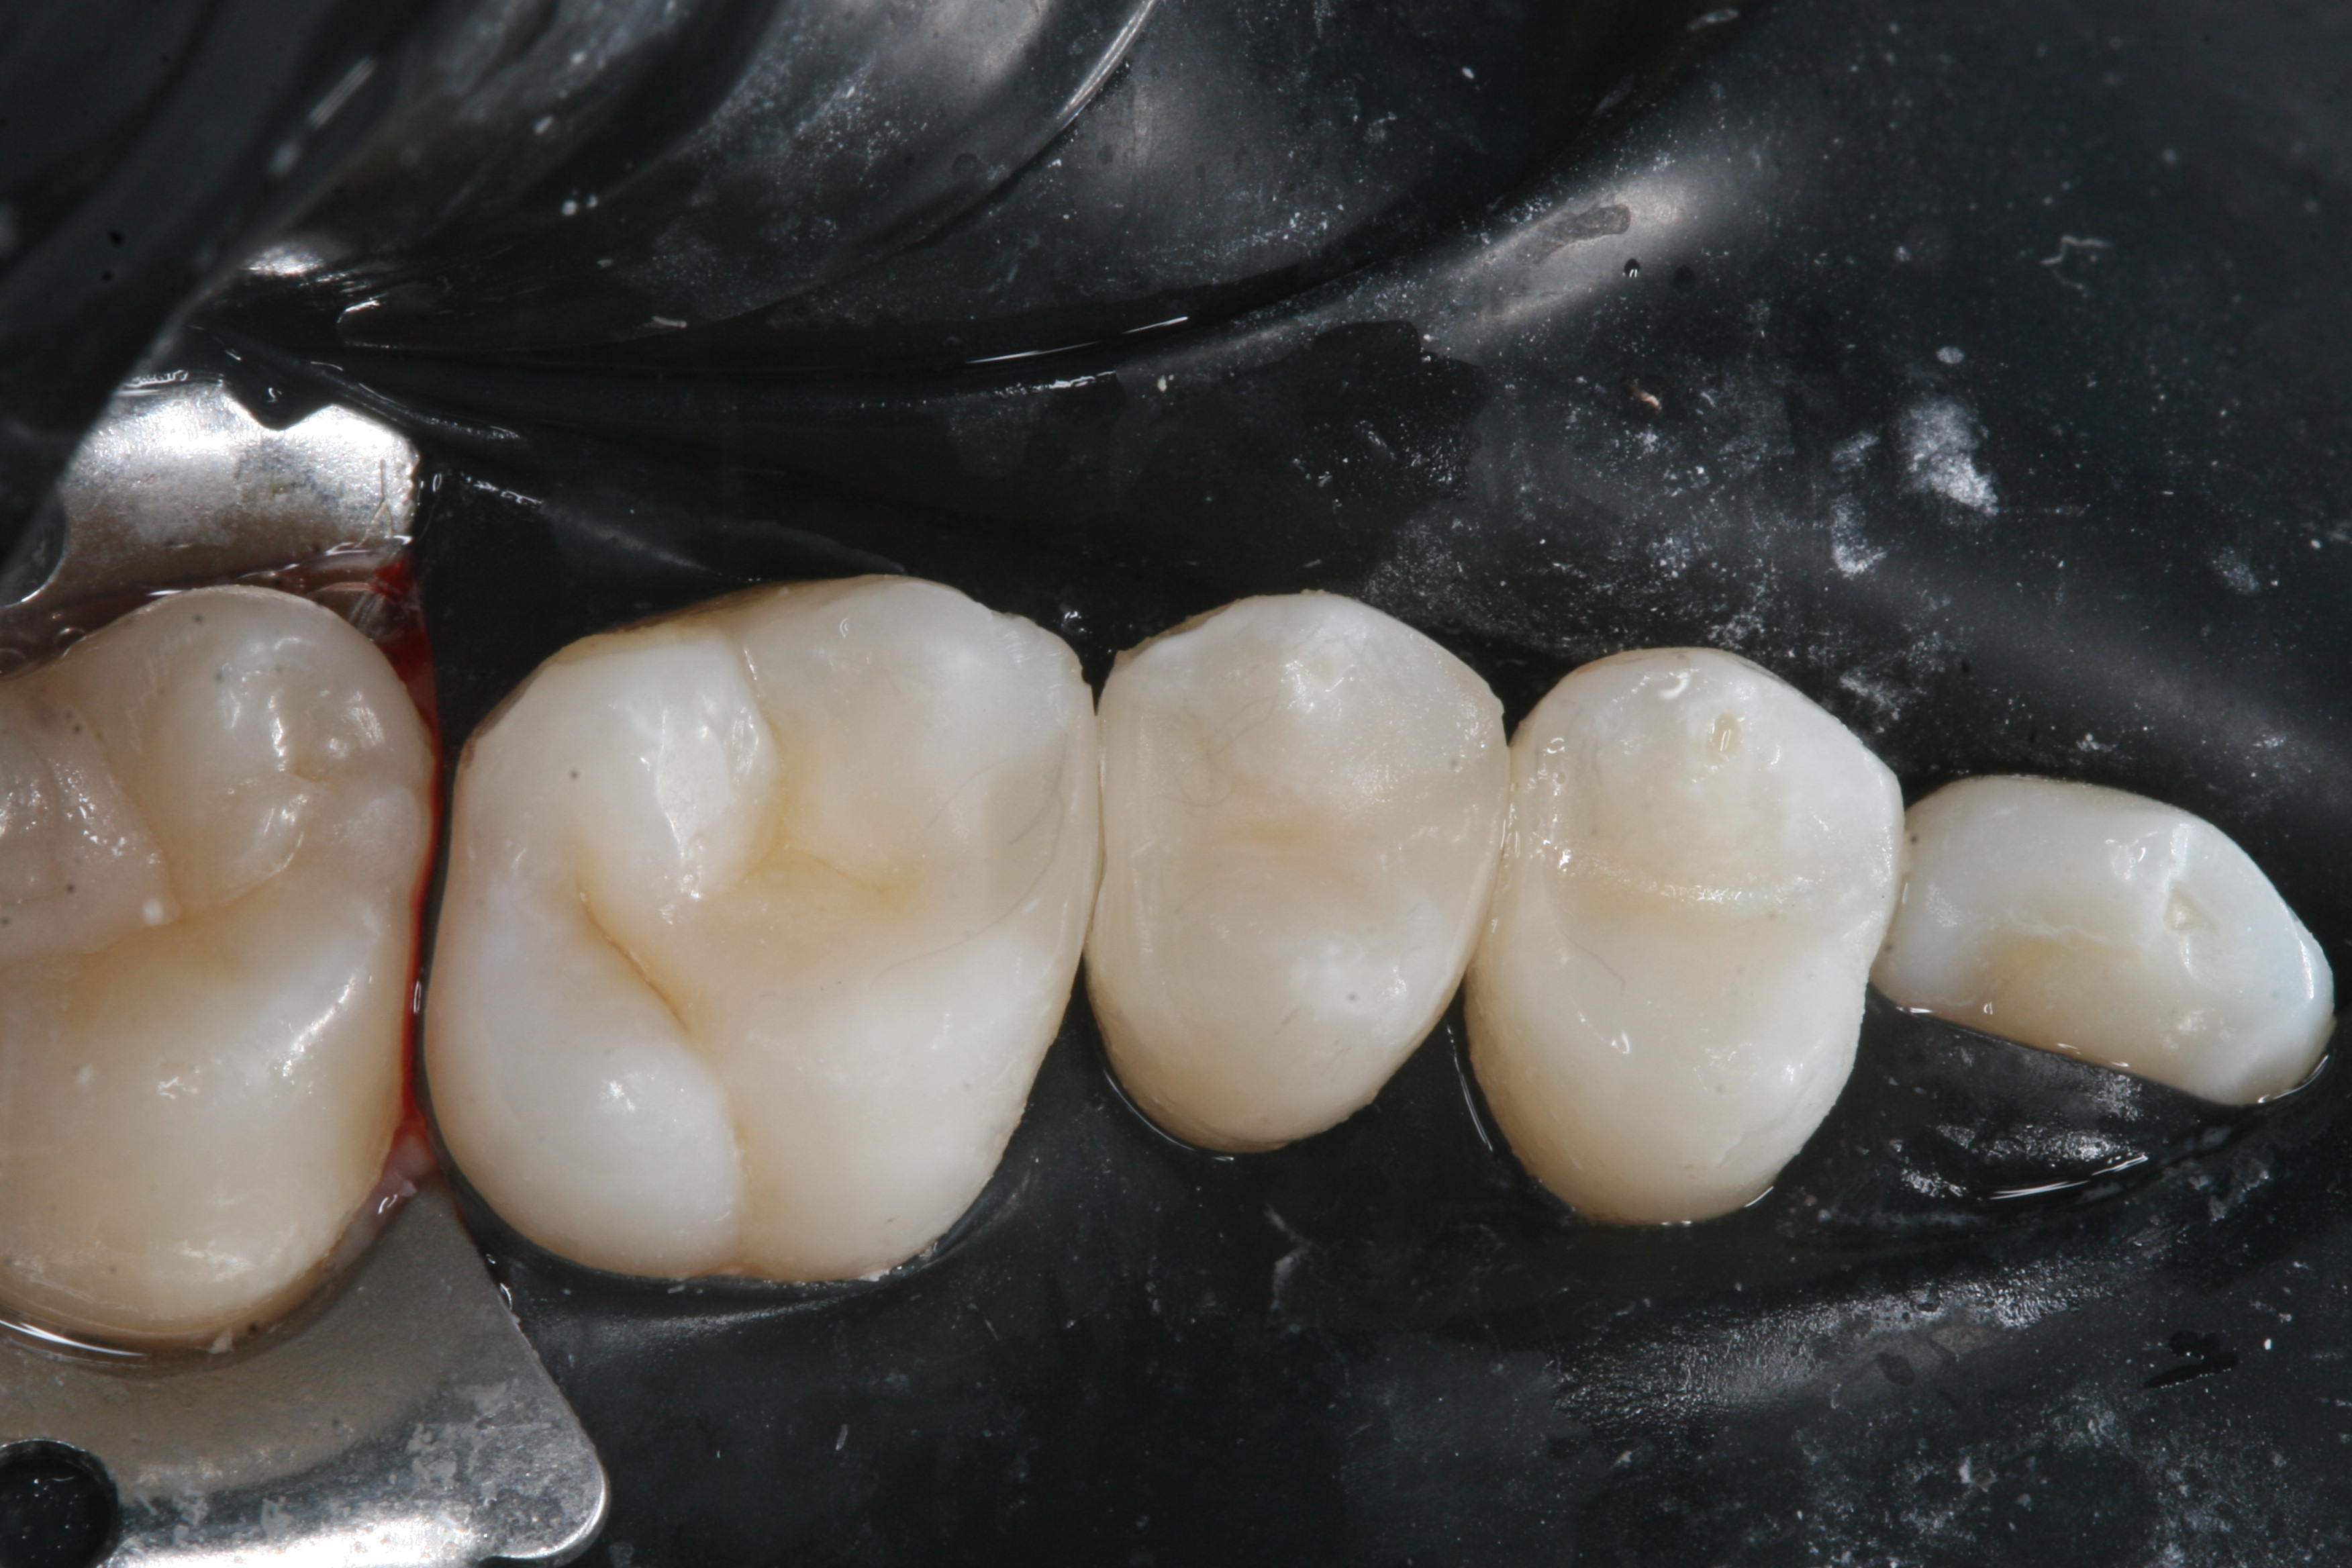
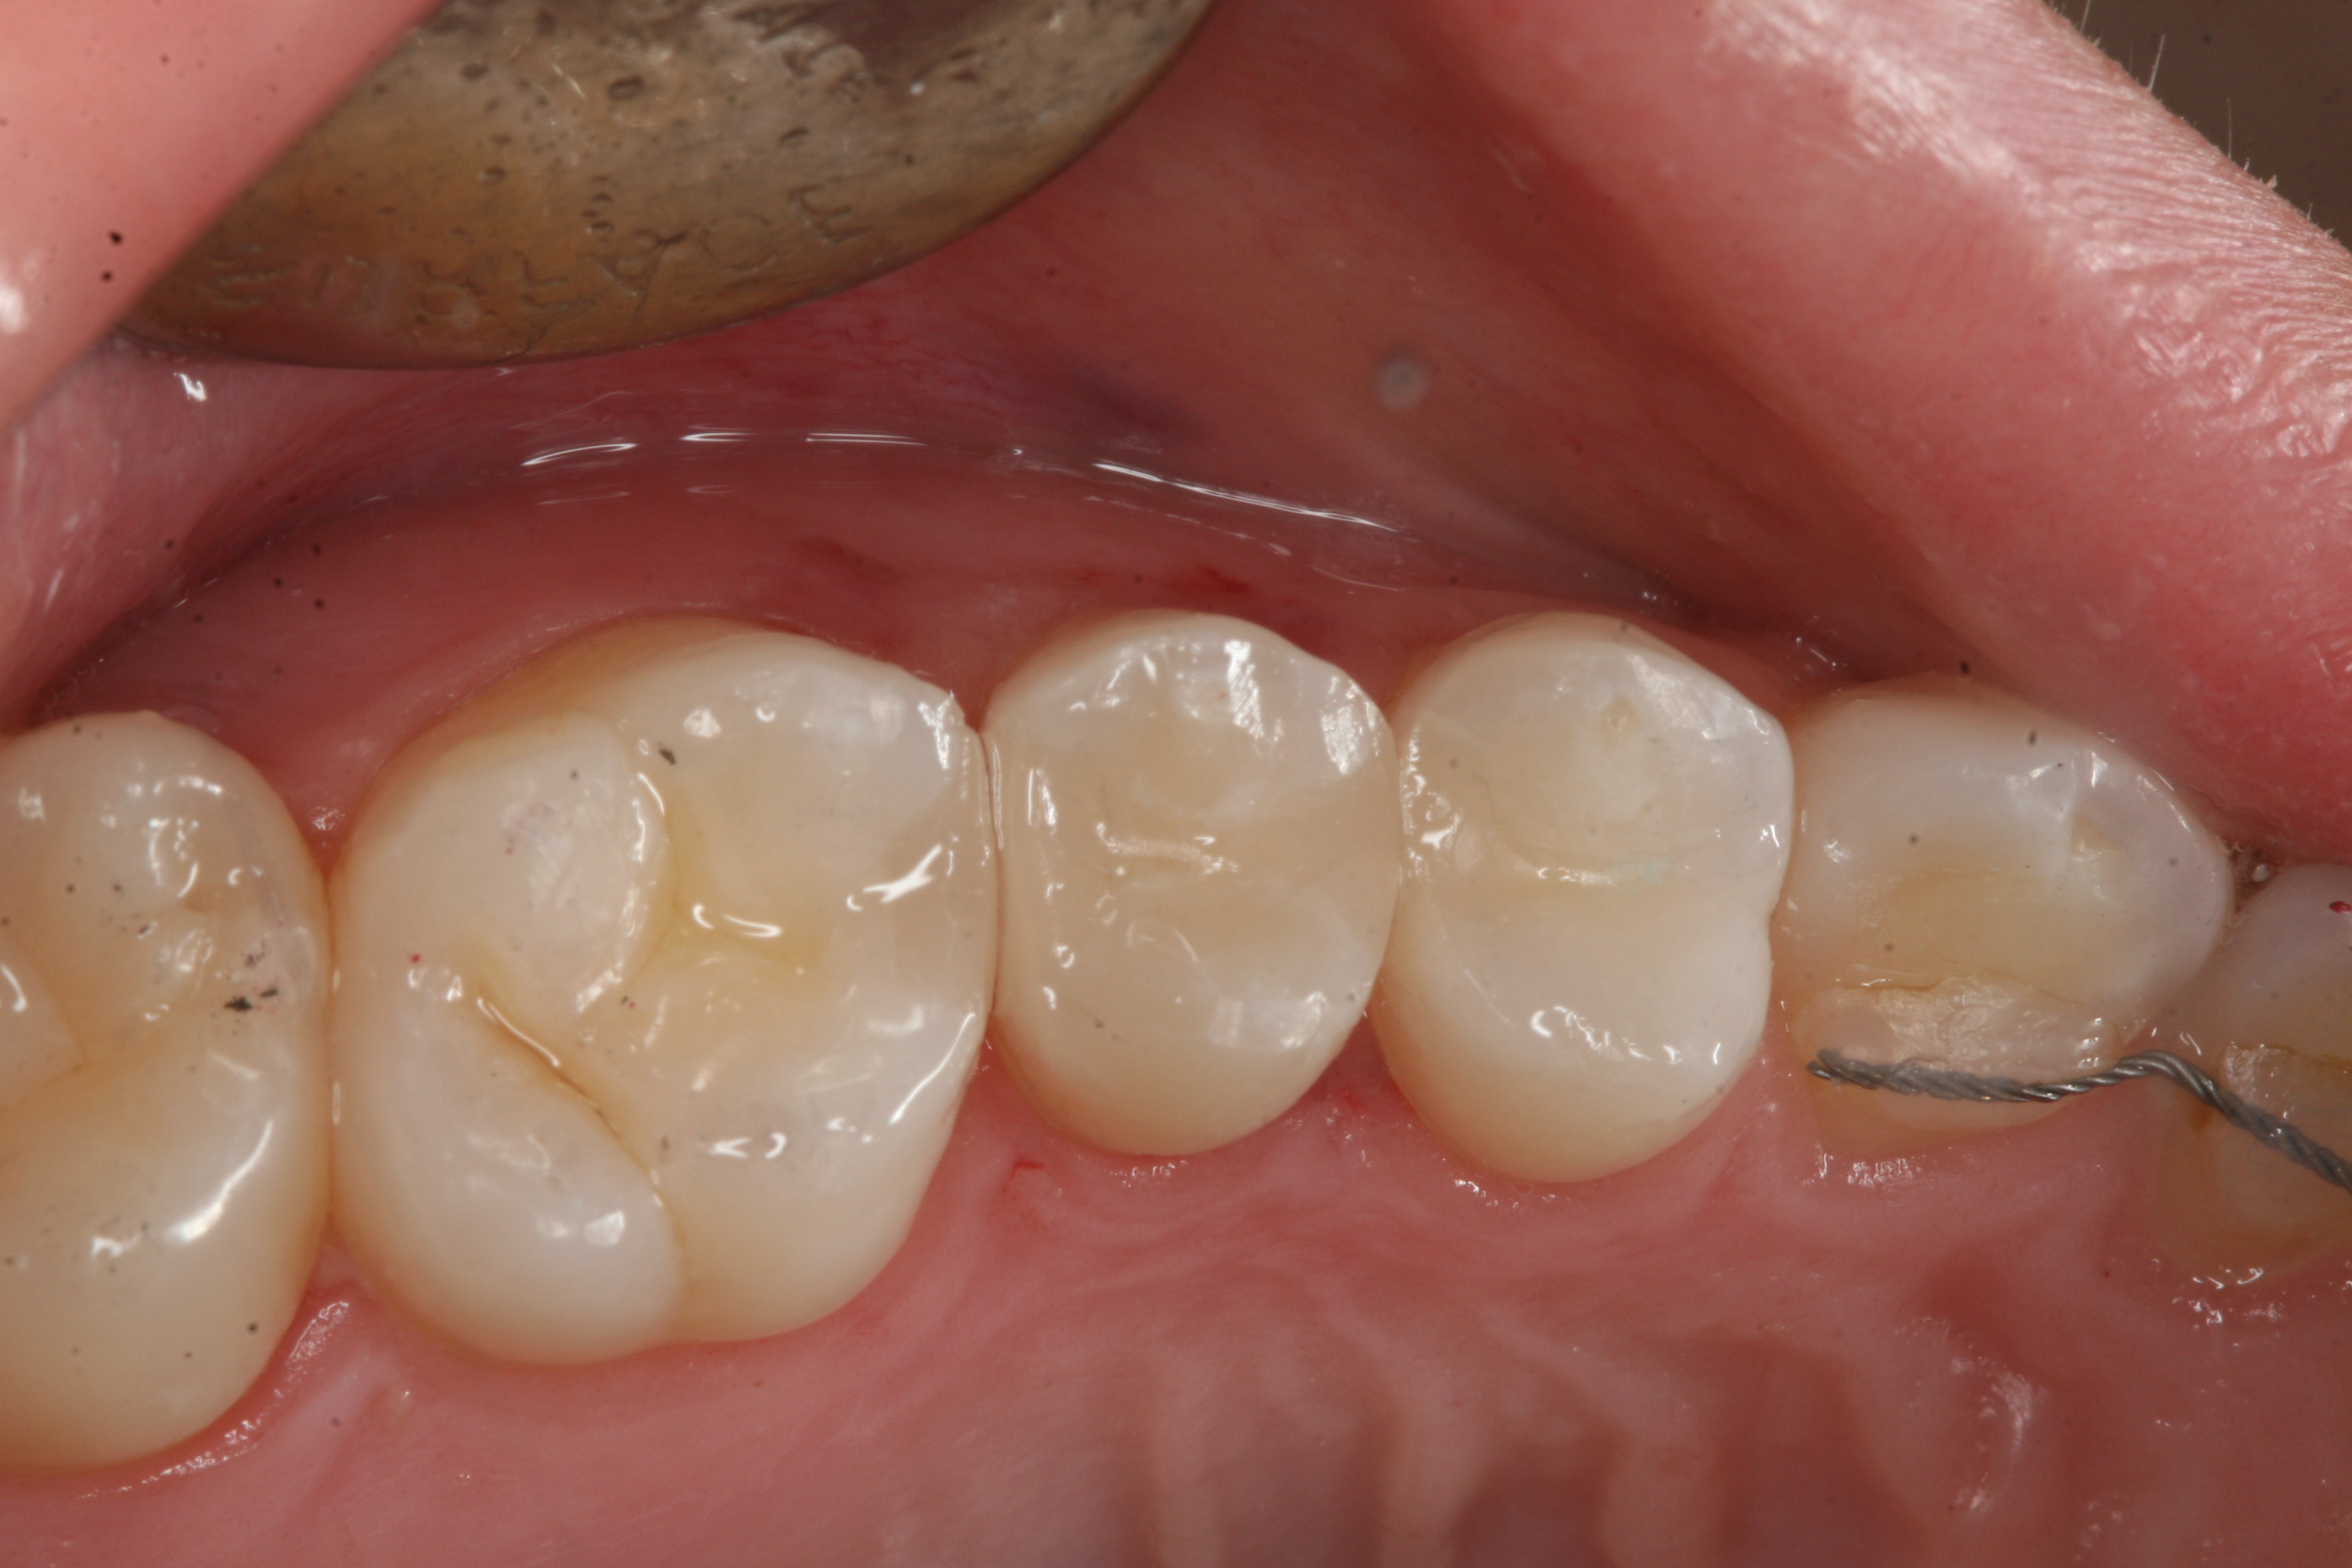
The removal of both rings, then wedges, and finally all four bands, yielded restorations with minimal flash that needed minimal reshaping (Image 13). The rubber dam was removed, occlusion checked and the fillings were polished (Enhance points, Dentsply Sirona and Groovy Diamond polishing brush, Clinician’s Choice), yielding clinically excellent restorations with anatomically accurate shape and outstanding interproximal contact (Image 14).
|
|
The Quad Matrix system provided proof of concept, allowing the simultaneous restoration of multiple back-to-back restorations, without sacrificing the outcome in an attempt to save time.