FREE SHIPPING on orders over $475
FREE SHIPPING on orders over $475 | No Code Needed
A 34-year-old female patient in good general health presented to my practice with interproximal carious lesions affecting teeth #12 on the distal-occlusal (DO) surface and #13 on the mesial-occlusal-distal (MOD) surface.
After profound anesthesia was accomplished using a carpule of OraBloc Articaine 4% with epinephrine 1:100.000 via infiltration, rubber dam isolation was completed (Black Hysolate-Coltene) (Figure 1).

|
| Figure 1 |
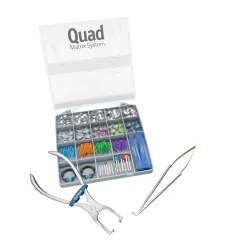
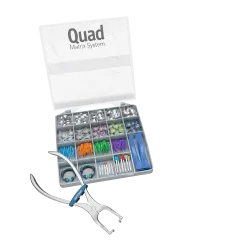
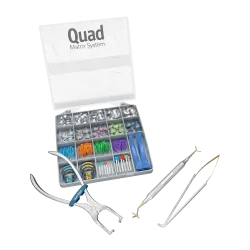
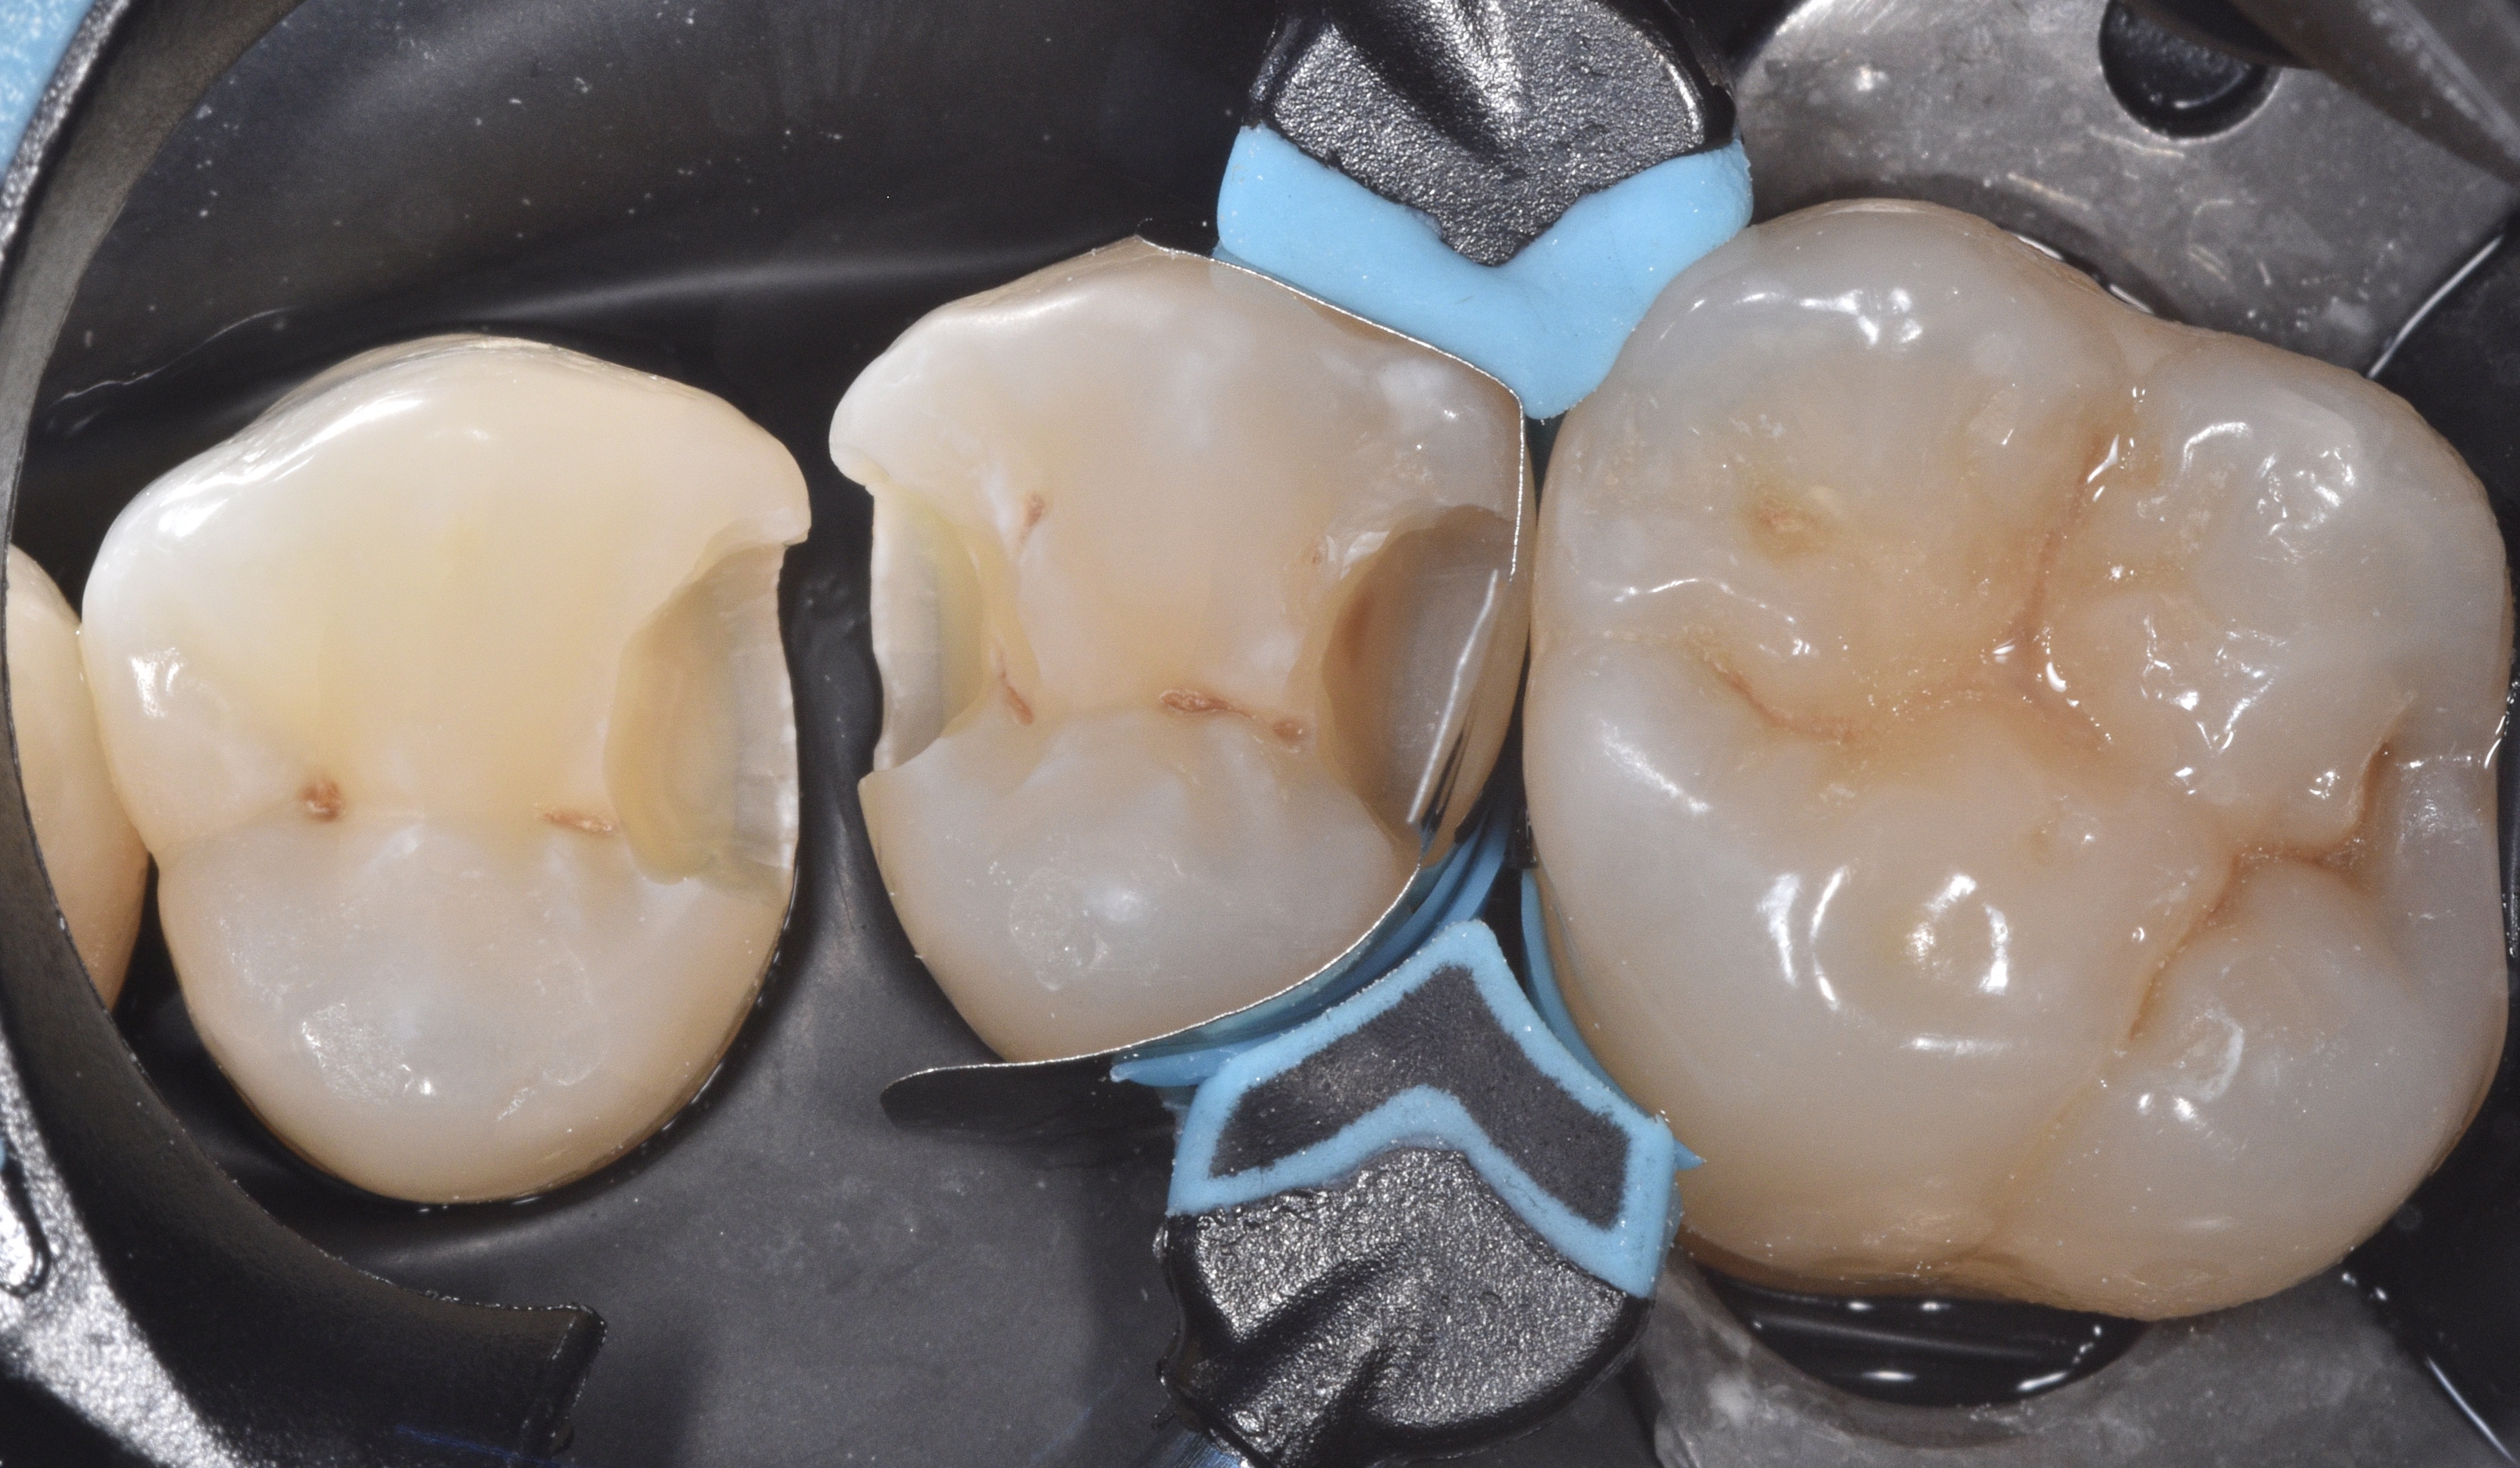
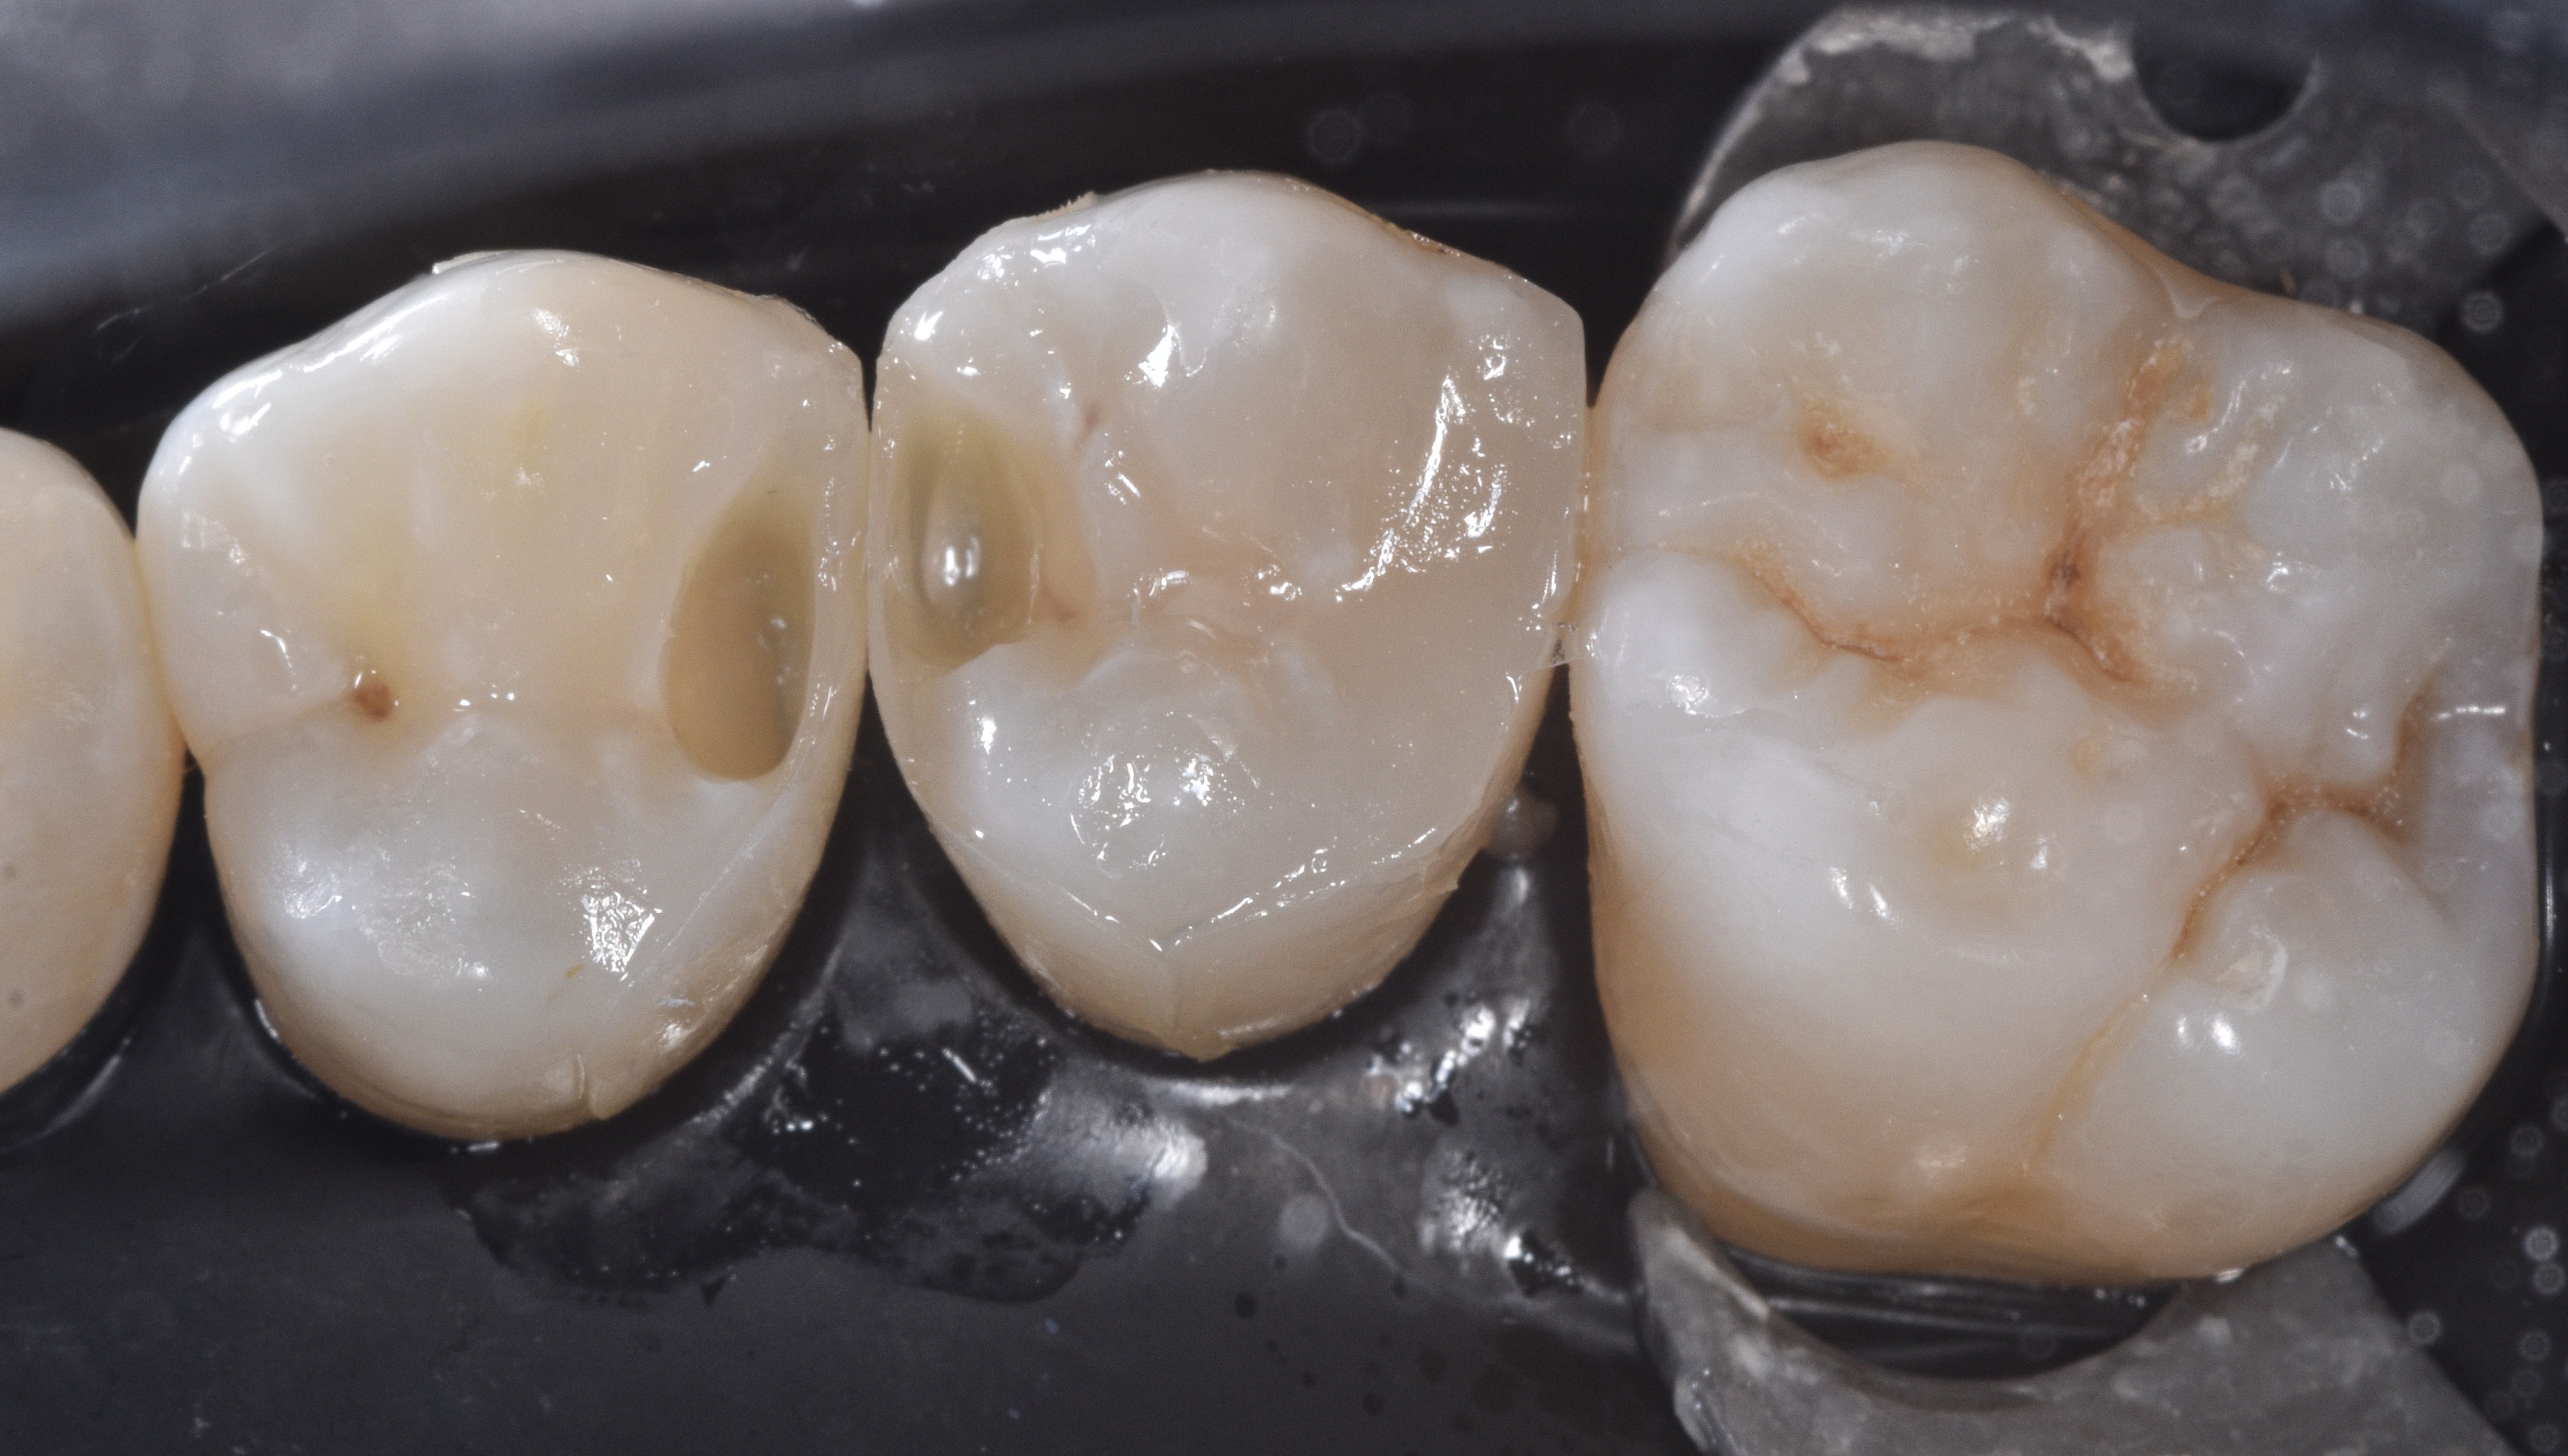
Caries was removed using a minimal intervention approach which helped with keeping the central groove area intact on tooth #13 (Figure 2). Once the infected dentin was completely removed and a clean peripheral seal zone obtained, we cleaned the preparations using 23-micron aluminum oxide combined with distilled water (AquaCare) and then moved forward with selecting the ideal matrix system for this case. Garrsion’s Quad matrix system has quickly become my preferred due to its “split” wedge systems that helps with “pushing” the band mesial, distal or both (in back-to-back cases) (Figure 3).
|
|
| Figure 2 | Figure 3 |
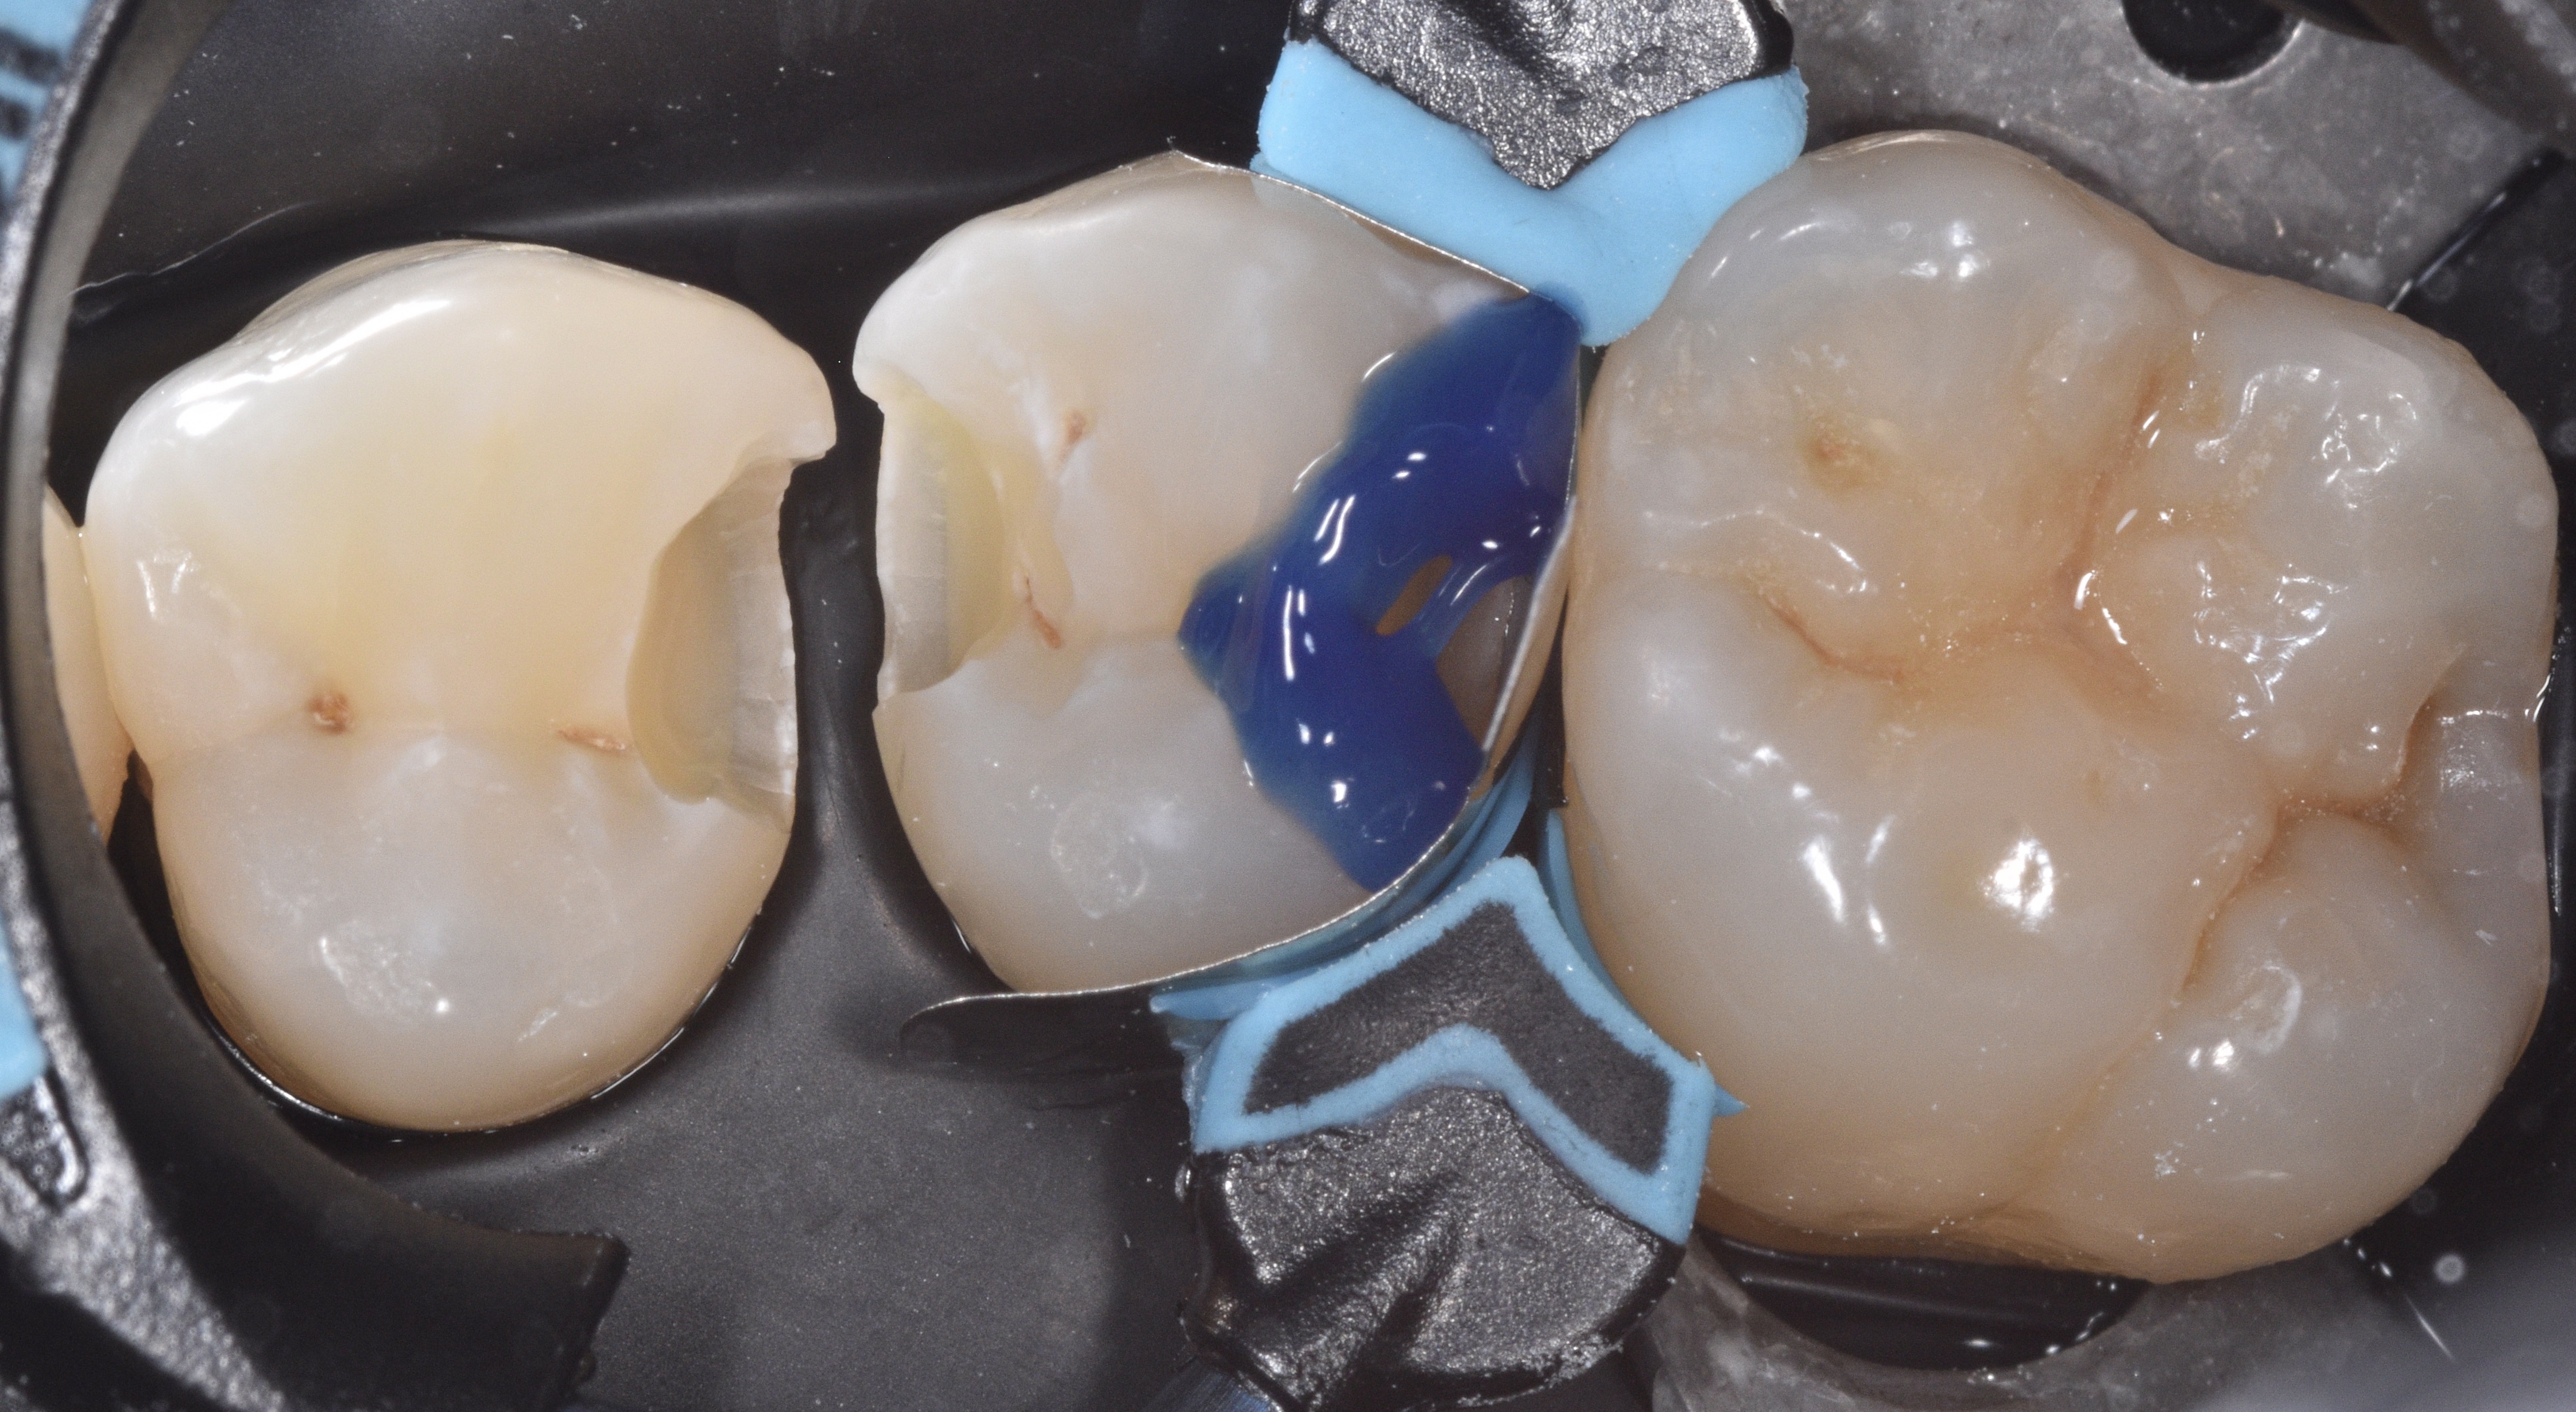
The Restorative procedure was initiated with #13 DO. After placing the matrix system, selective enamel etching for 15 seconds was completed, rinsed and dried (Figure 4).
|
| Figure 4 |
A two-step SE adhesive system was applied (OptiBond Extra Universal- Kerr) and light cured. We then restore the proximal wall using Brilliant EverGlow A2 dentin shade (Coltene) (Figure 5) and continued with a single horizontal layer (2mm) to replace the dentin, followed by two oblique layers (buccal and lingual) to replace the enamel layer (Figure 6). Each of these increments were cured individually.
|
|
| Figure 5 | Figure 6 |
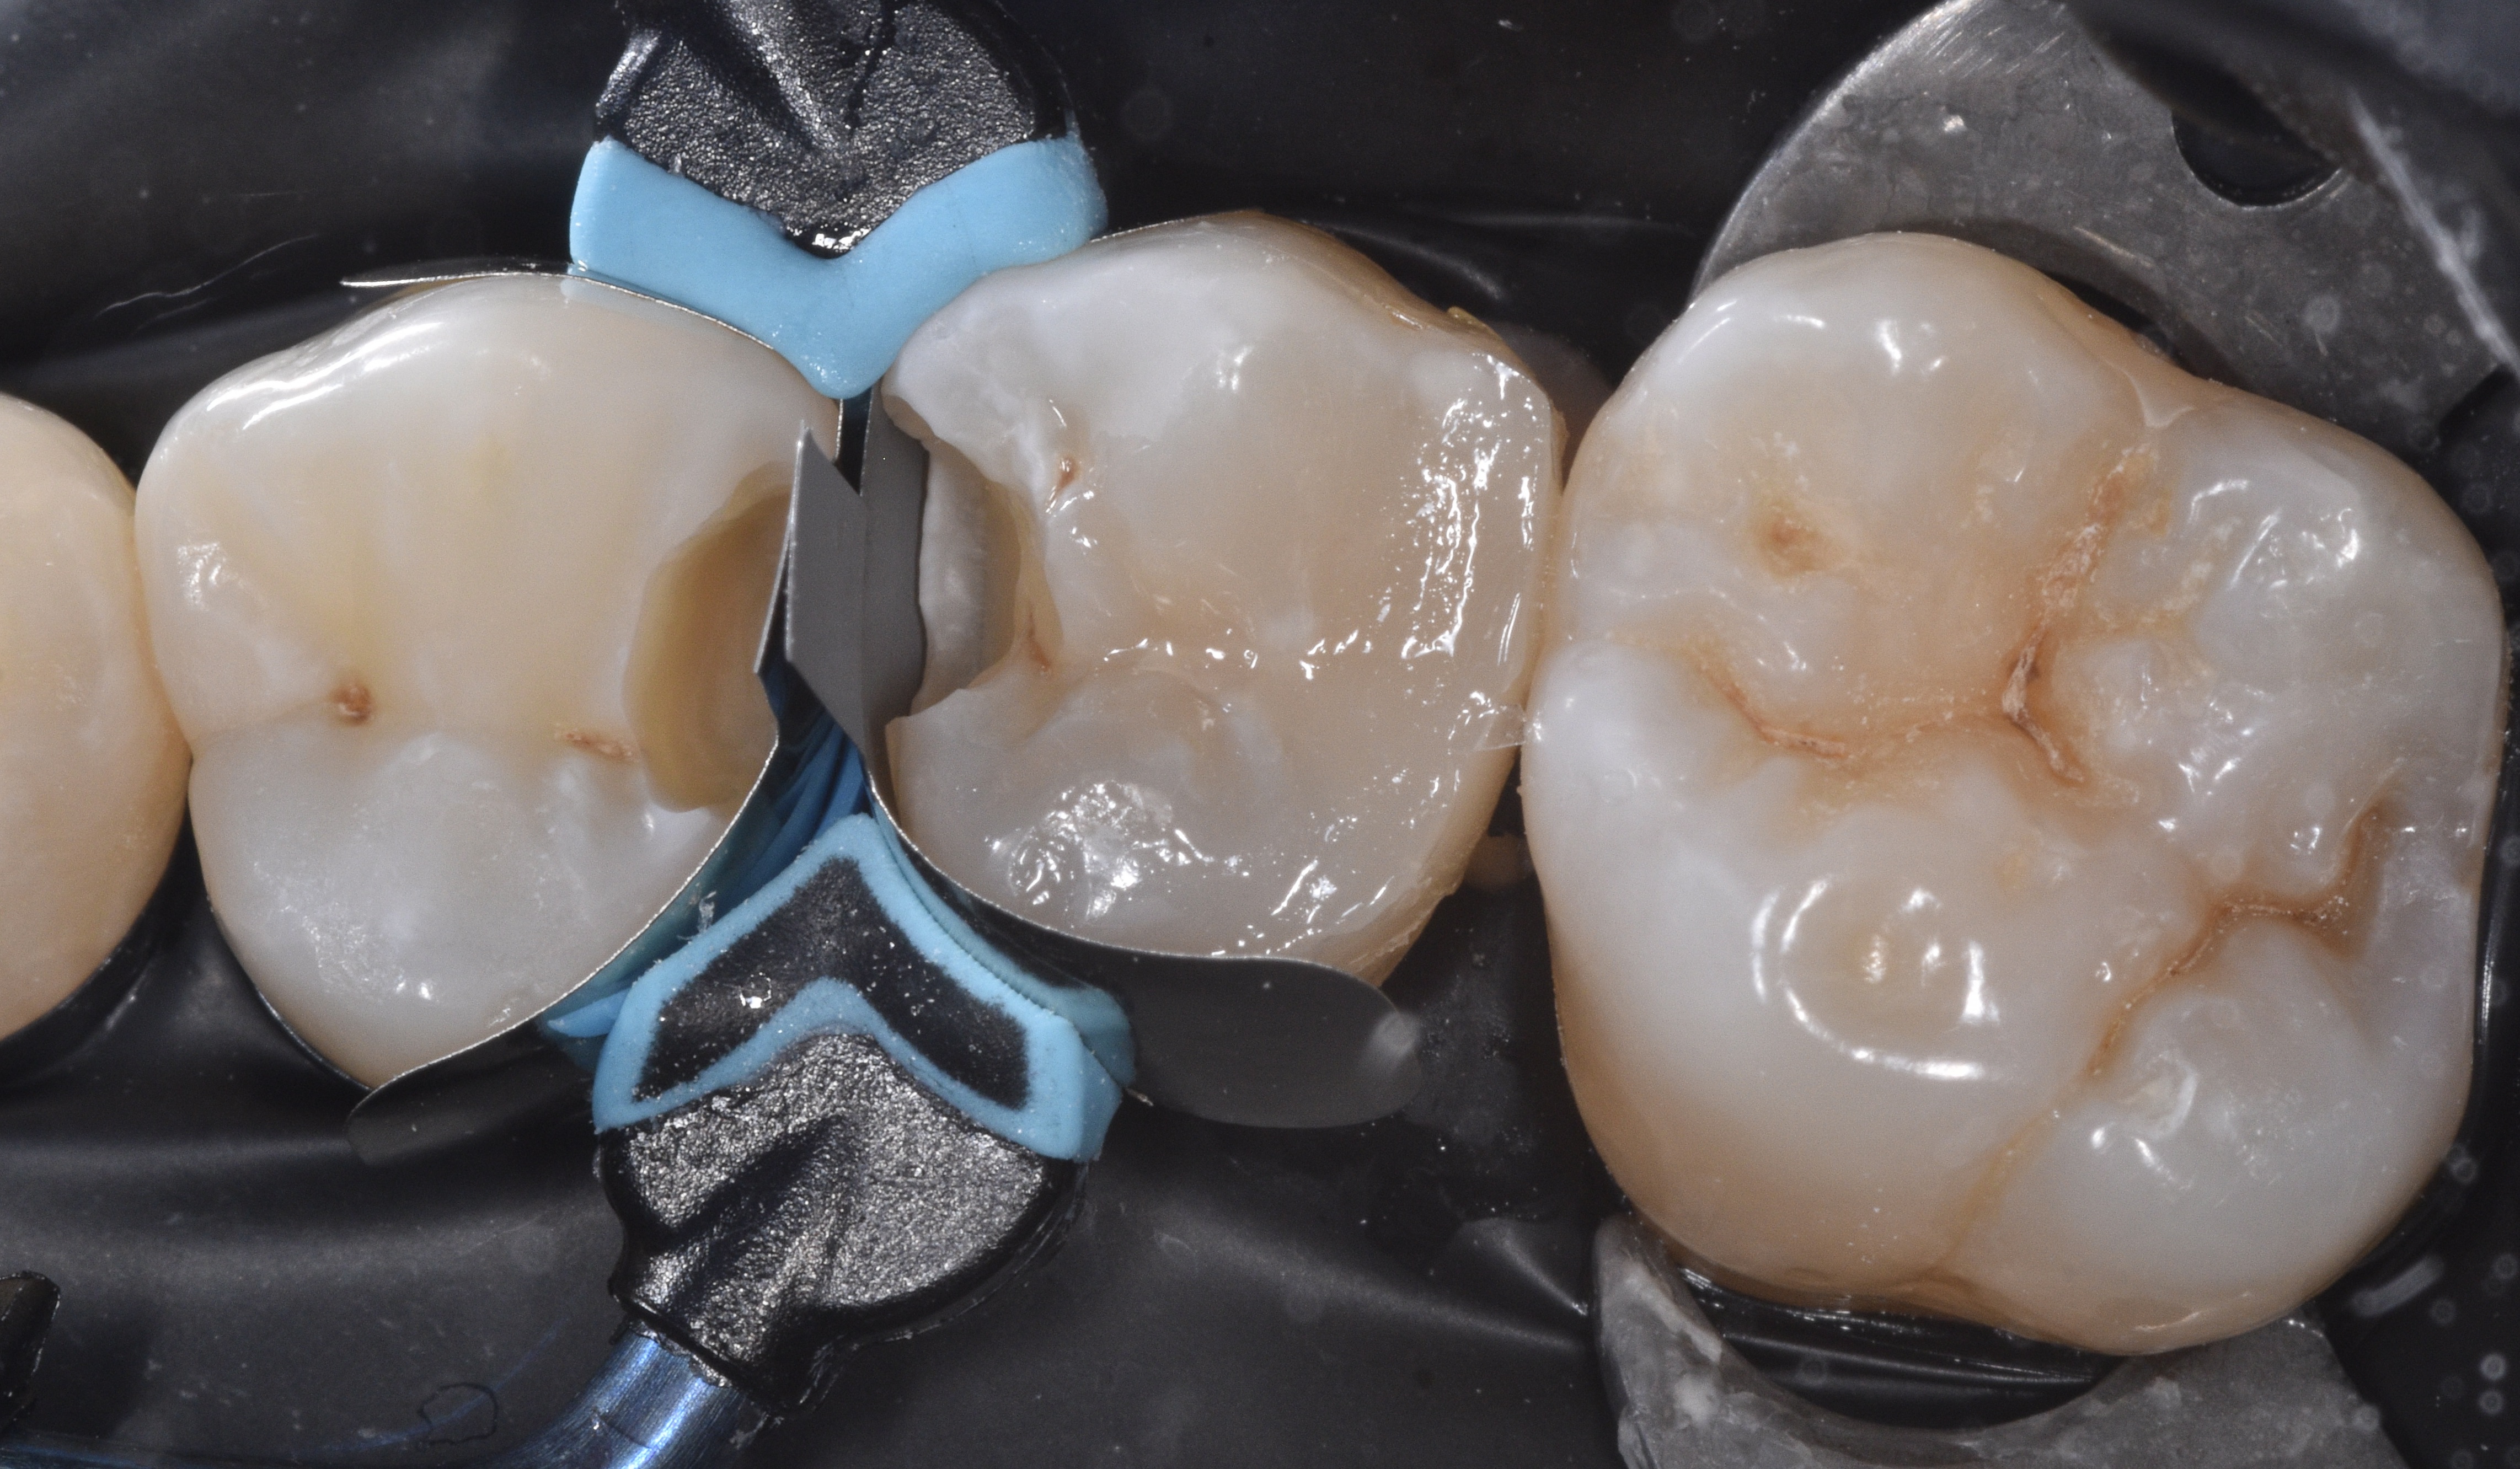
We remove the sectional matrix system and place it in between teeth #12-13 to restore both preparations simultaneously (Figure 7). See how the Quad wedge split tip contours the bands even prior to placing the ring.

|
| Figure 7 |
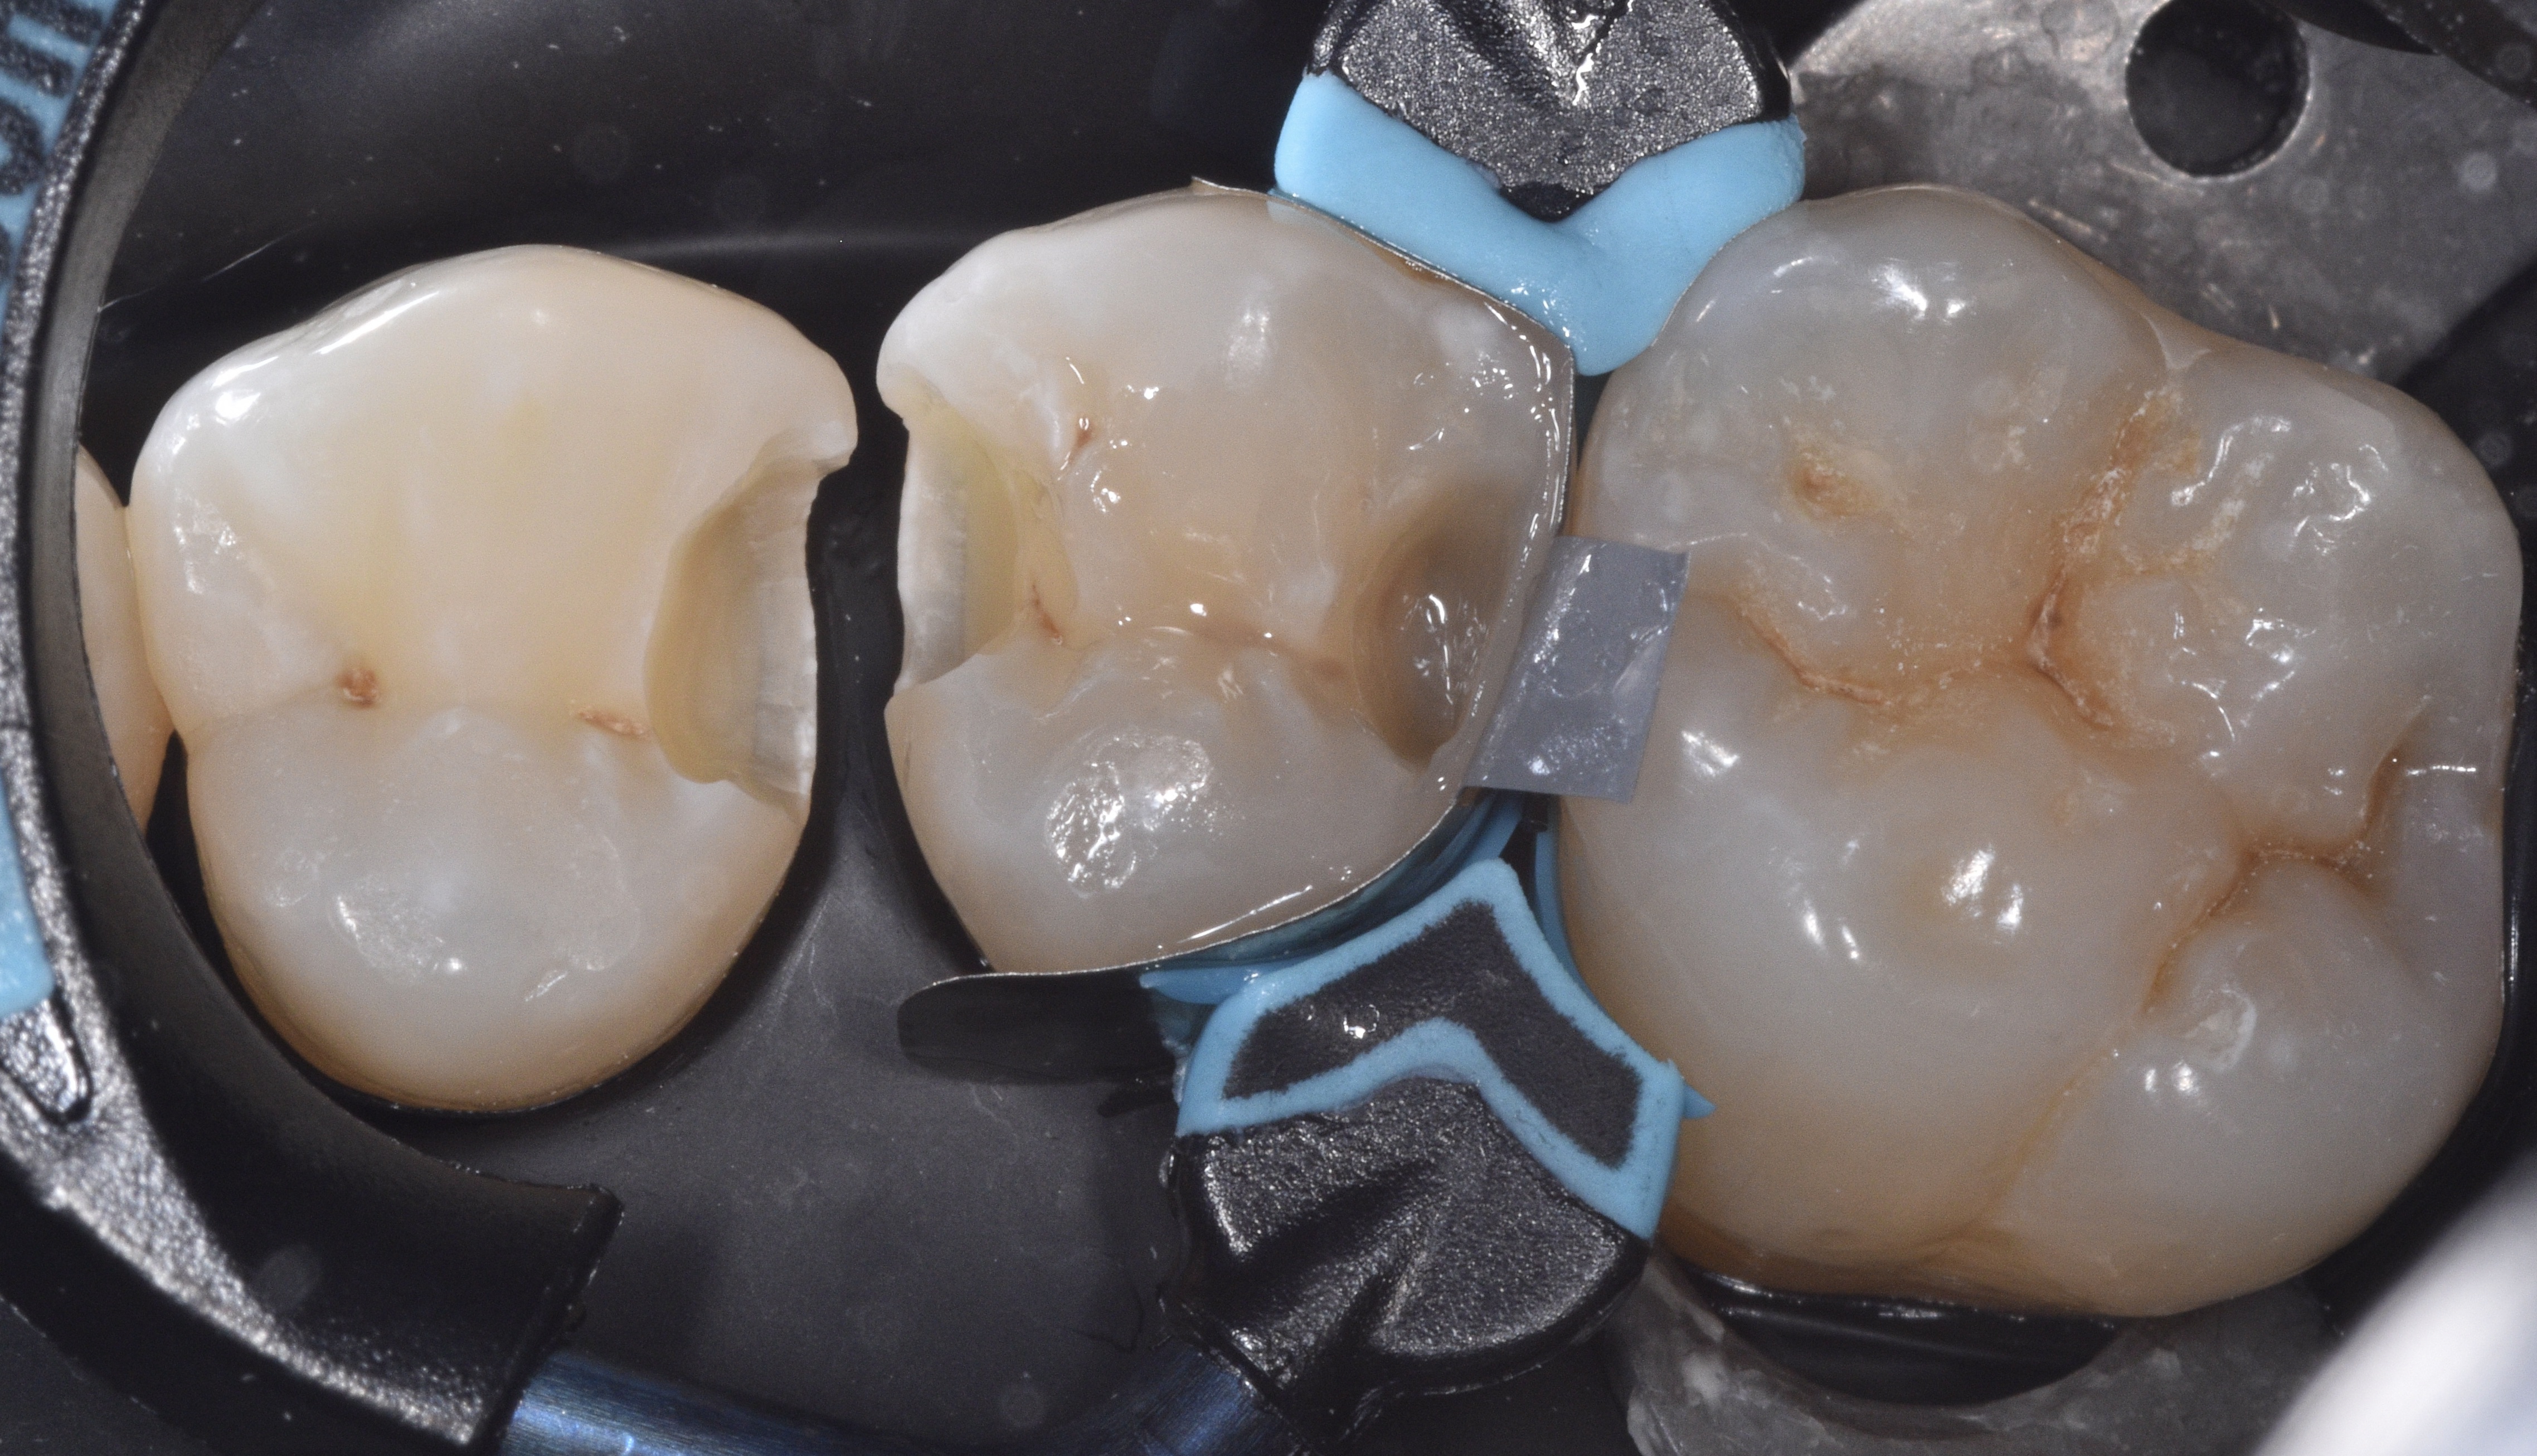
Make sure that the black arrow is always placed towards the lingual and that it pushes each end of the split wedge towards the mesial and distal as seen on Figure 8.
|
| Figure 8 |
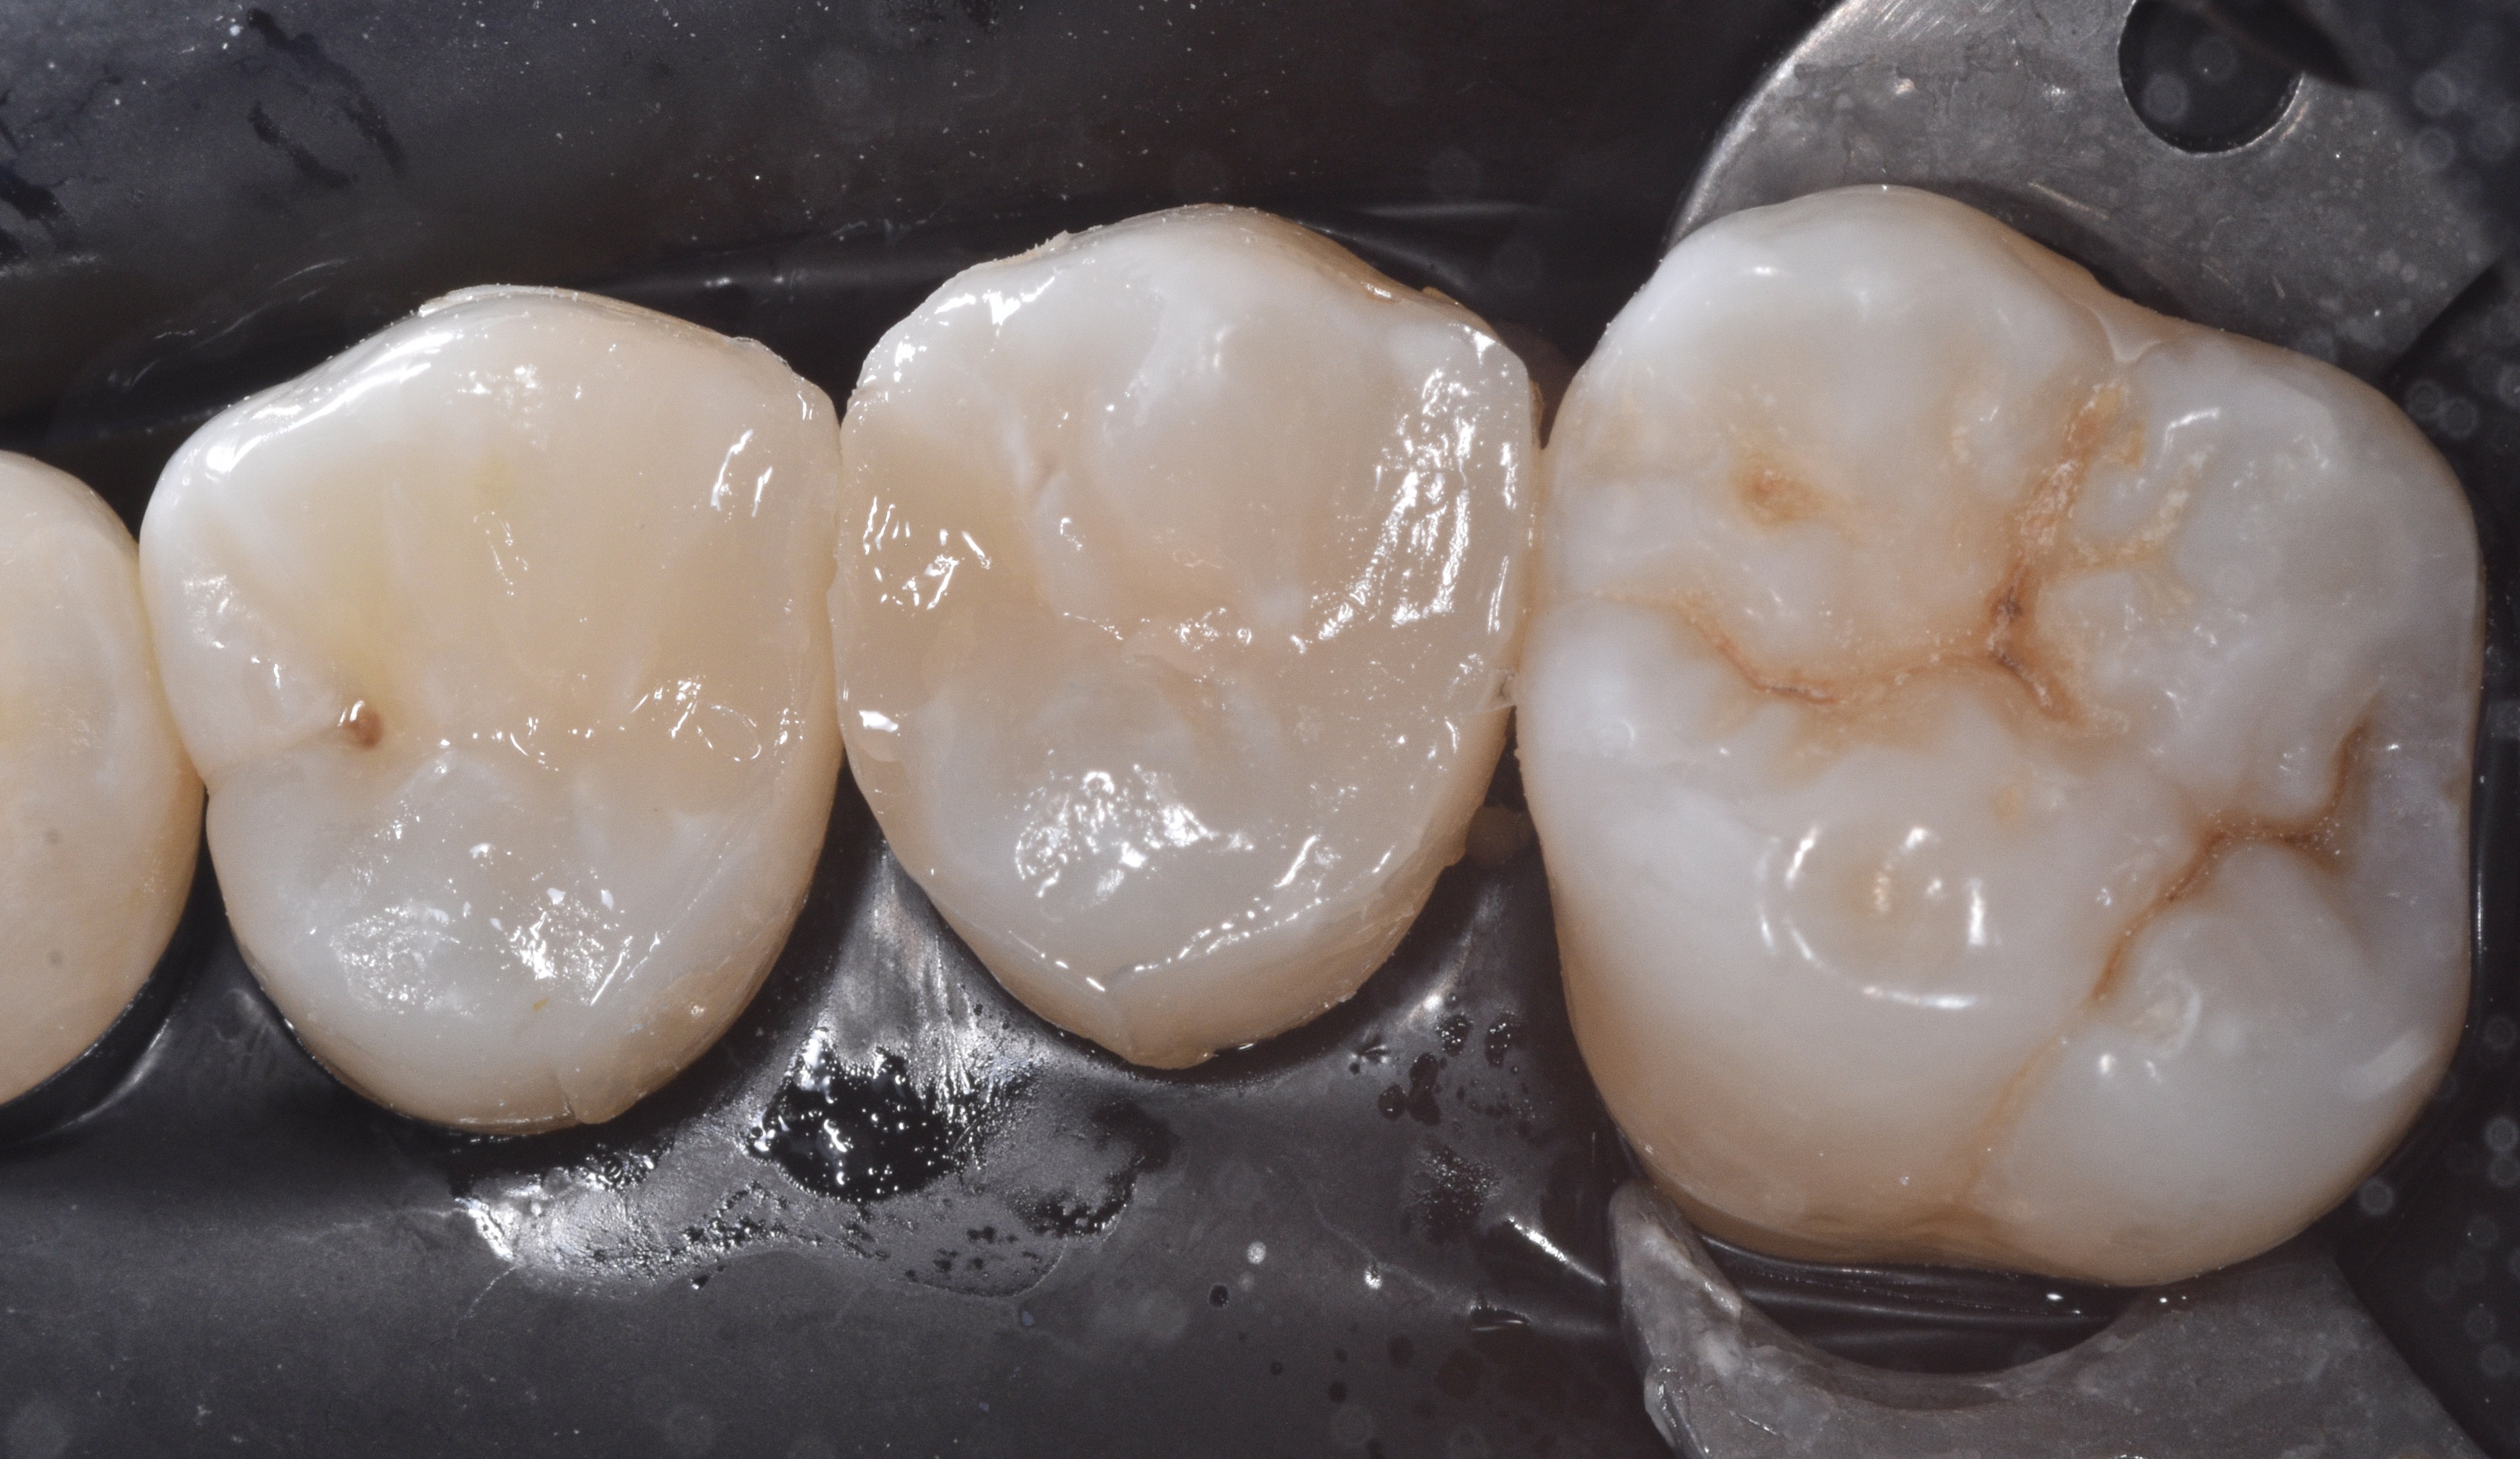
After completing the same adhesive steps as before we built both proximal walls between #12-13 (Figure 9) and continued to restore the occlusal surface (Figure 10).
|
|
| Figure 9 | Figure 10 |
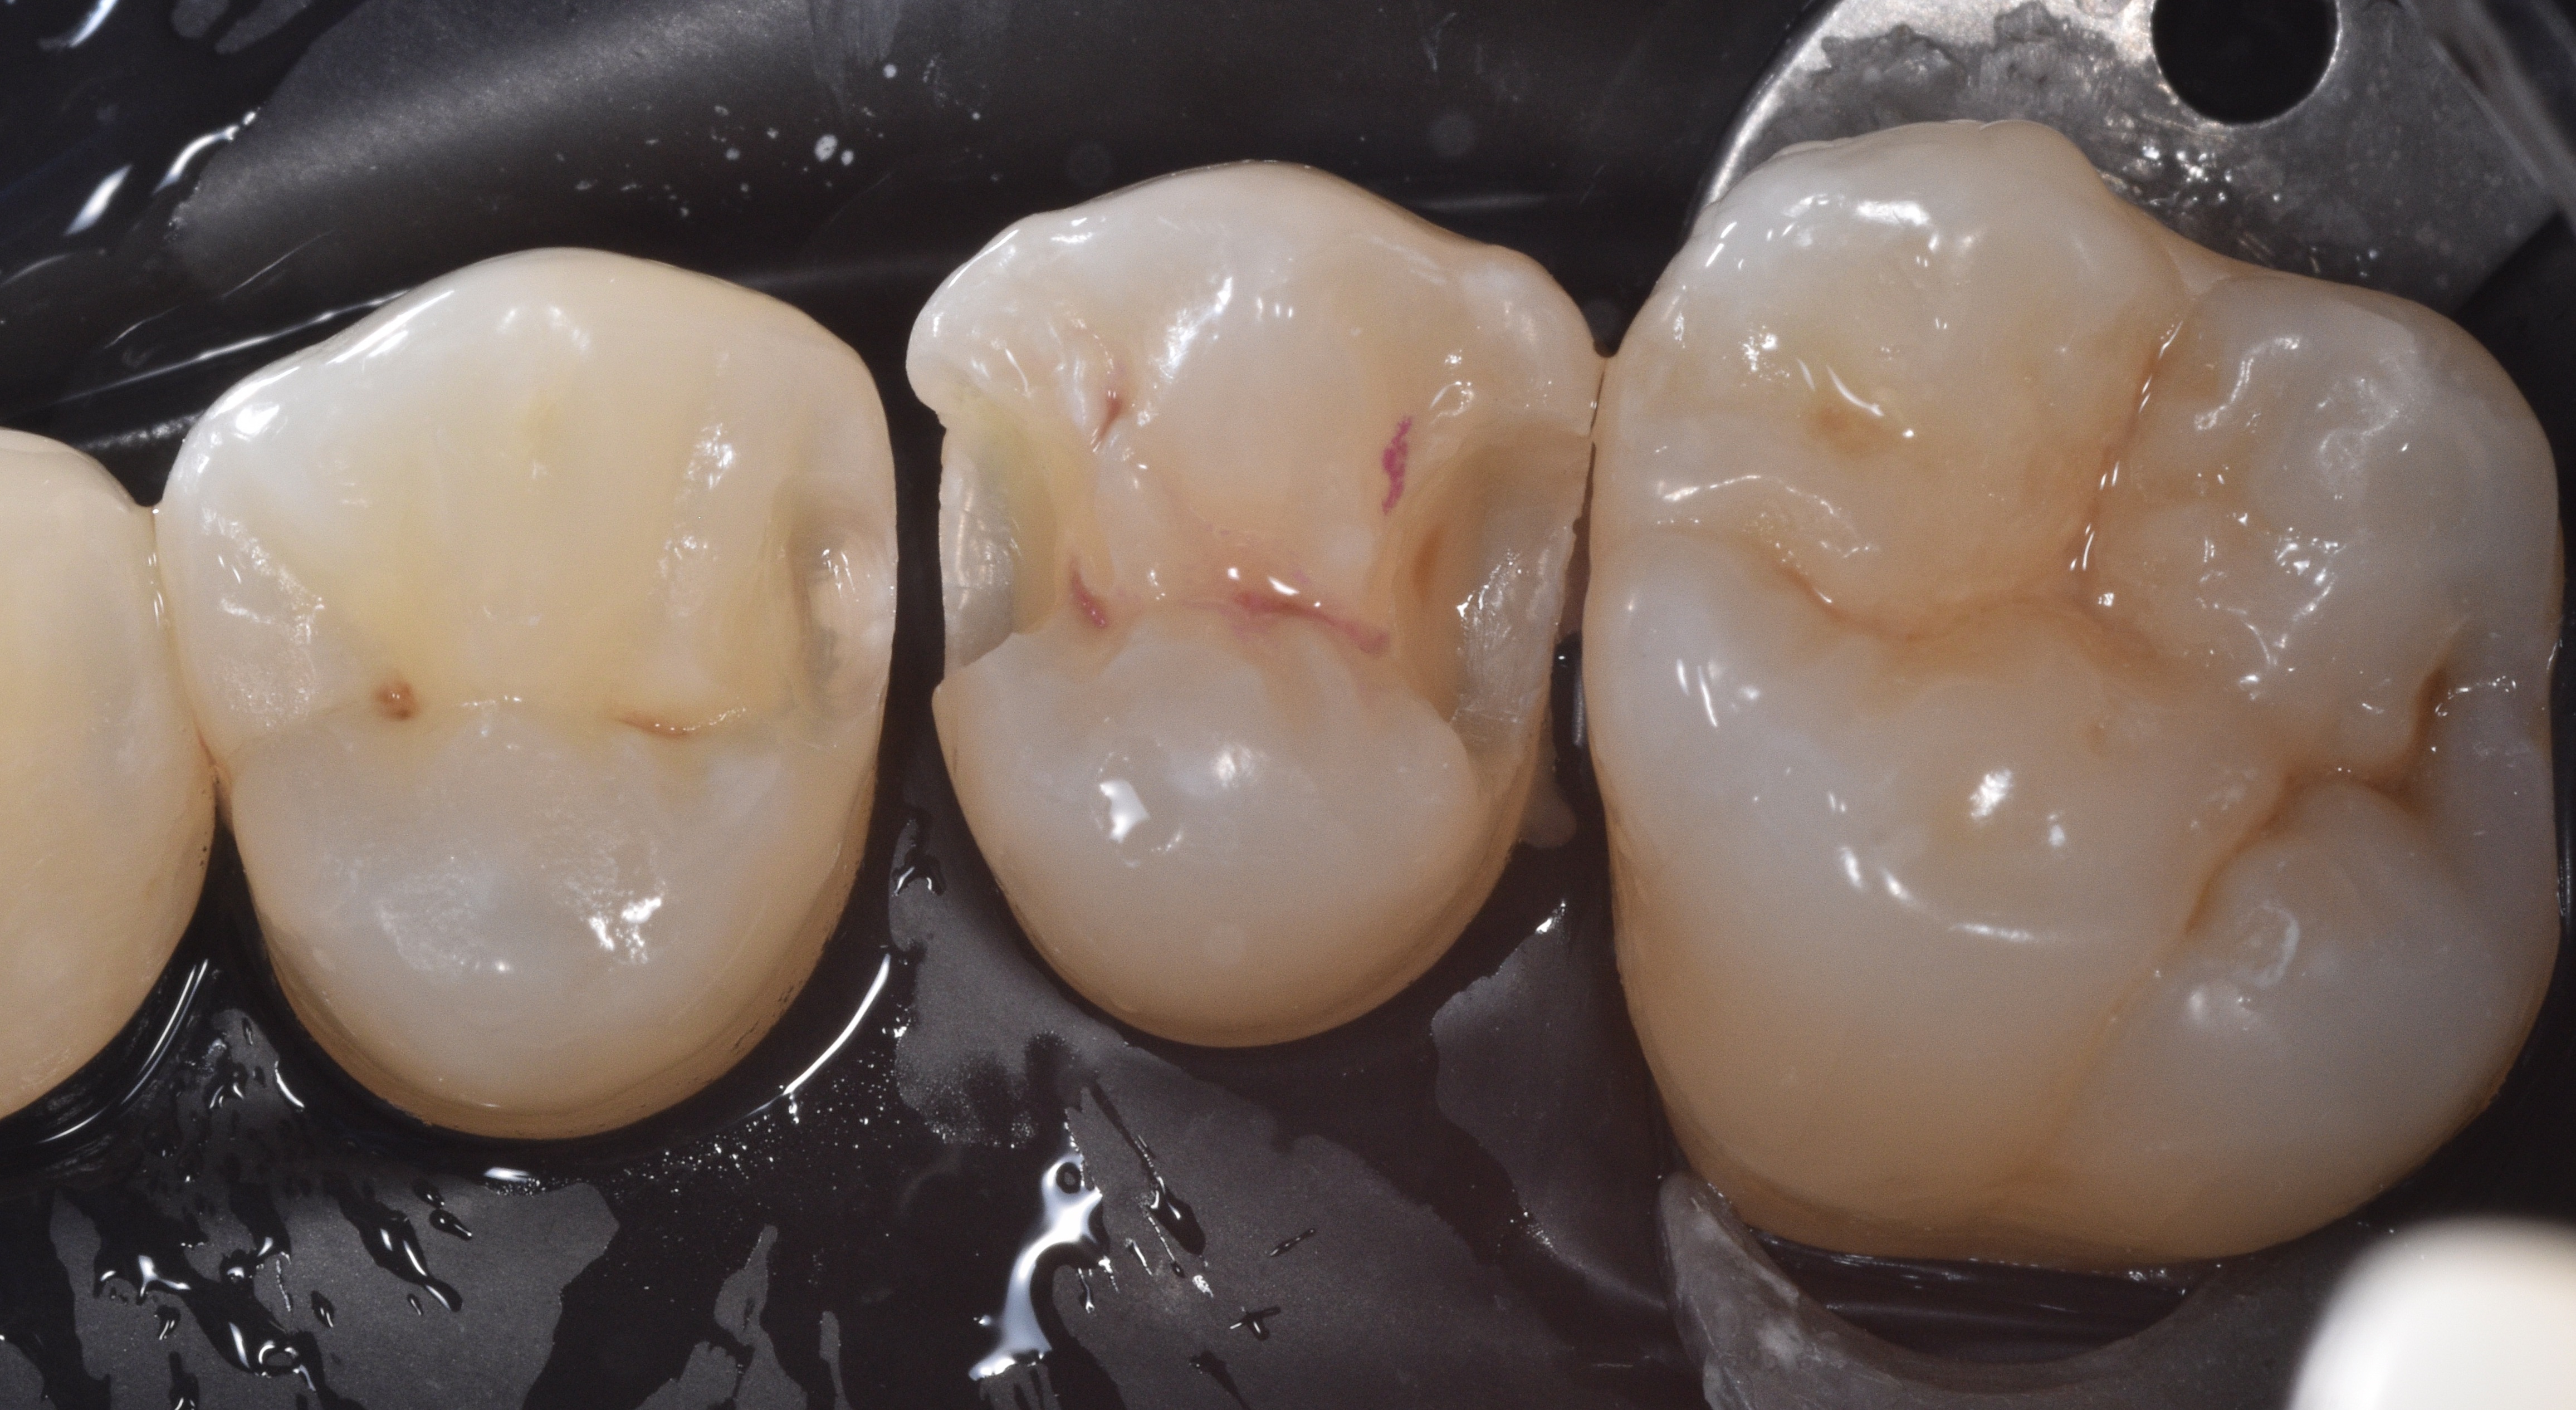
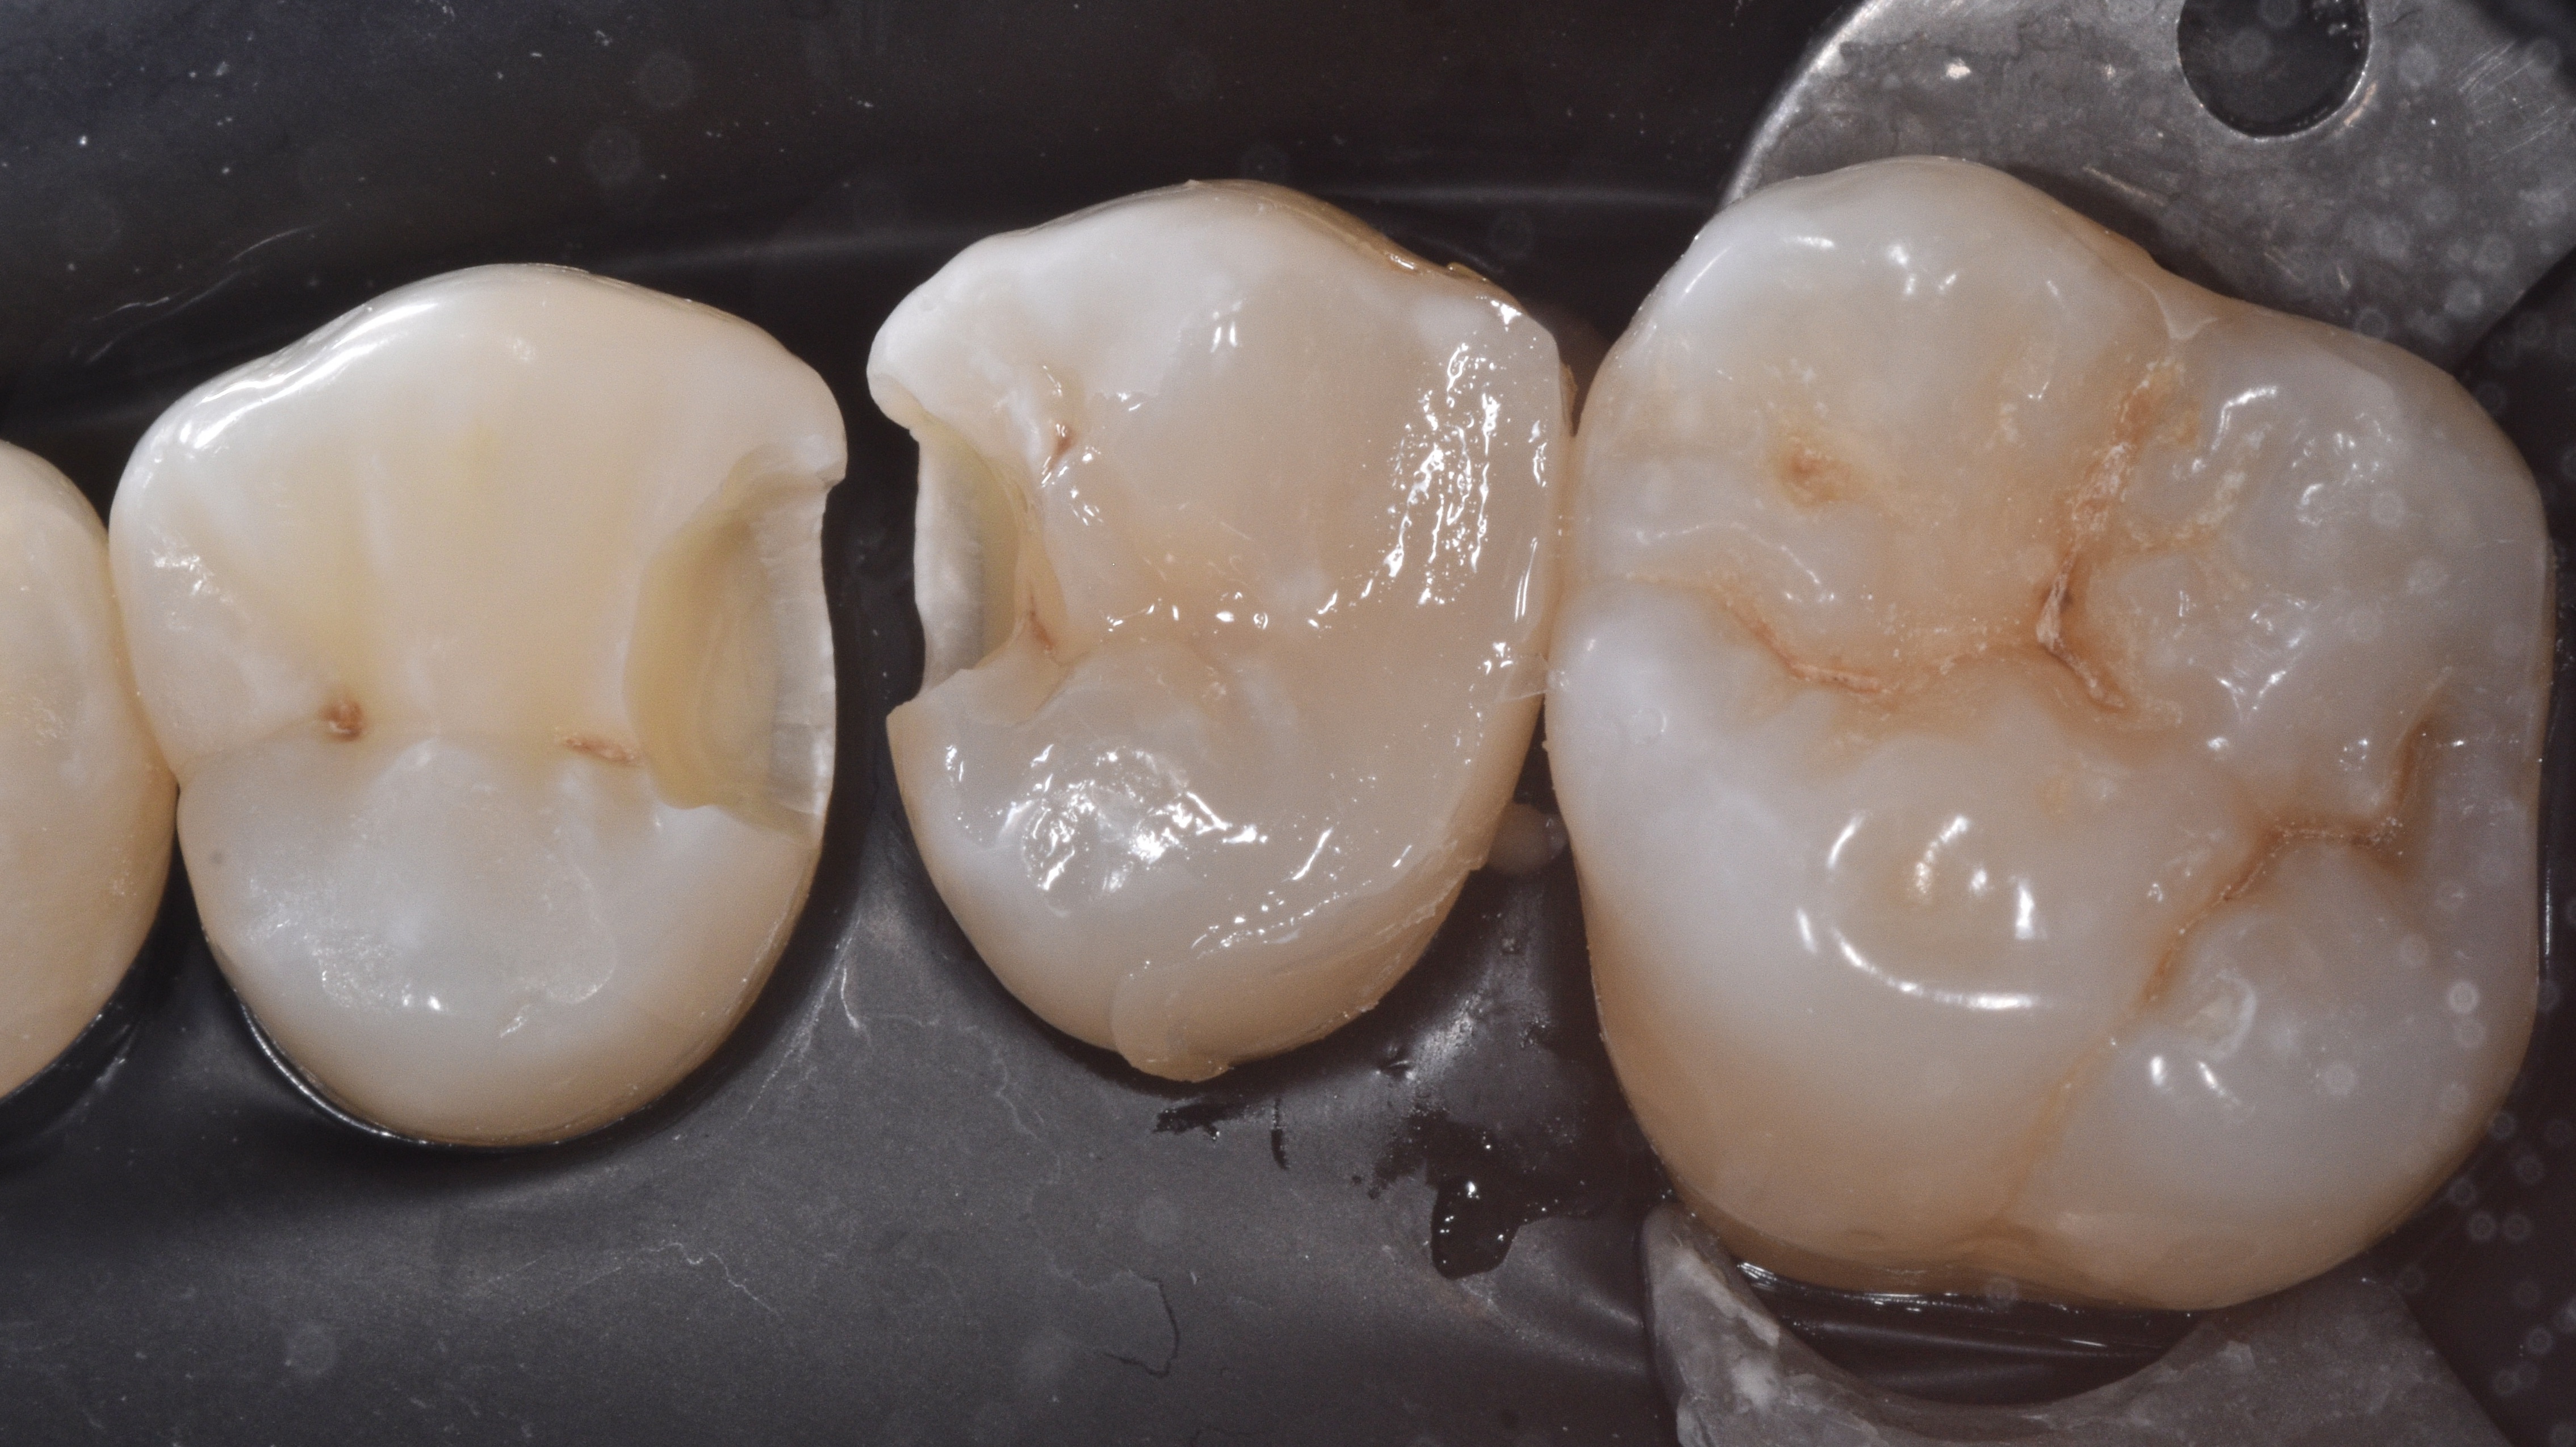
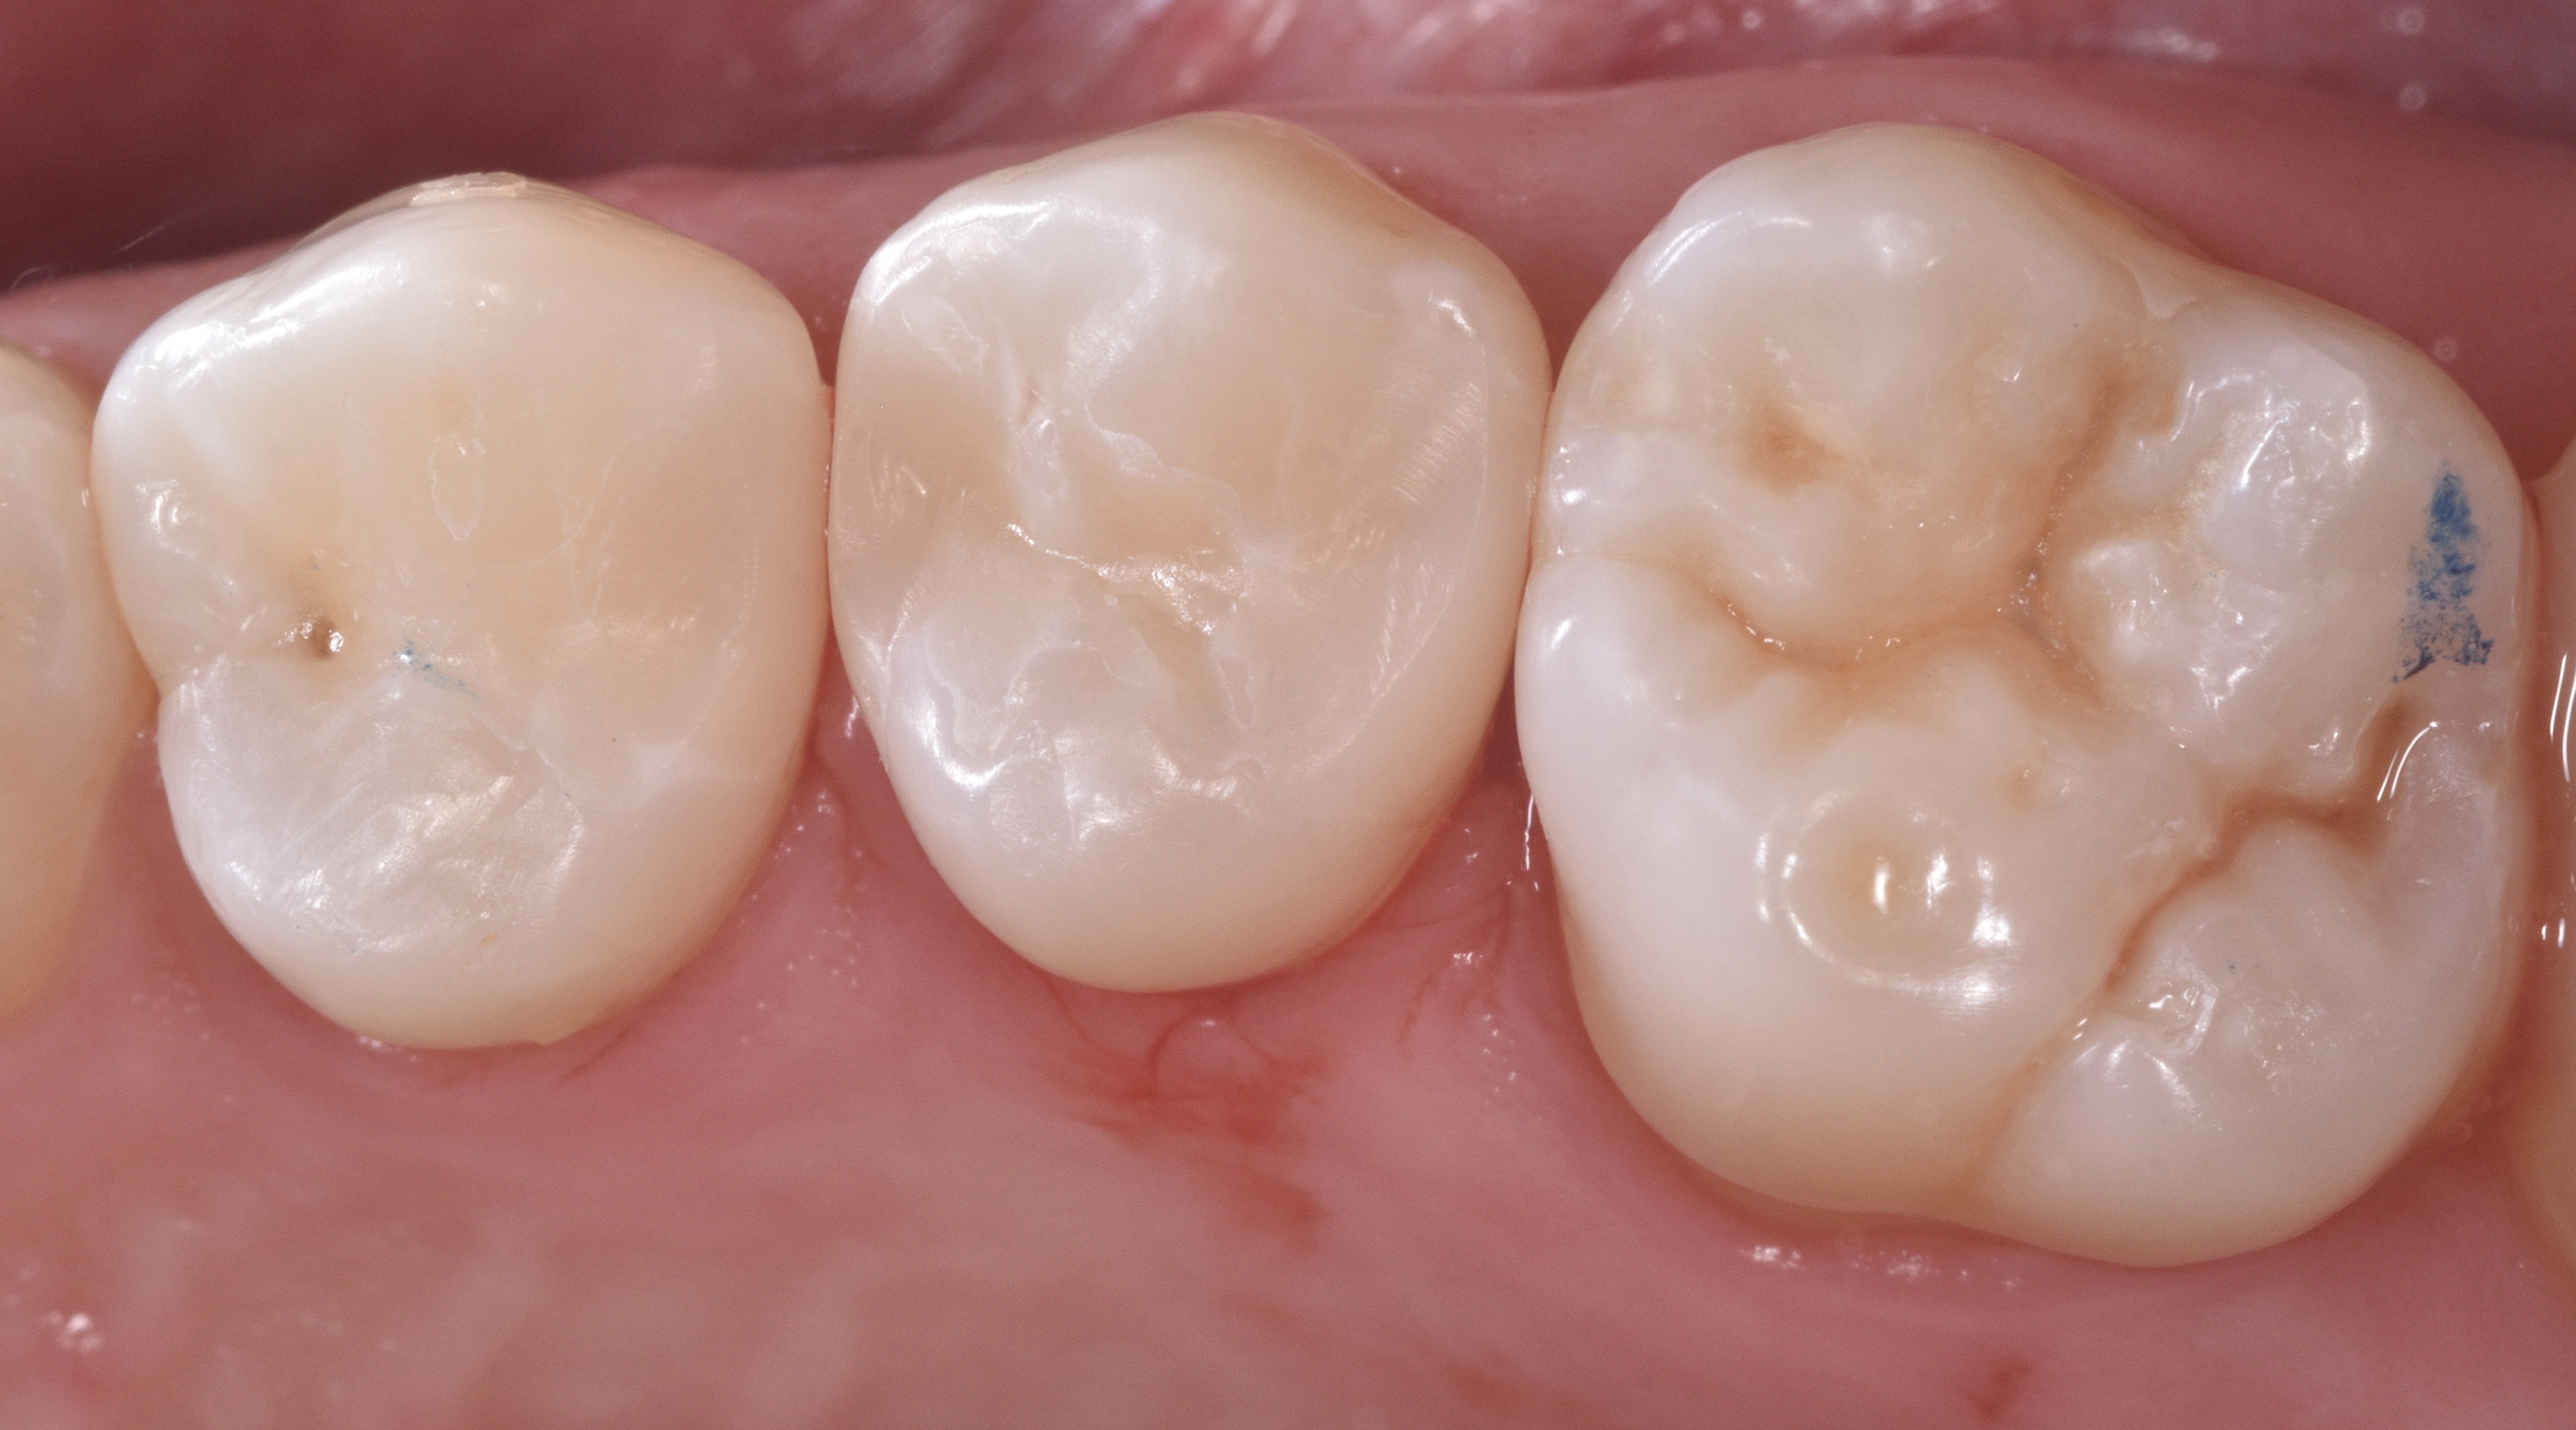
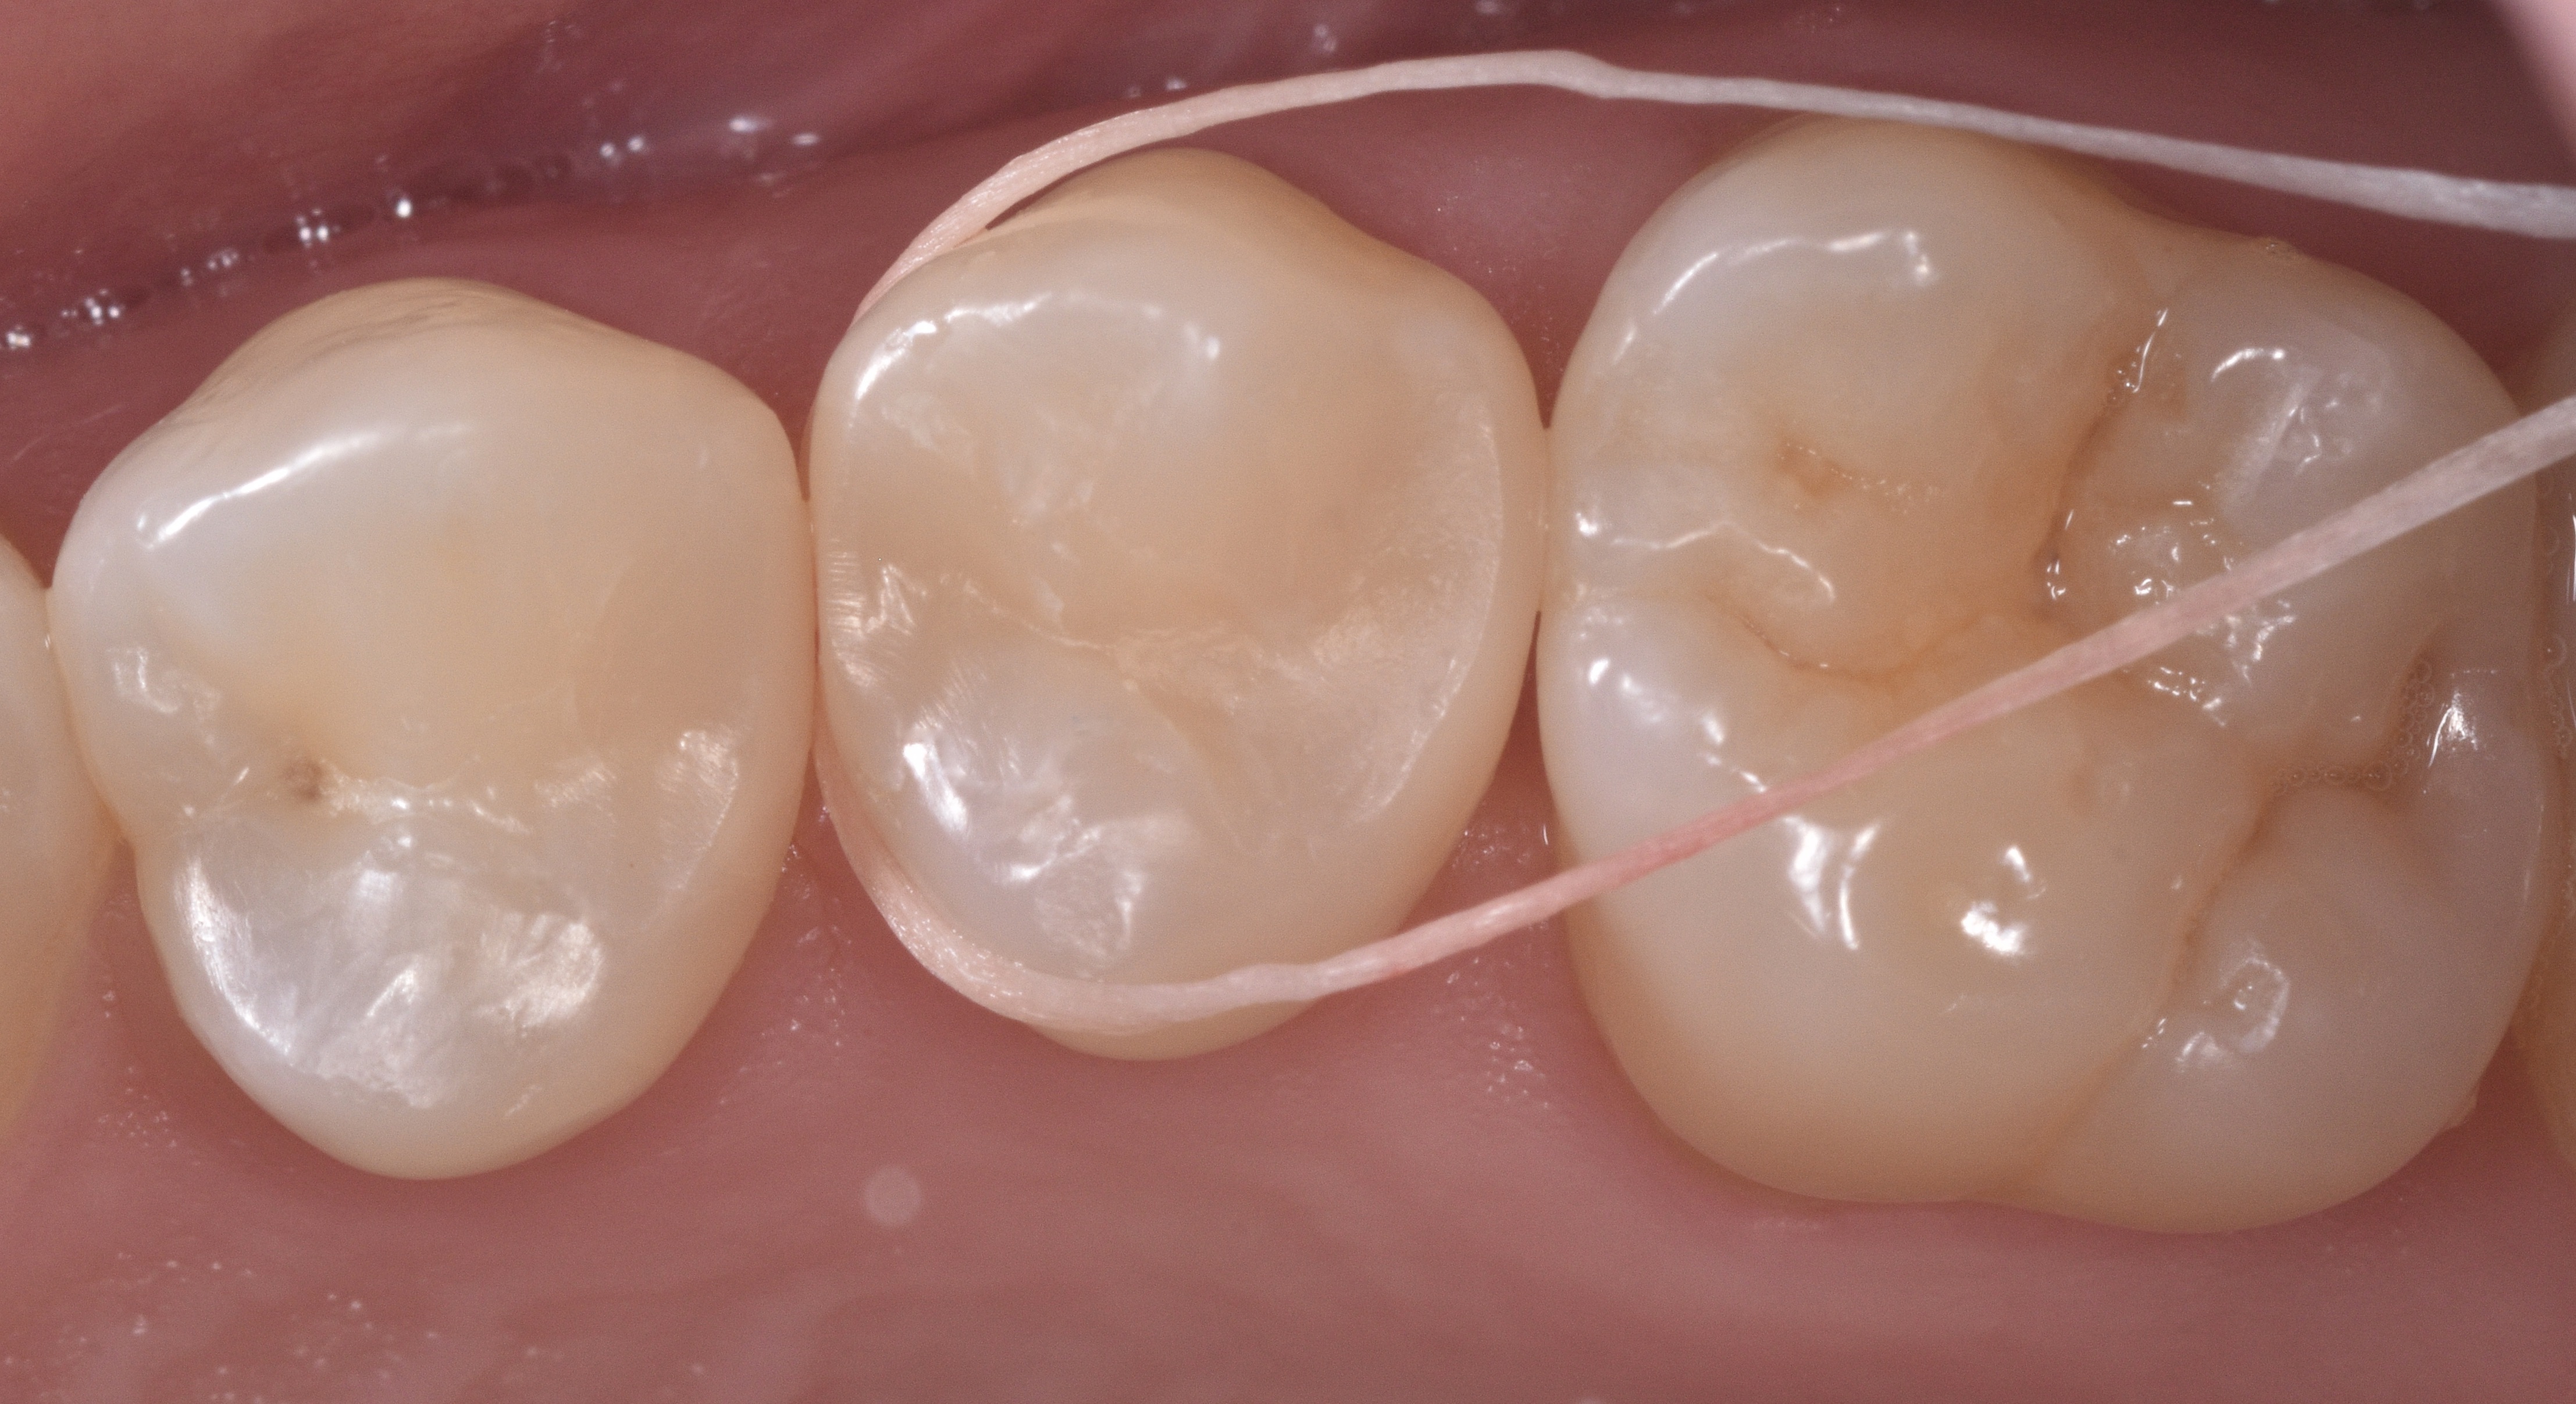
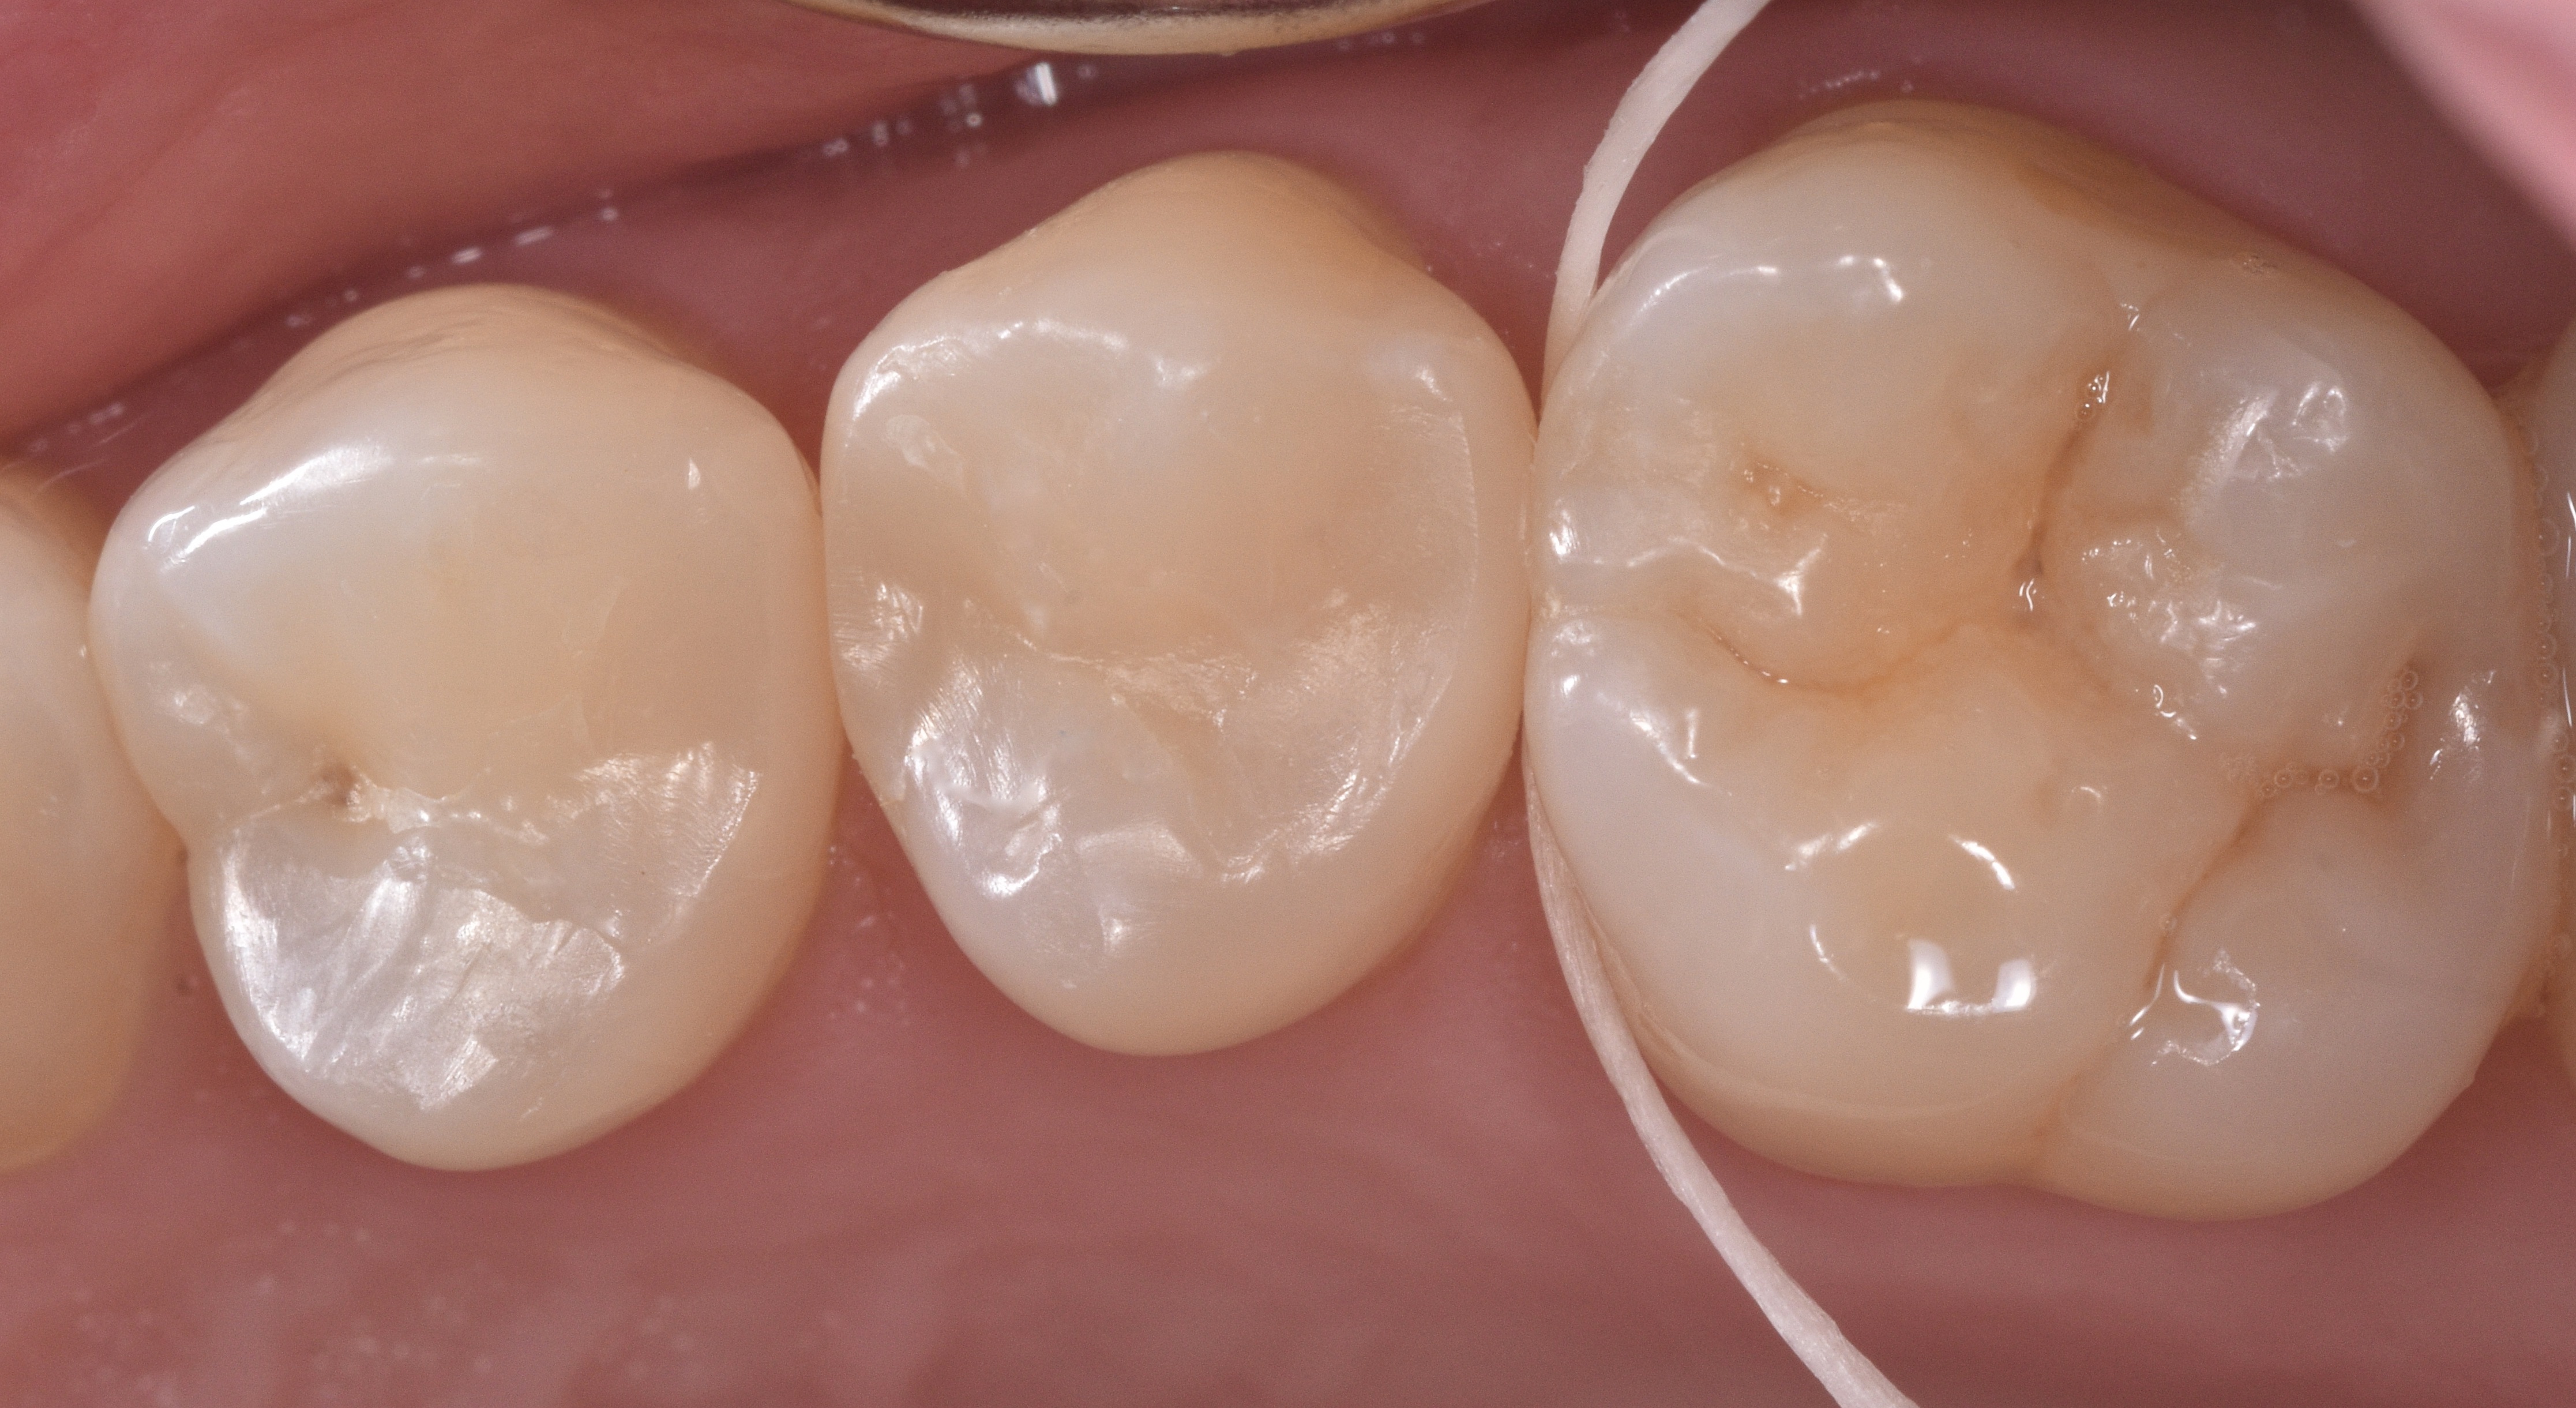
This is followed by removal of the rubber dam, adjusting occlusion, finishing and polishing using a combination of multifluted carbide burs, enhace points and soflex disc (Figure 11). Figures 12 and 13 show the fifteen days post-op follow up and the verification of ideal interproximal contact tightness.
|
|
|
| Figure 11 | Figures 12 & 13 | |
A common reason why Class II preparations fail is due to lack of ideal proximal contours and contact tightness. In this case report we have highlighted how the selection of an ideal matrix system can help avoid these issues and prolong the lifespan of our restorations.