FREE SHIPPING on orders over $475
FREE SHIPPING on orders over $475 | No Code Needed
Creating a correct contact area, both in terms of strength, extension, and location, is perhaps one of the fundamental needs, if not the most important one, in direct restorative dentistry. In 90% of cases, this area is created through the use of matrices that act as a “shell” to shape the form of the interproximal walls. This is essential to ensure proper function and long-term prognosis, avoiding issues such as early secondary caries, marginal leakage, and periodontal tissue inflammation (food impaction)..
We should remember that the fundamental requirements for achieving an optimal contact point are related to:
1. Perfect cervical seal
2. Correct emergence profile (divergent); Strong contact area in the correct position (to avoid black triangles)
3. Linear wall profile without deformation
These aspects can certainly be clinically evaluated at the time of wedge, matrix, and ring selection, but they are definitively confirmed by a well-centered bitewing radiograph taken at the final check.
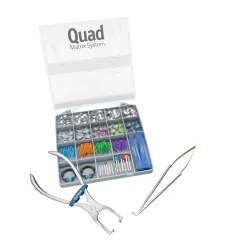
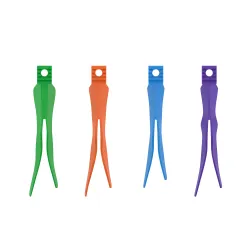
To address these challenges in Class II direct restorations, Garrison® Dental Solutions introduced the Quad Matrix System™, an innovative solution designed to guarantee the above-mentioned characteristics while also saving clinical time. The real innovation lies not so much in the matrices, which can be selected from various categories within the brand based on their height and curvature radius, but rather in the wedge and, consequently, the ring. The wedge is bifurcated, snaketongue–shaped, slim yet robust, ensuring effective separation force. This design makes it ideal for all types of cavities. The advantages observed include:
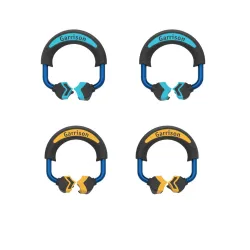
Once the wedge is placed (either buccally or palatally/lingually depending on clinical needs), it must be calculated to ensure a proper cervical seal, avoid matrix deformation, and allow the “bifurcation” of the wedge to emerge on the opposite side of insertion. At this point, the procedure is completed with the new asymmetric ring, which on one side features the classic wedge space, and on the other side a piston-like element capable of splitting the wedge, displacing the papilla, and ensuring an excellent cervical seal.
This clinical case illustrates the fundamental steps and the functional and esthetic rehabilitation achieved using this instrumentation: a mesial cavity on a maxillary second molar (an area where the bulk of the rubber dam clamp often prevents the use of other rings)
A 40-year-old female patient presented to my practice with pain in the second quadrant, non-spontaneous and triggered only by thermal or mechanical stimuli. Clinical and radiographic examinations identified tooth #2.7 as the responsible element. In addition to caries, the tooth also showed plaque accumulation due to inadequate hygiene in that area, causing pain and gingival inflammation related to food impaction.
The decision was made to preserve pulp vitality and, considering the strong walls supported by dentin and free of cracks, to proceed with a direct restoration
|
| Figure 1. Initial situation under rubber dam, showing the presence of a small carious lesion in the mesial structure of tooth 2.7. |
|
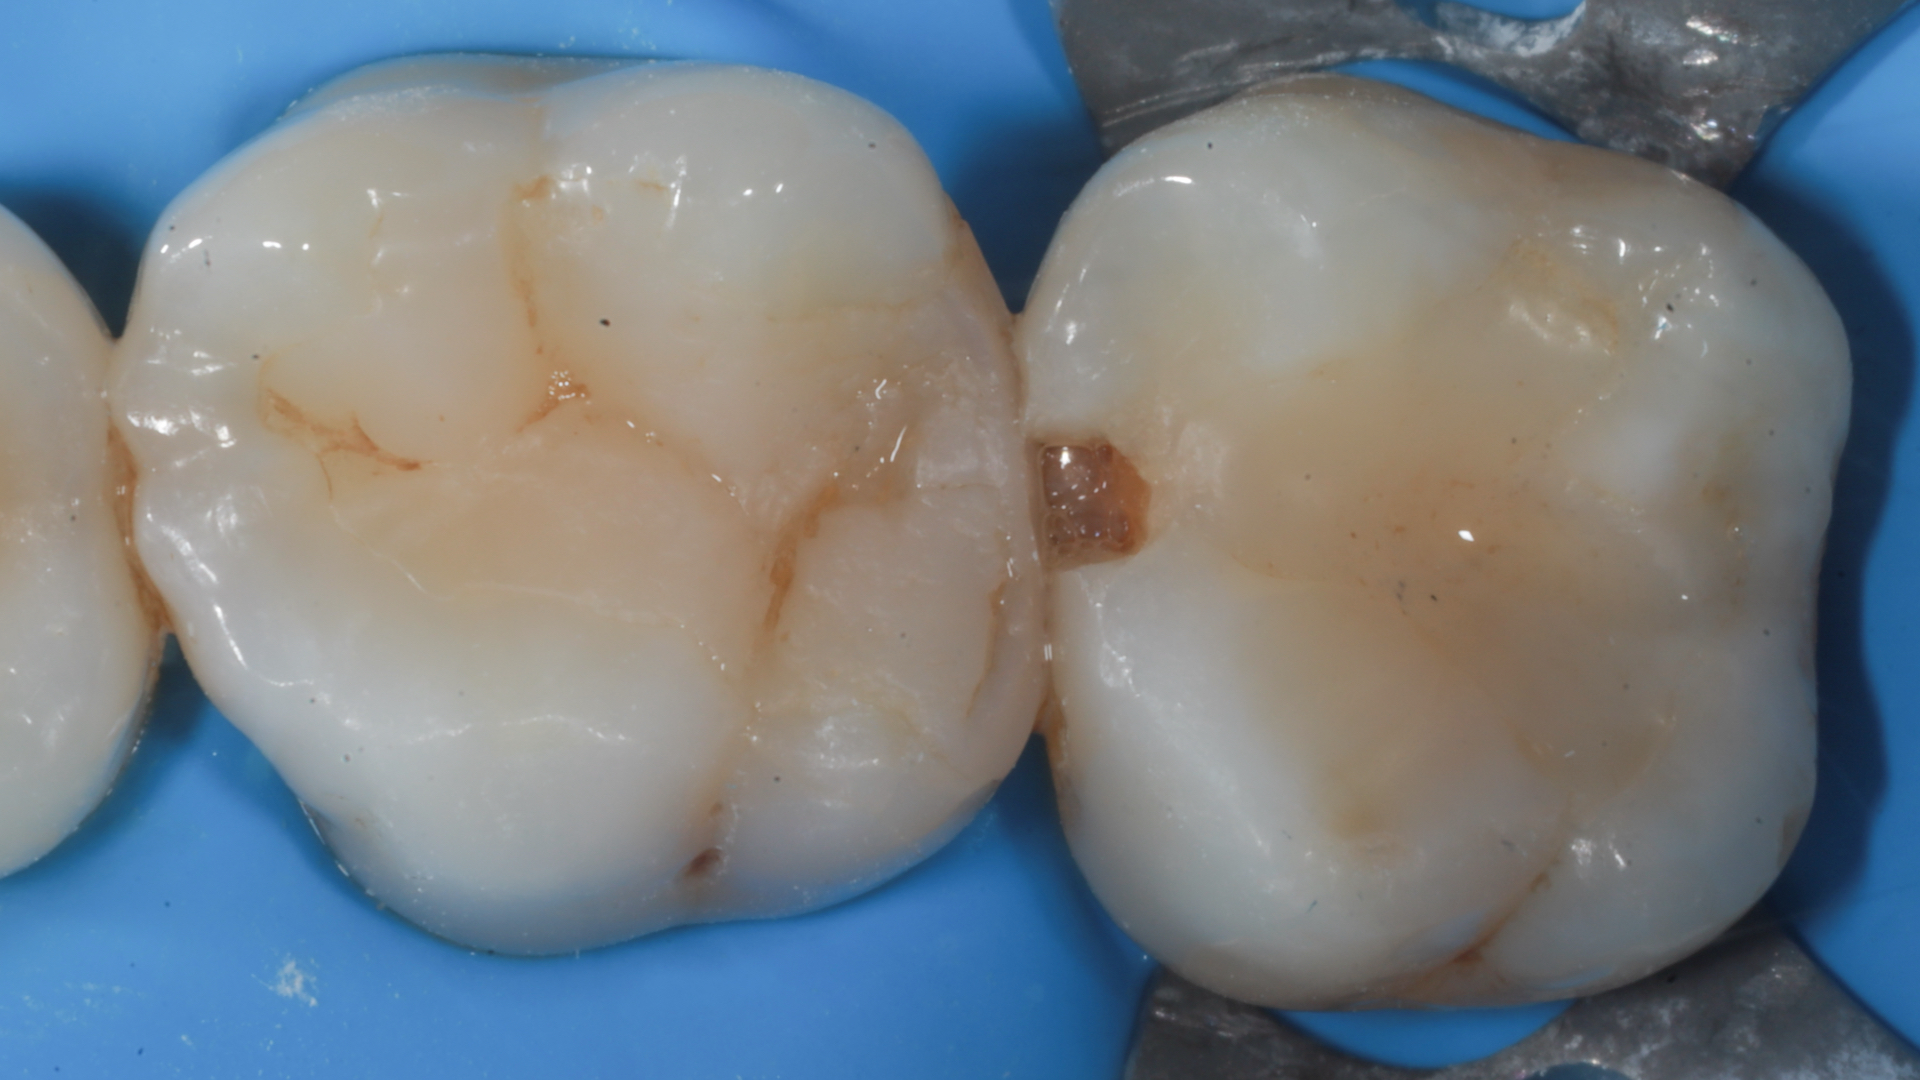
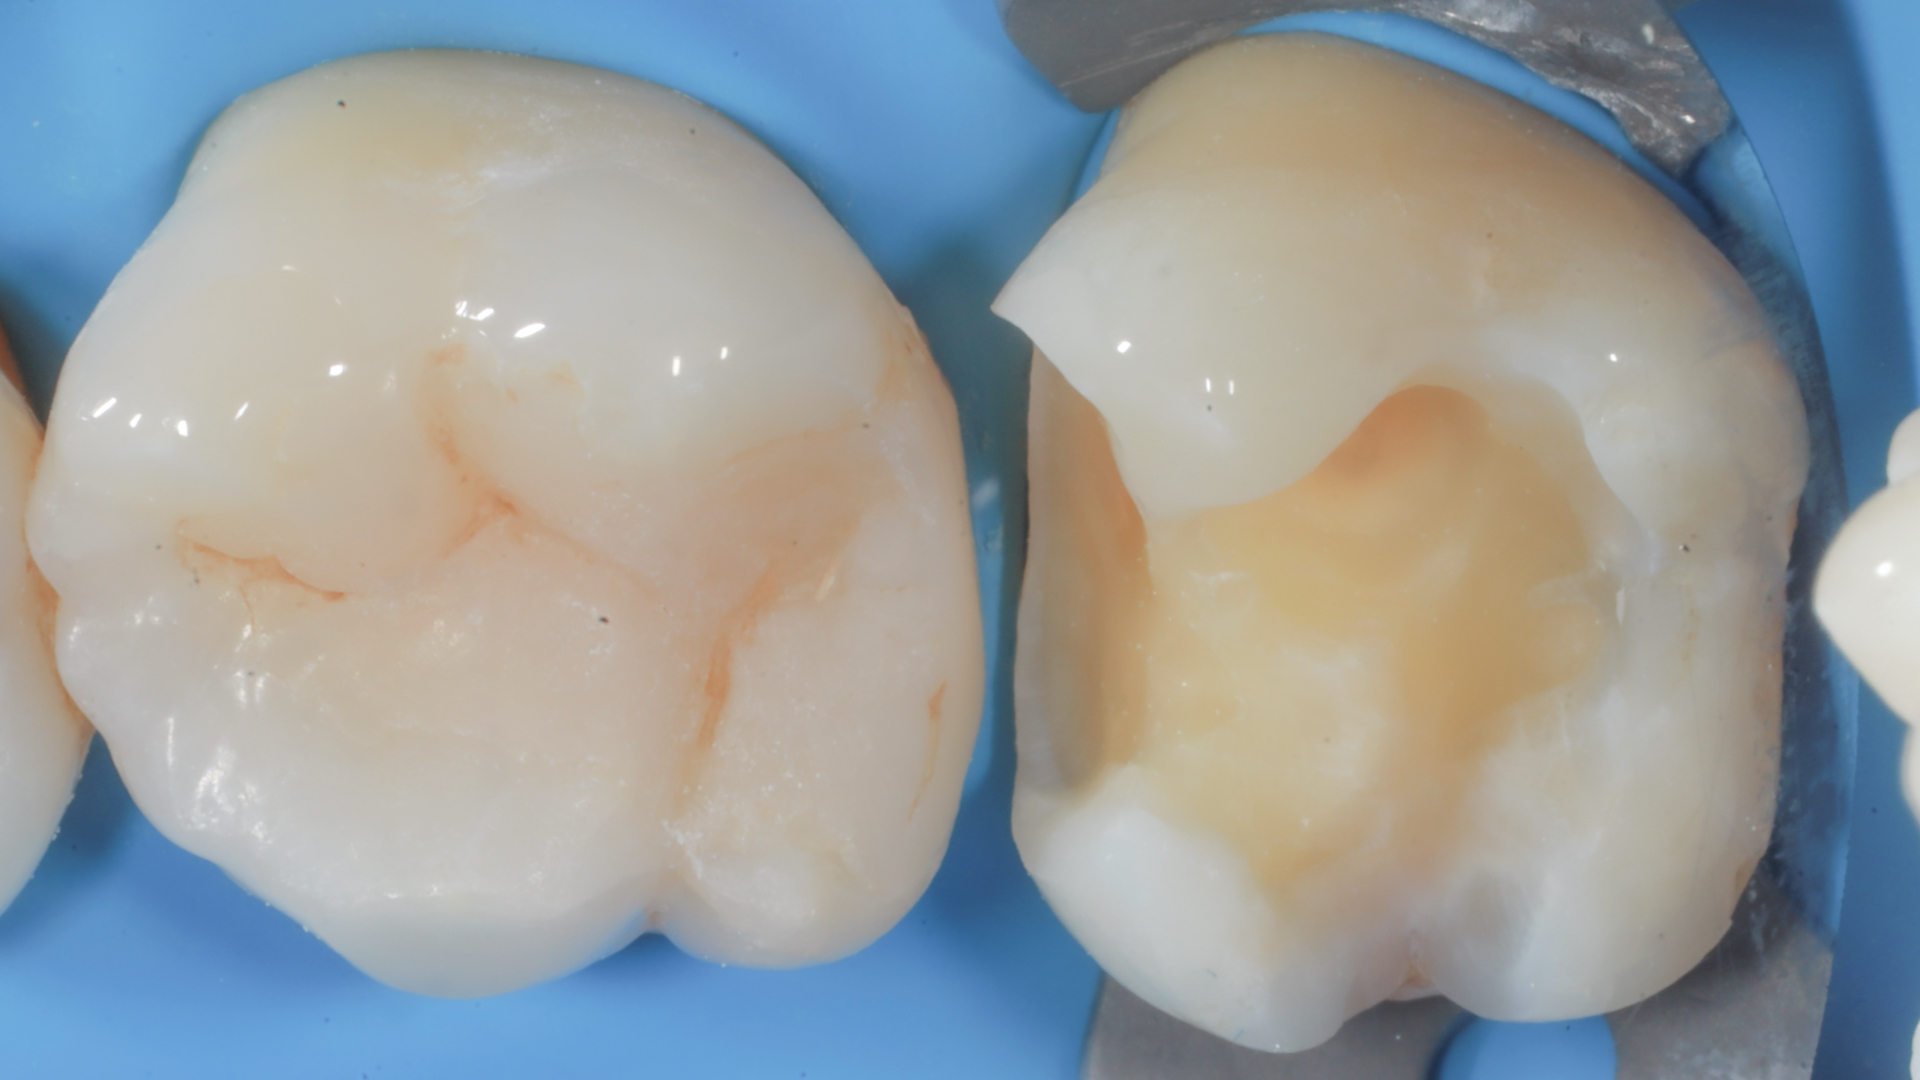
| Figure 2. Creation and finishing of the cavity. This is a fundamental requirement to accommodate the matrix. The cavity must be completely open in its interproximal component to provide a light point (the blue of the rubber dam should be visible) in all three dimensions (at the cervical step and along the axial walls).The cervical step must be perfectly finished at 90°, and the axial walls must provide strong, well-defined internal angles, both toward the tooth and toward the future restoration. The cavity is finalized using glycine powder. |
|
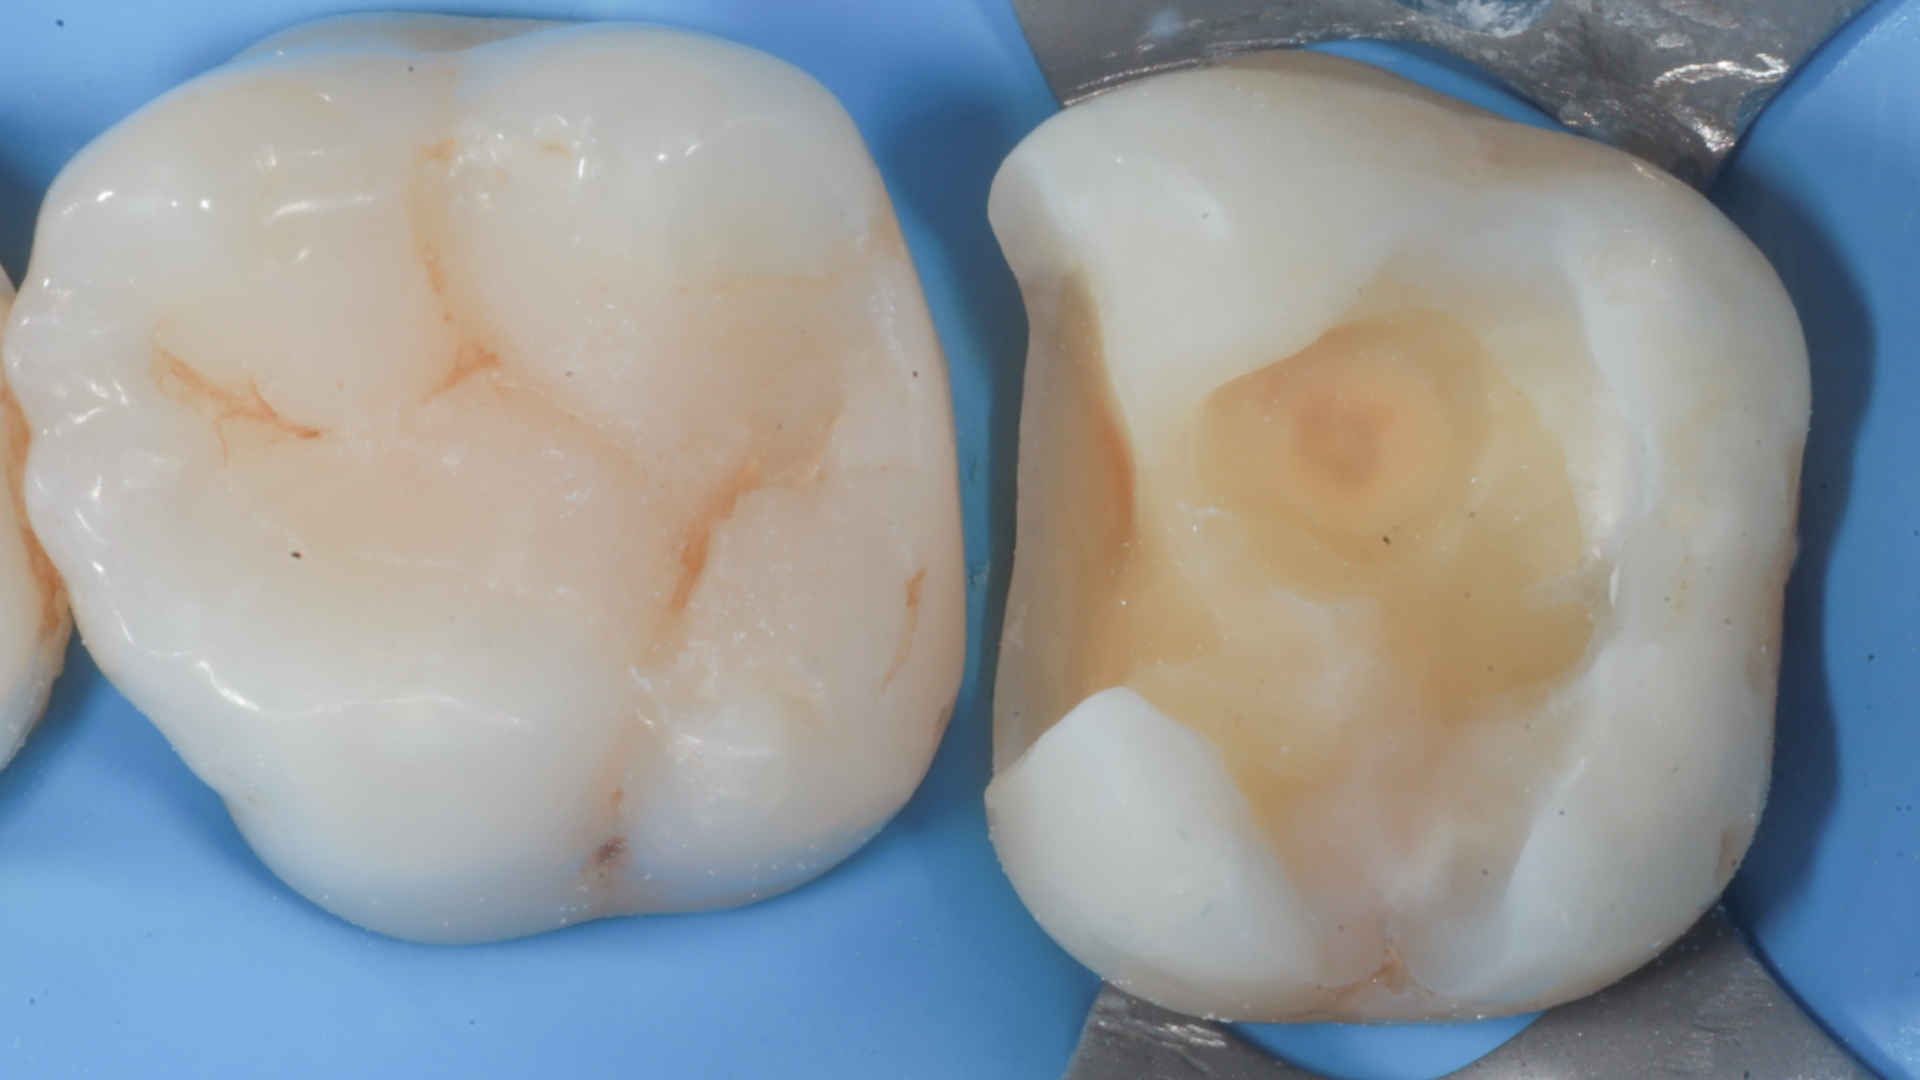
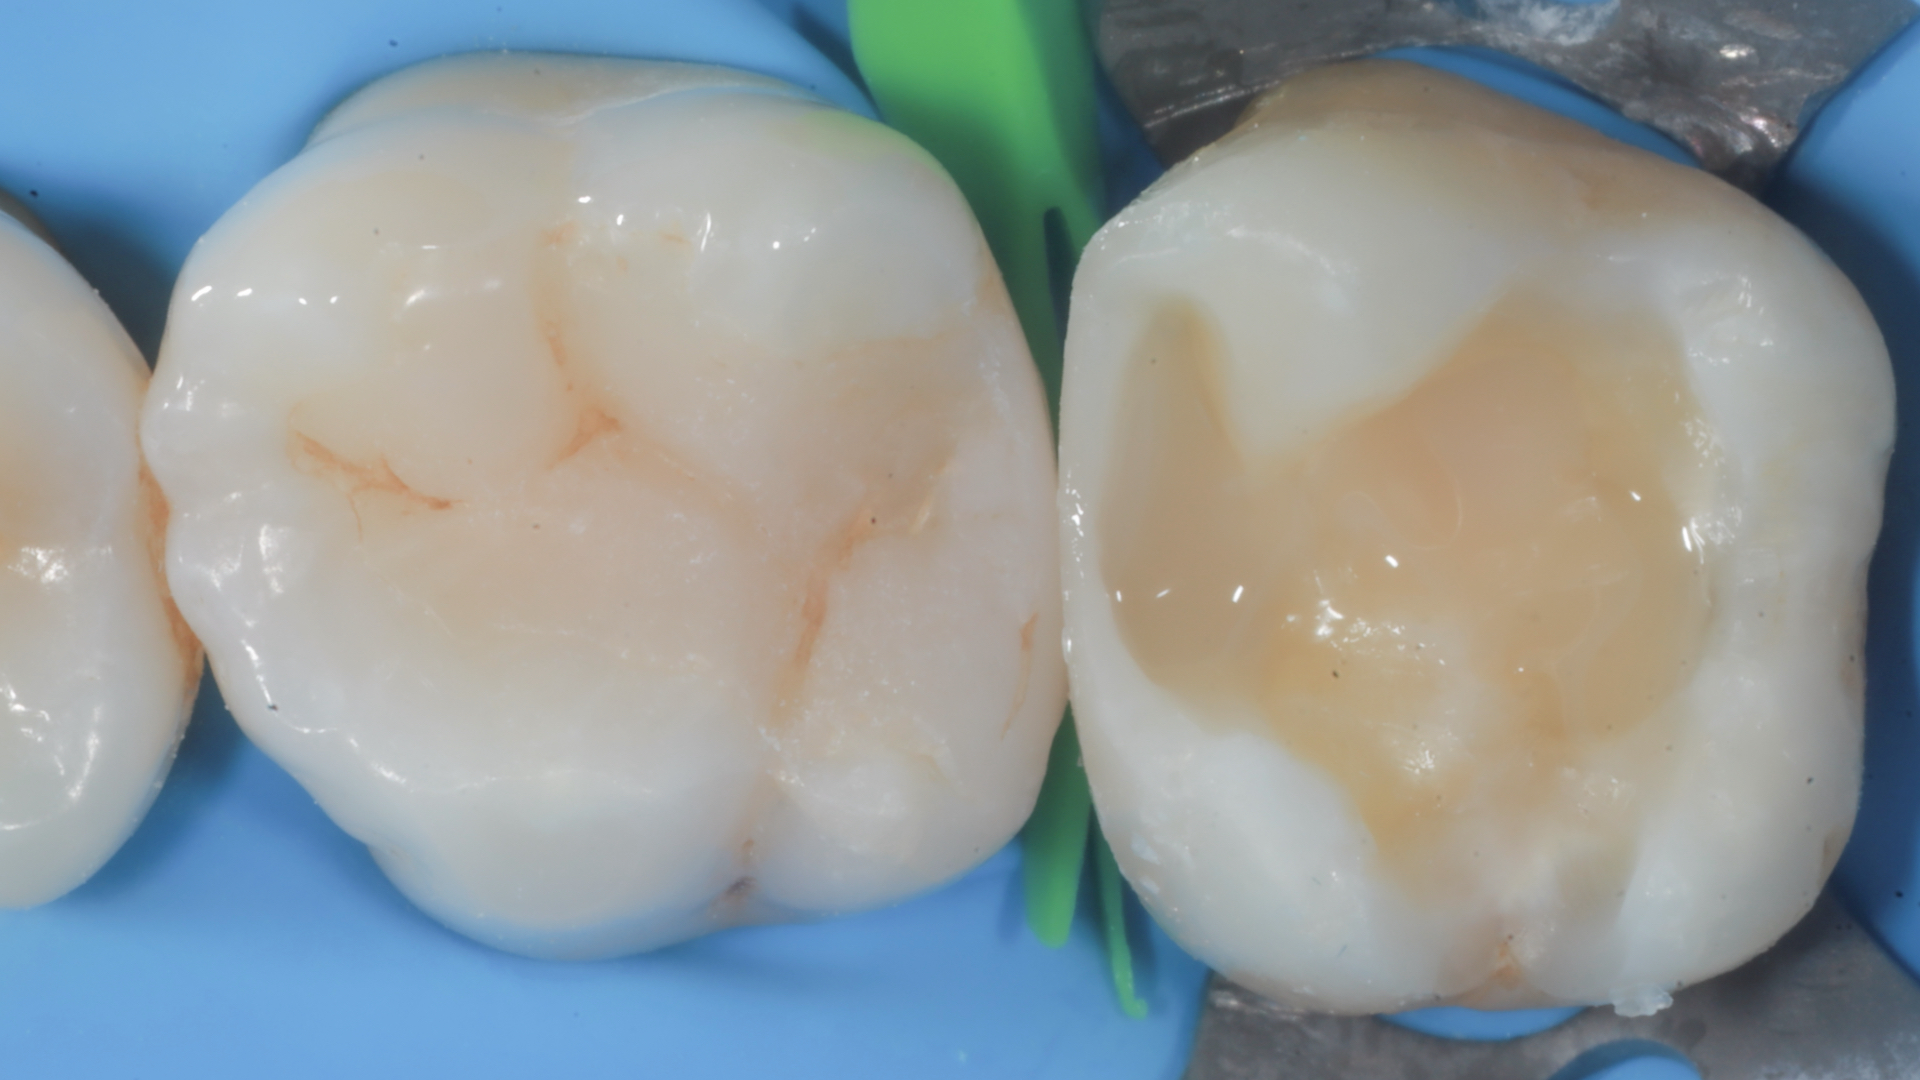
| Figure 3. Appearance of the completed cavity with a 45° inclination on the vestibular side |
|
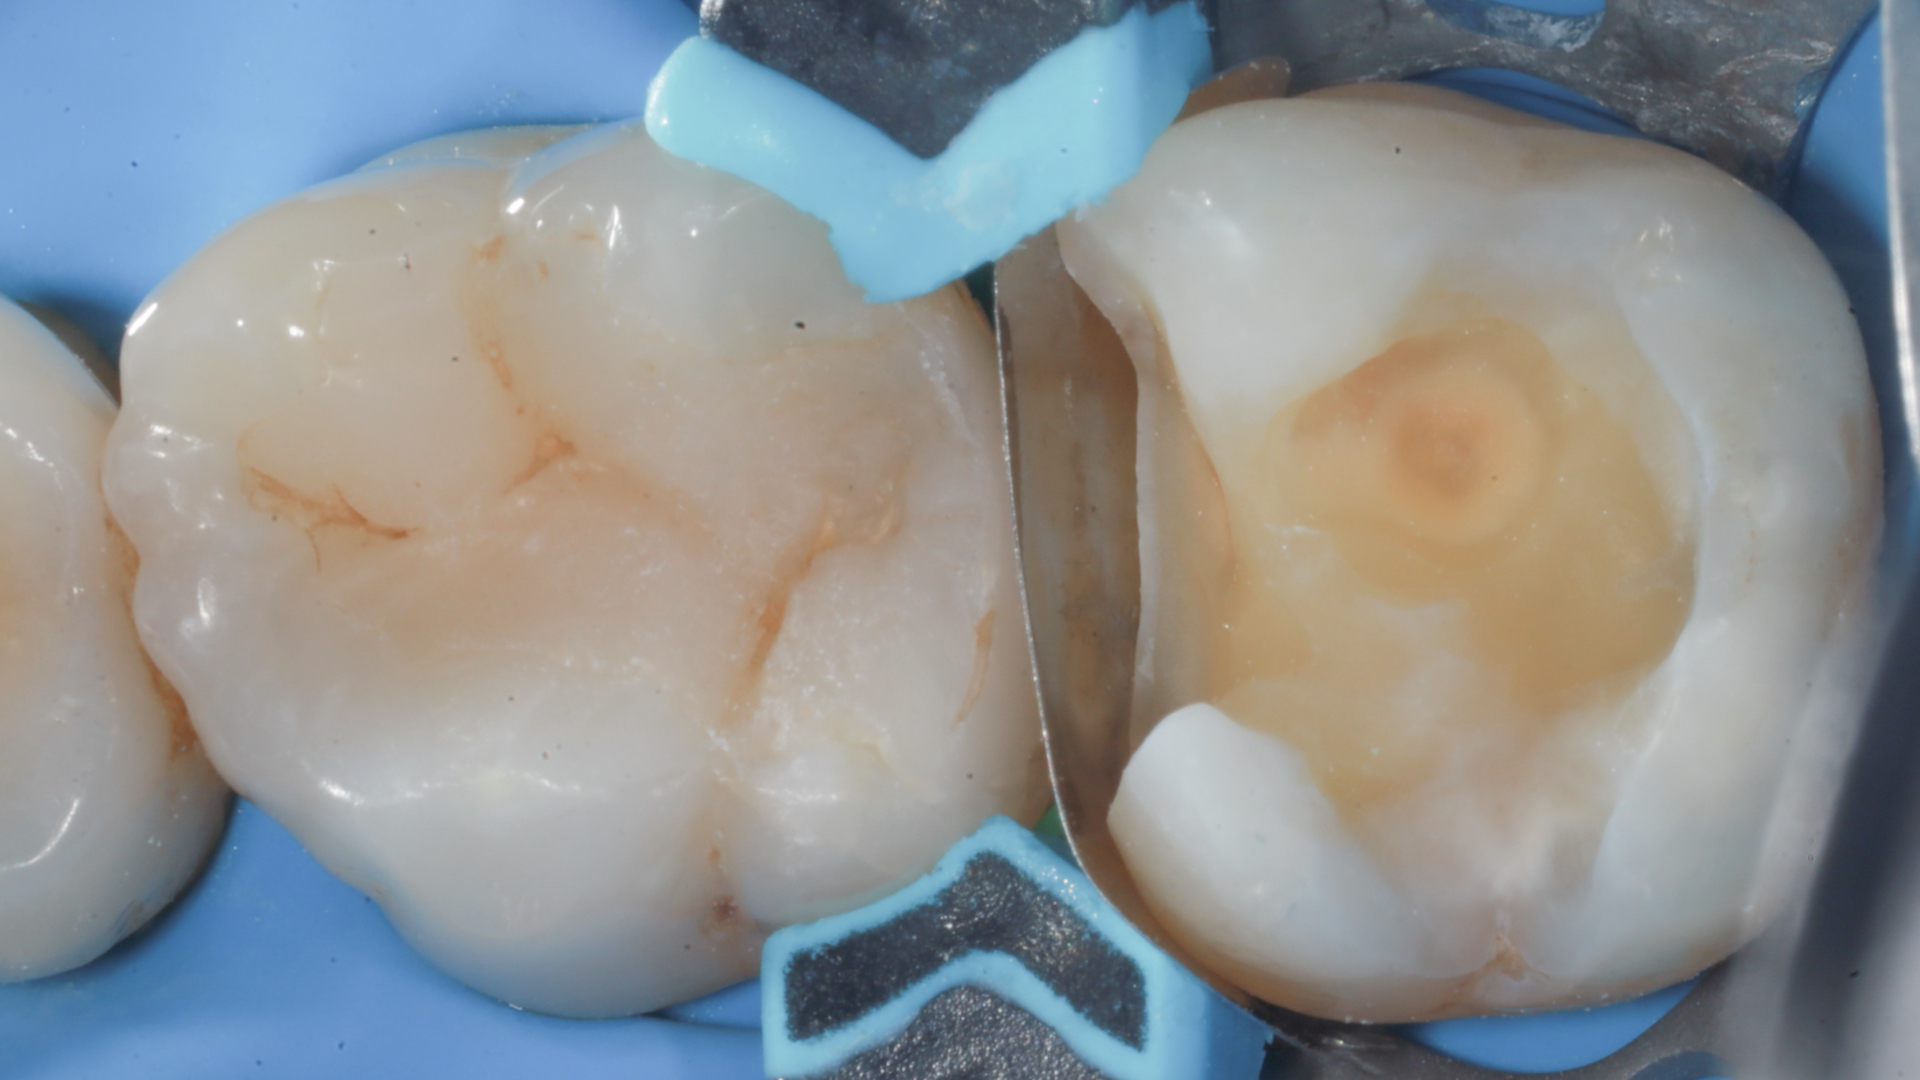
| Figure 4. Placement of the matrix, wedge, and ring, and verification of the fundamental requirements: a. Cervical step seal b. Ring engagement on the axial walls c. Properly positioned contact area d. Absence of matrix deformation |
|
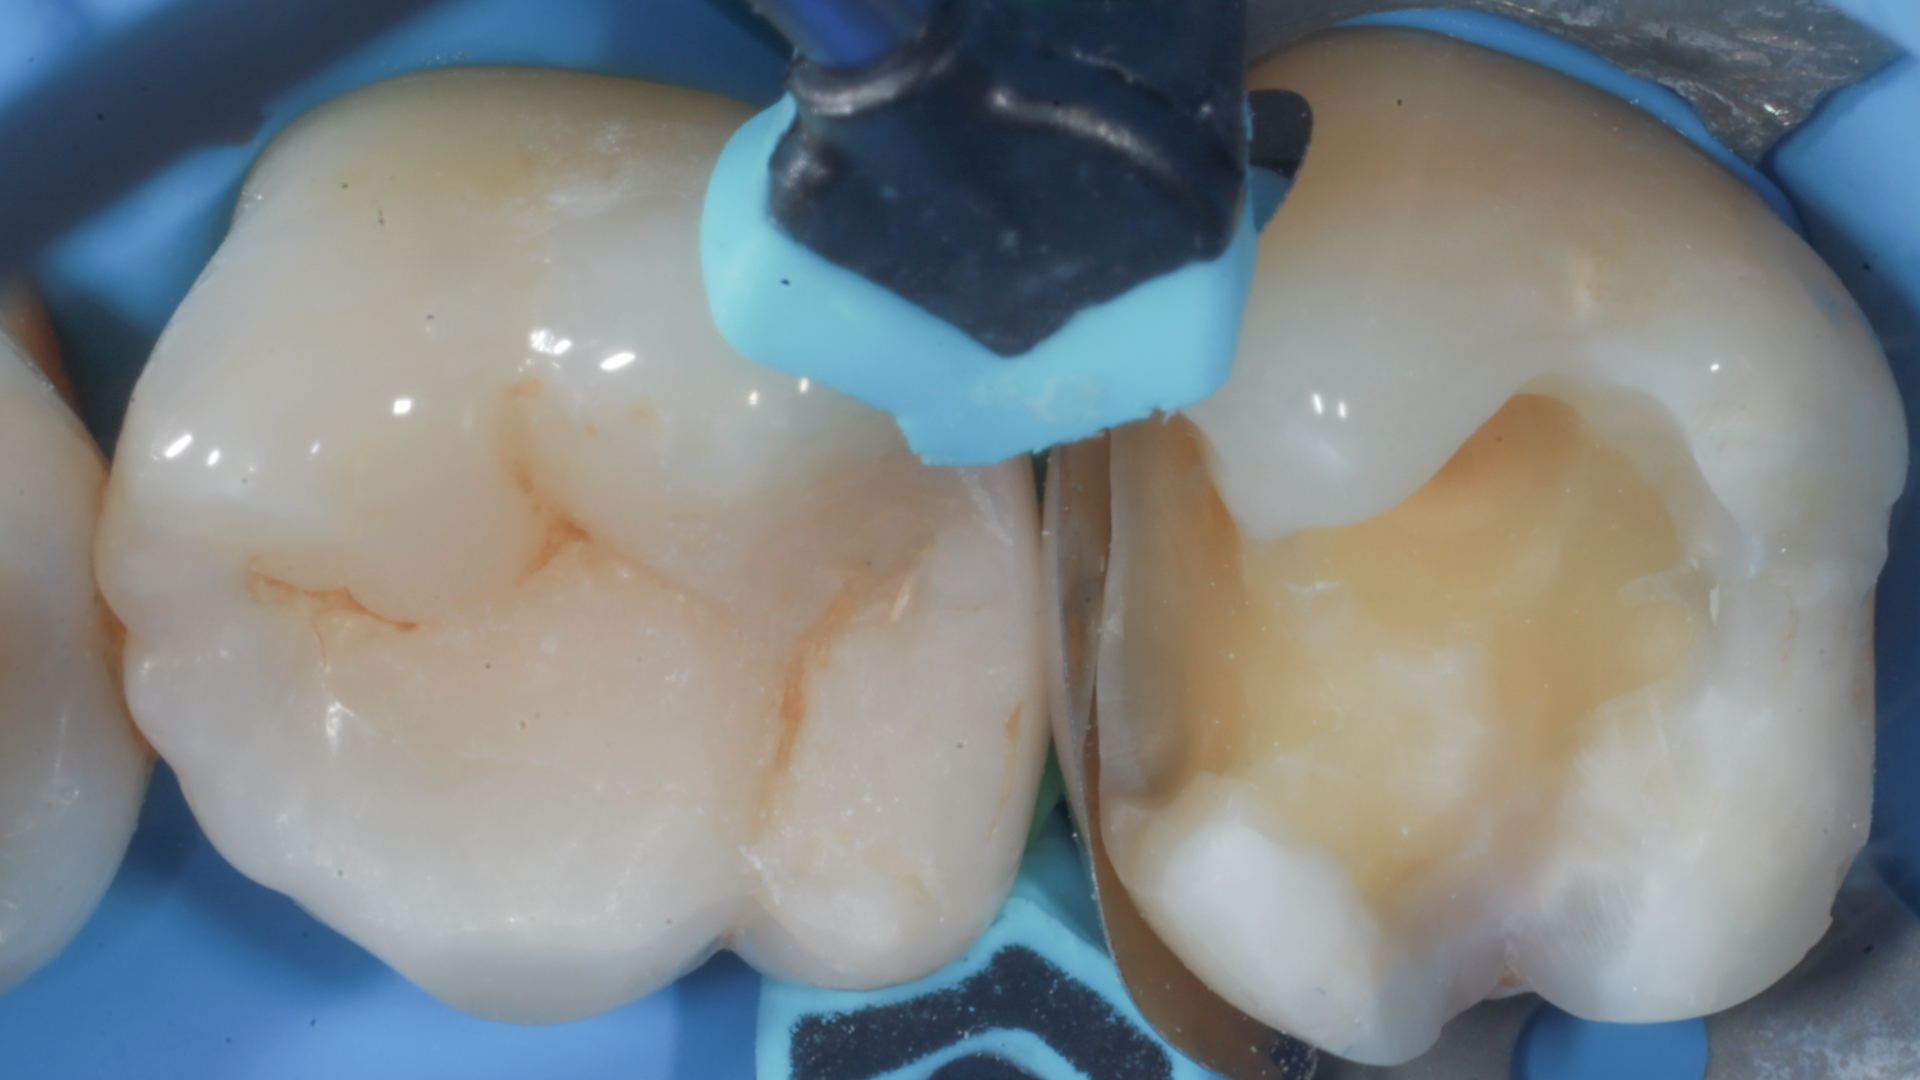
| Figure 5. Clinical appearance photographed with a 45° inclination. |
|
| Figure 6. Creation of the interproximal wall using a universal composite with bulk-fill characteristics. |
|
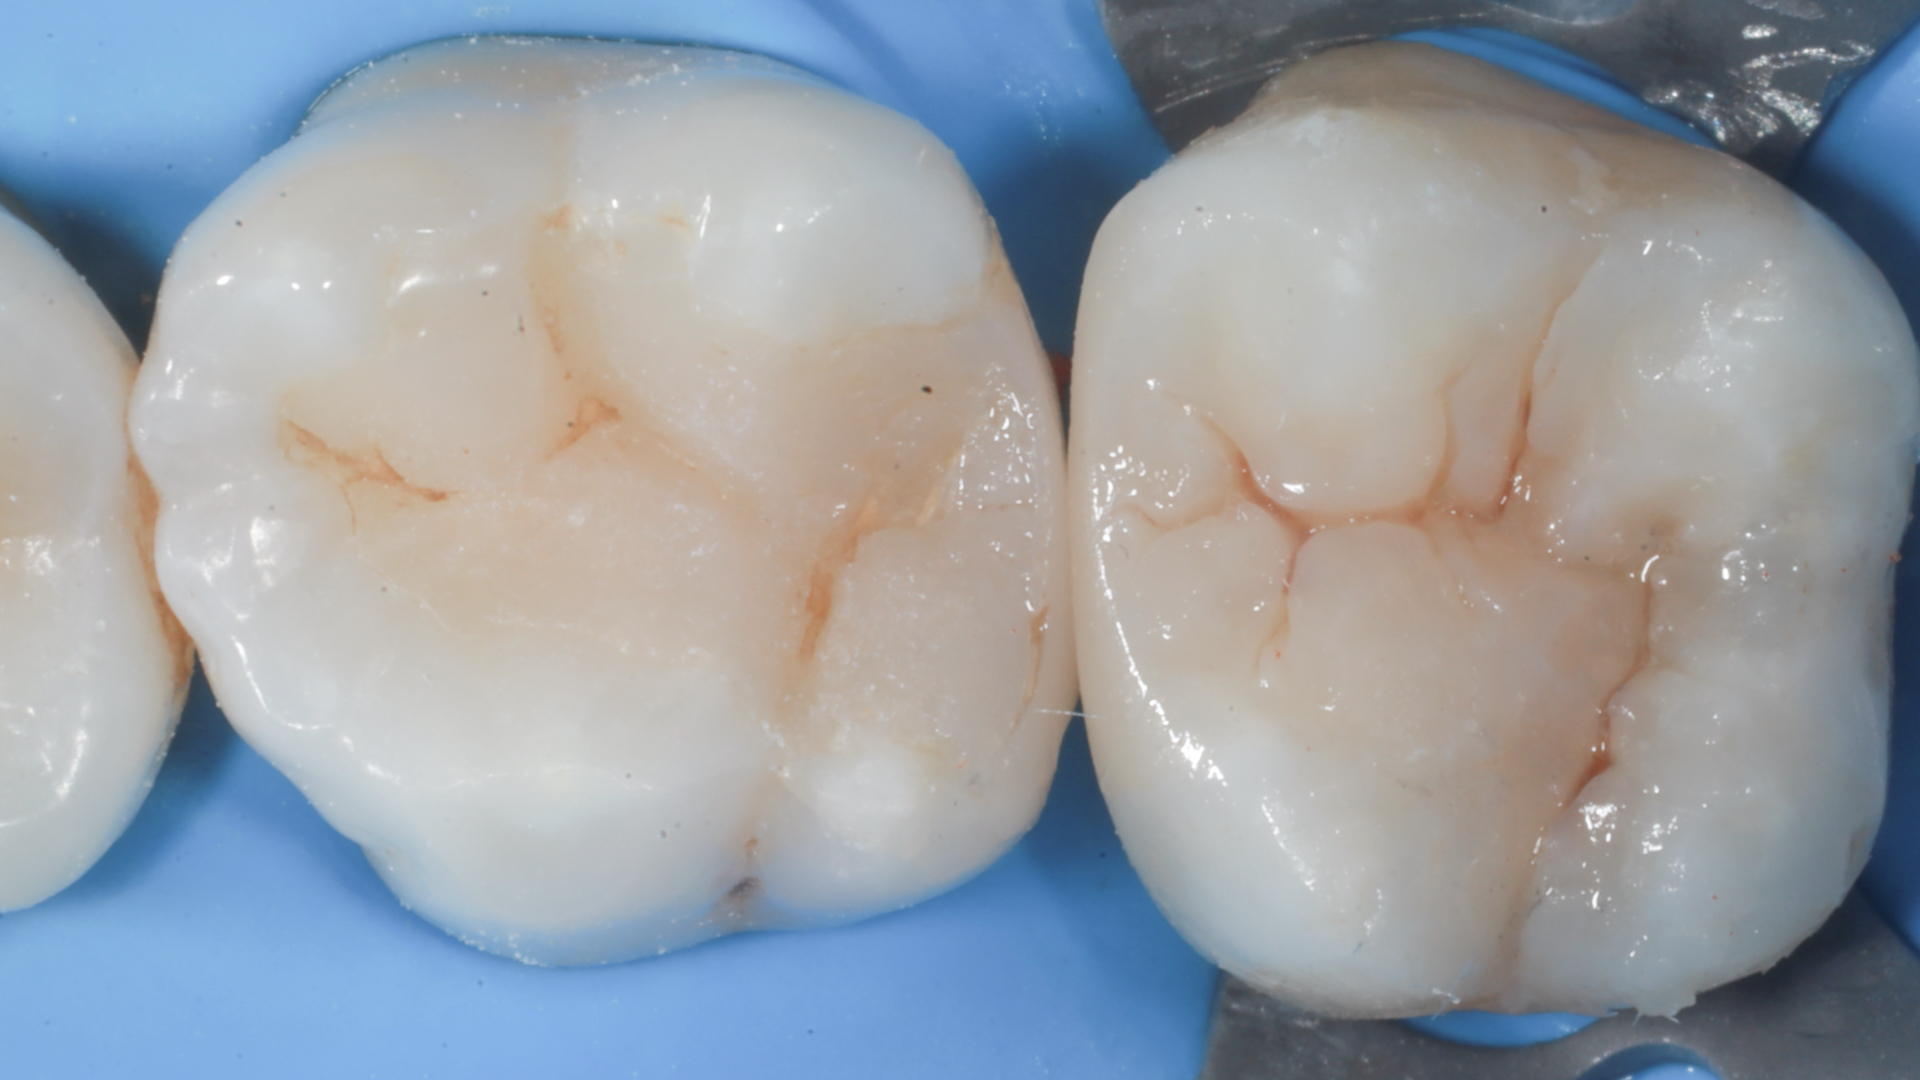
| Figure 7. Finished, contoured, and polished restoration in an occlusal view, still under rubber dam. |
|
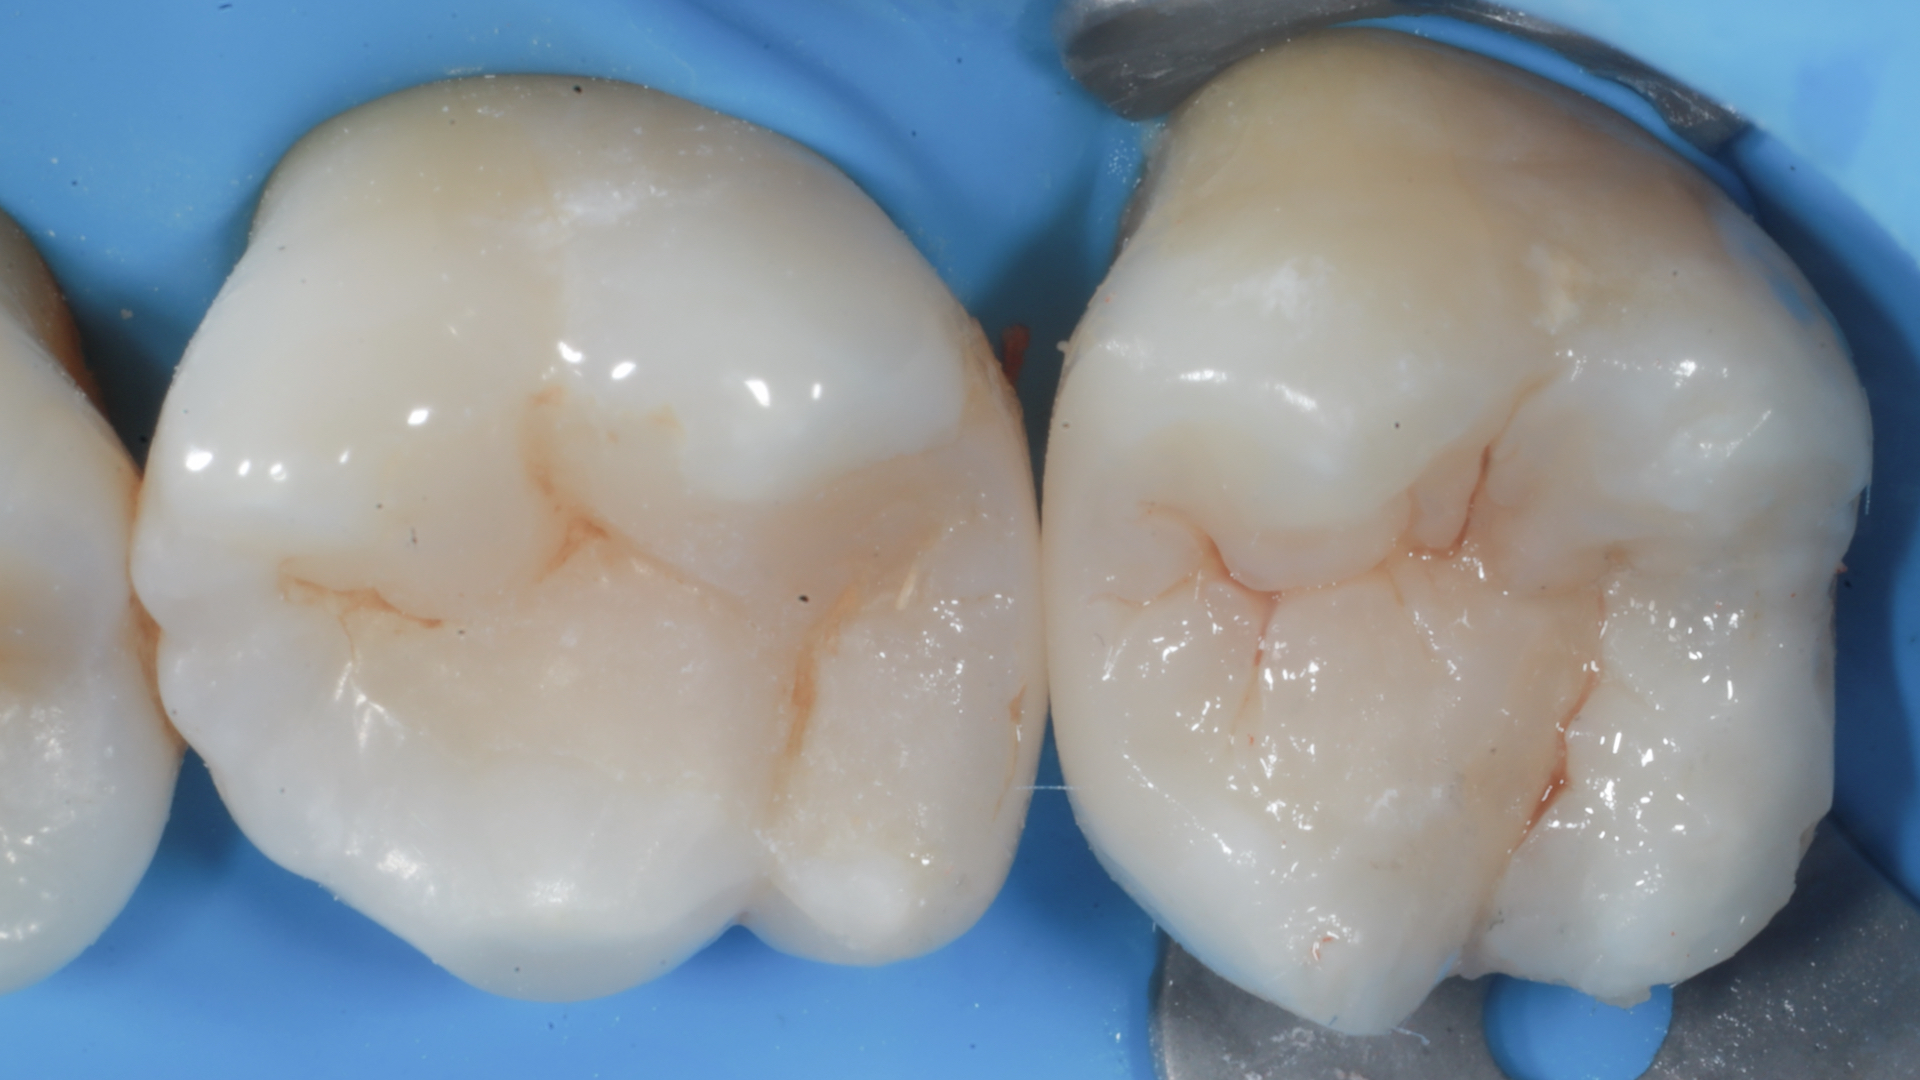
Figure 8. Finished, contoured, and polished restoration in a 45° vestibular view, still under rubber dam. Note the correct interproximal wall in terms of cervical closure, axial wall sealing, and contact area. |
|
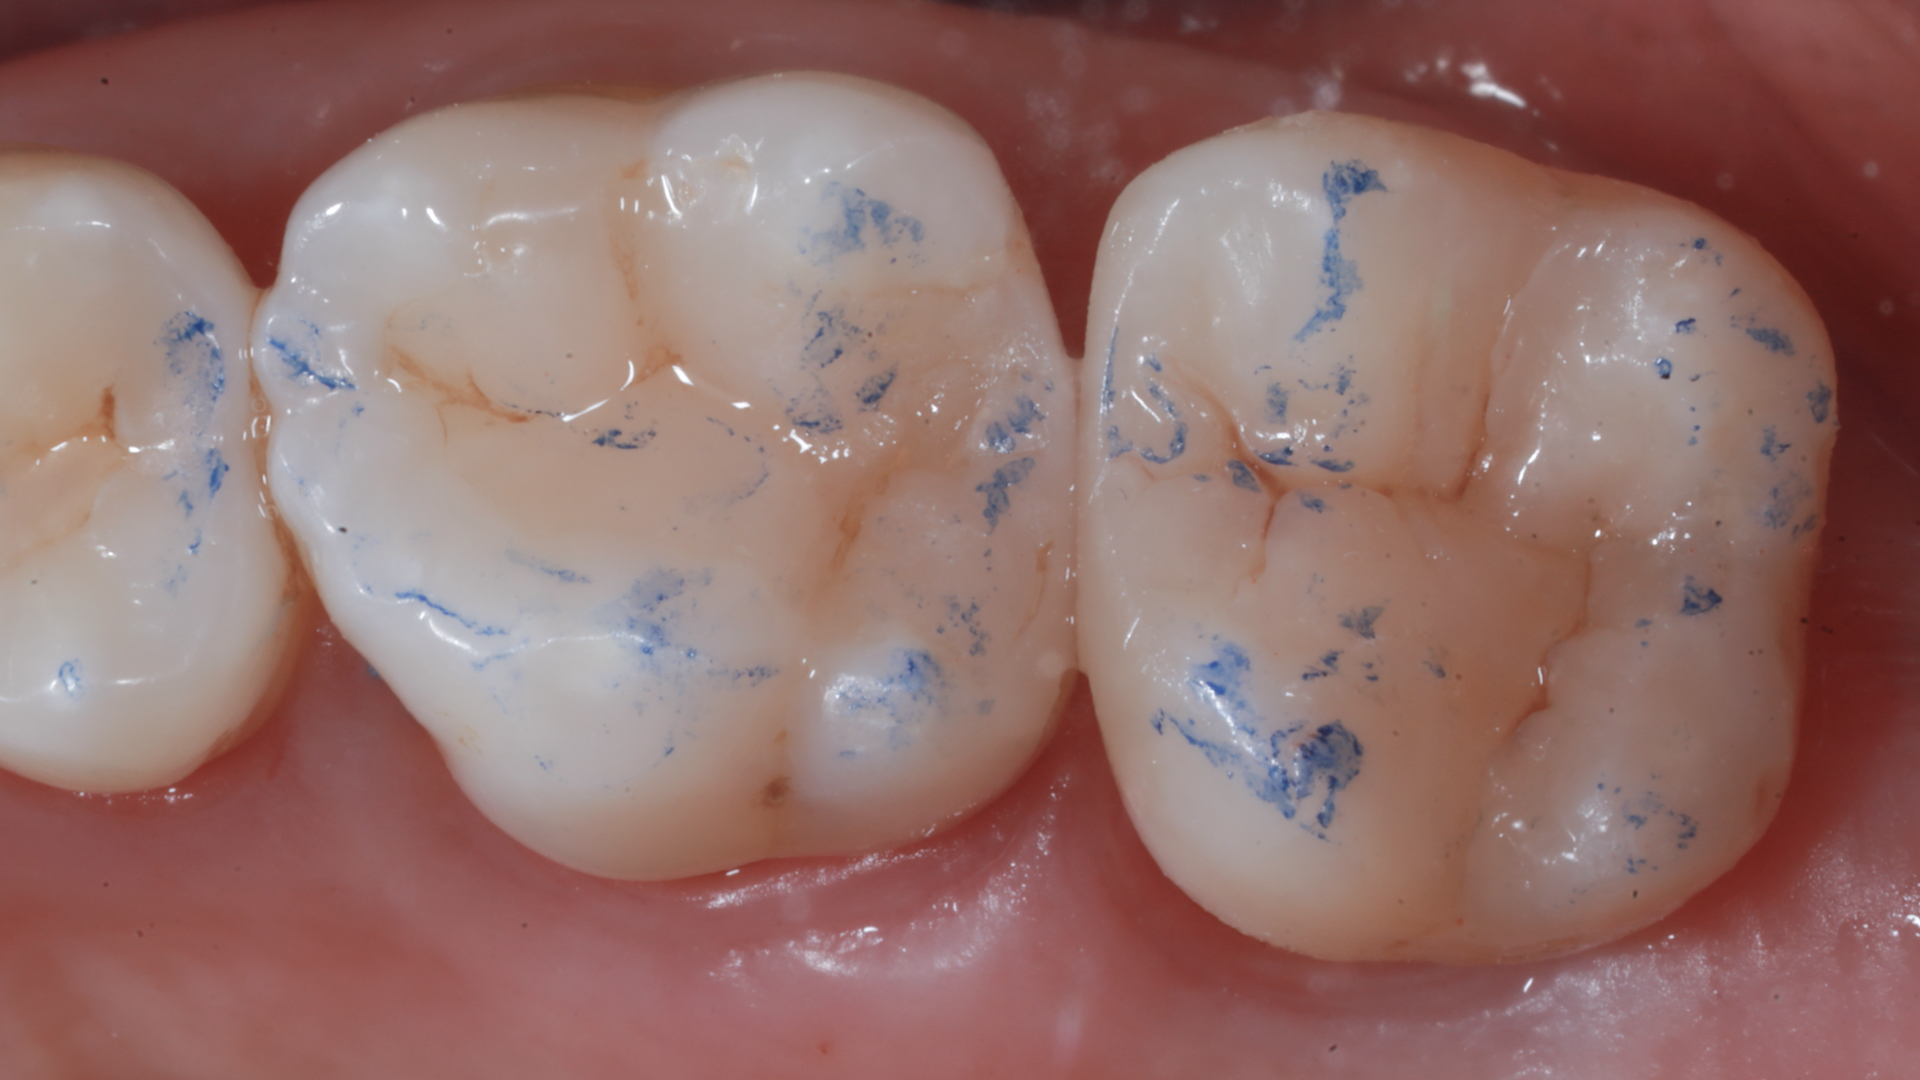
| Figure 9. Final appearance of the restoration one week later, under occlusal control. |
Considerations:
With this matrix system, without forgetting past techniques, it is possible to slightly speed up operative times, especially in back-to-back Class II restorations and in full quadrants. According to the author, however, the advantages of this system go far beyond the simple saving of a few minutes, and include: