FREE SHIPPING on orders over $475
FREE SHIPPING on orders over $475 | No Code Needed
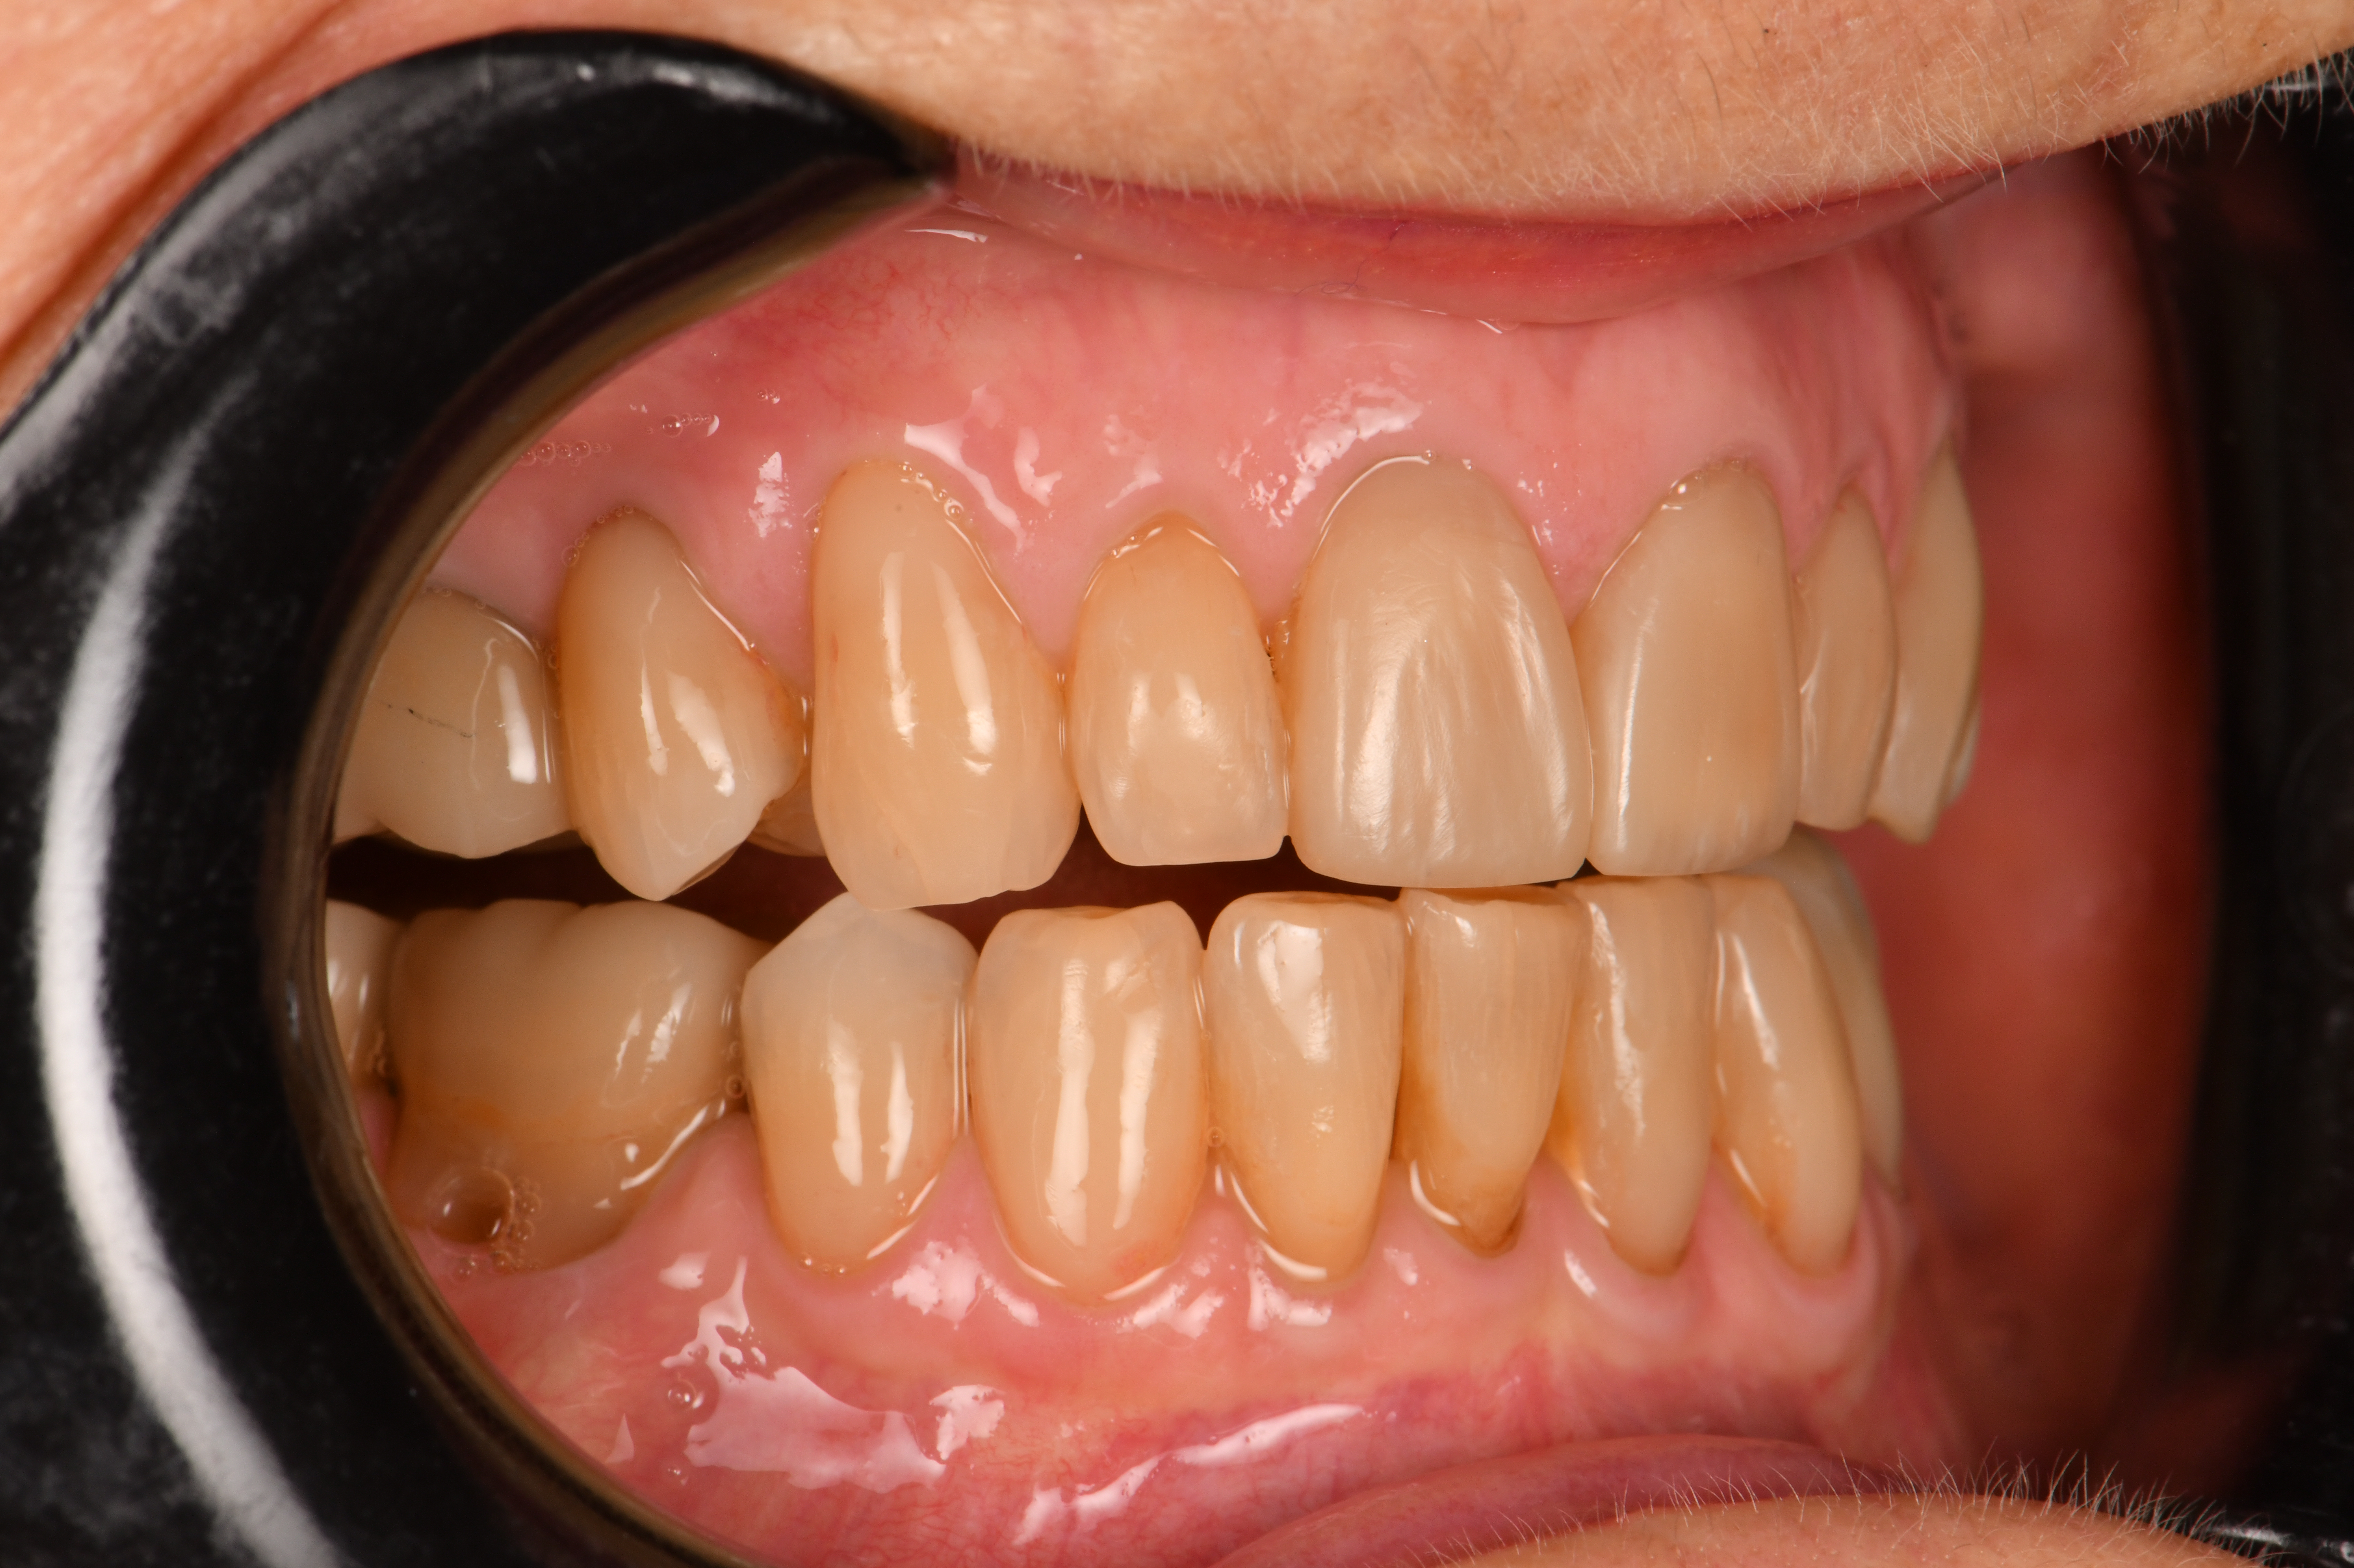
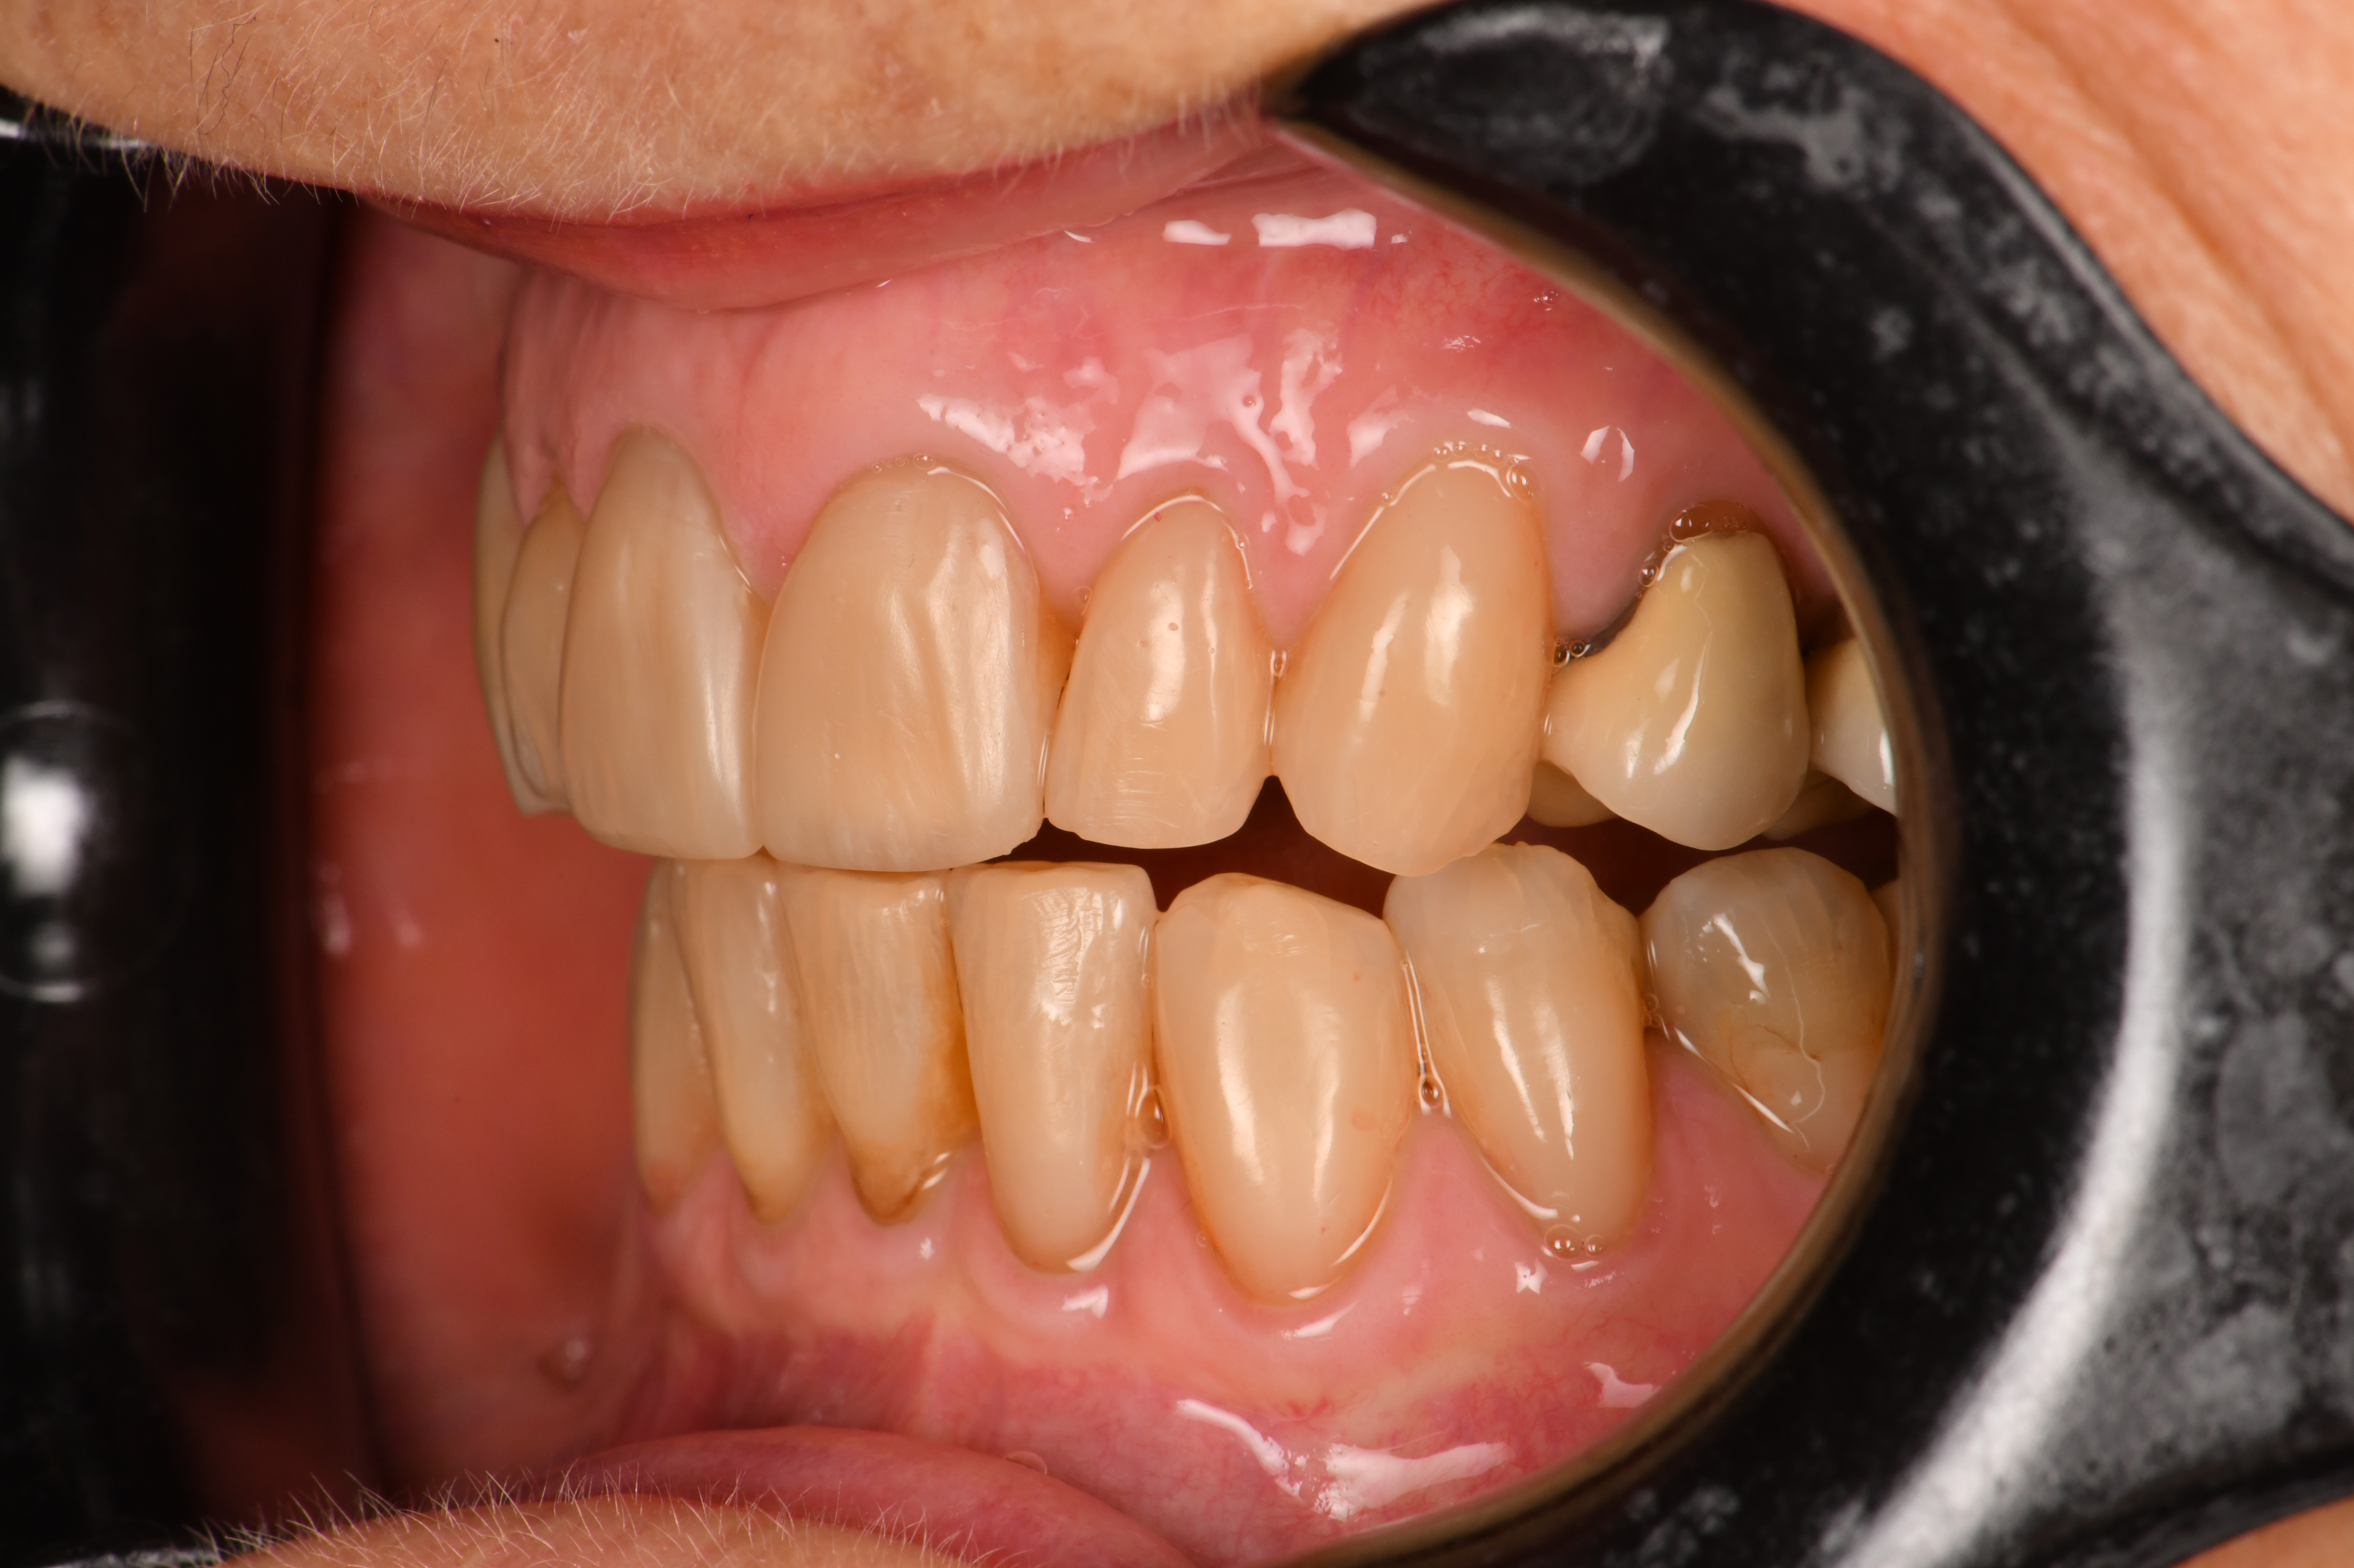
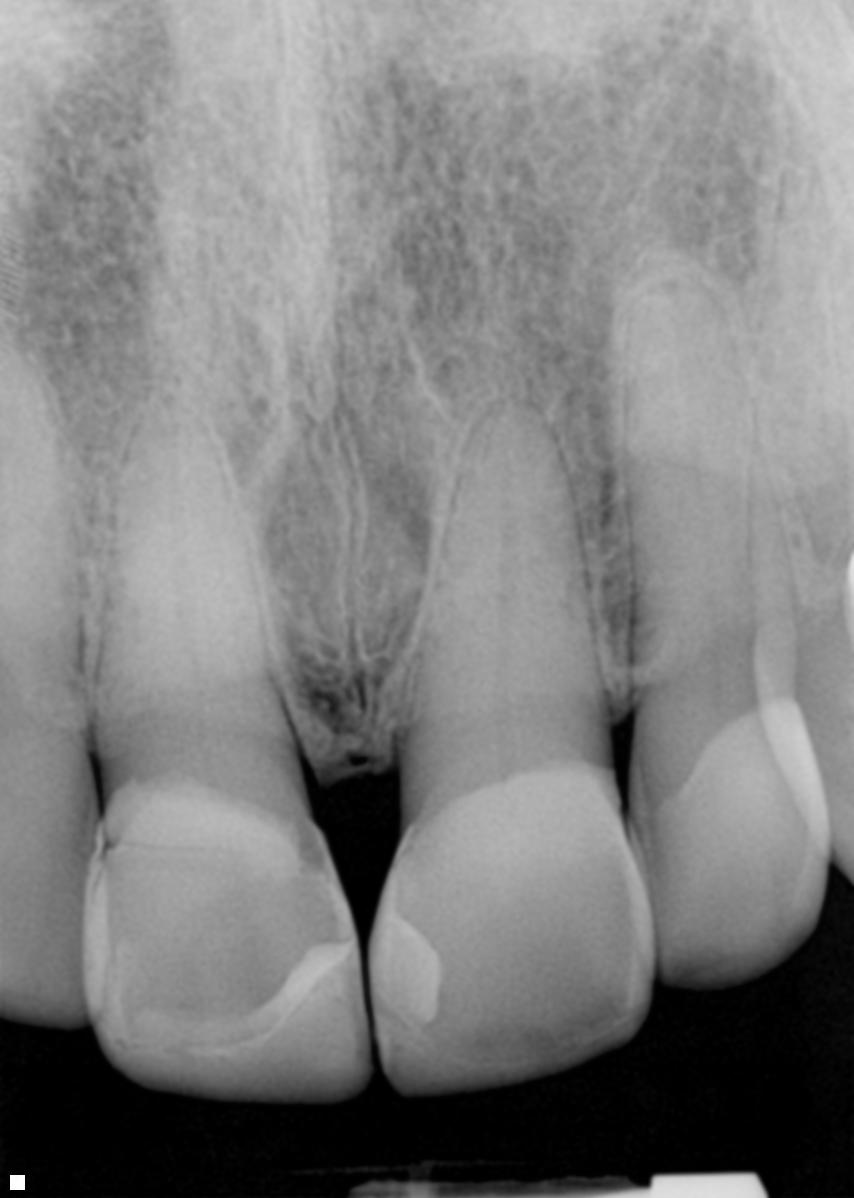
A healthy ASA-II 73 year old female presented to the practice for minimally invasive esthetic improvement of her upper central incisors. Clinically, tooth #1.1 had a history status post blunt dental trauma with subsequent single shade repair of her uncomplicated enamel-dentin fracture on the MIBP aspect. This tooth featured a cervical abrasive scar from aggressive toothbrushing that the patient wished to be restored. Tooth #2.1 featured an enamel fracture affecting the MIBP surfaces and was balanced in value with the adjacent teeth.
The option to complete pre-restorative tooth whitening was refuted by the patient and the appointment scheduled for layered composite veneers to improve the appearance of both central incisors.
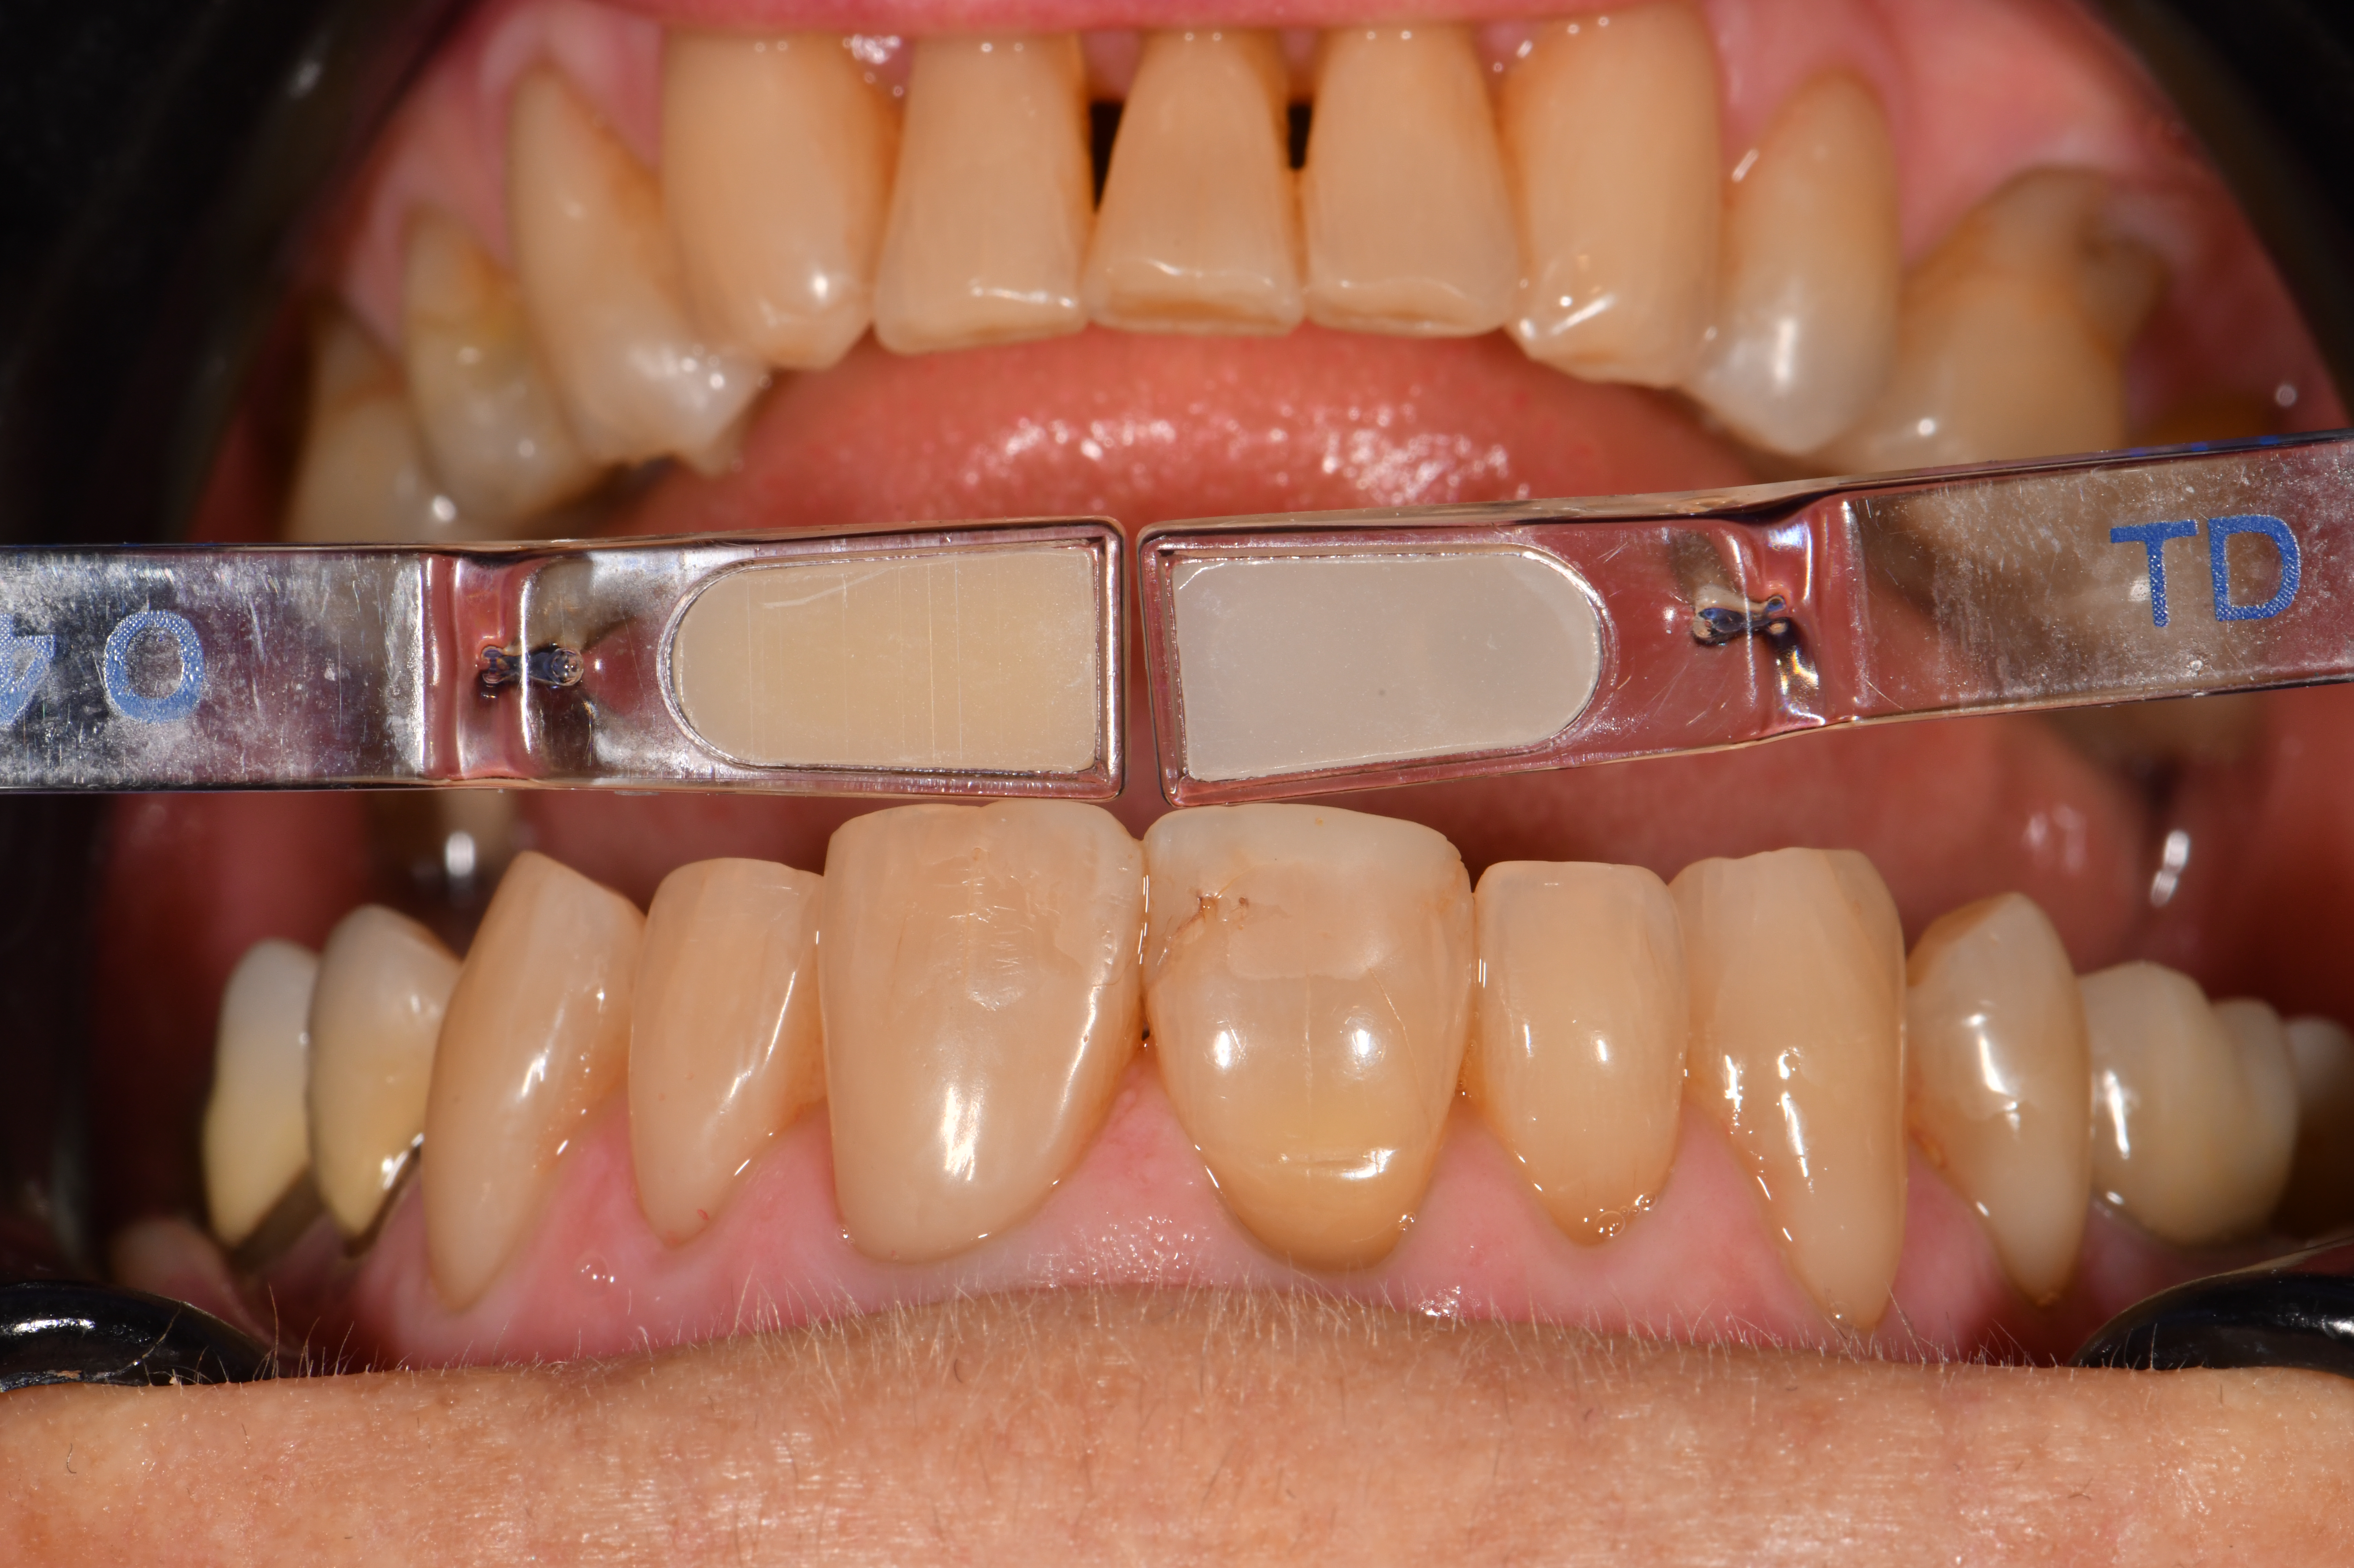
On the day of the procedure, the shades were taken prior to any administration of anesthesia or rubber dam placement to minimize the optical influence of tooth dehydration on proper shade selection for the case. The Voco Amaris system was selected, which is a value-based system featuring both enamel and dentin value shade gradients spaced three delta-E apart for efficient identification of the ideal shades. Shade O4 was selected for the dentin and TD was selected for the enamel (Image 1).
|
| Image 1 |
|
| Image 2 |
|
| Image 3 |
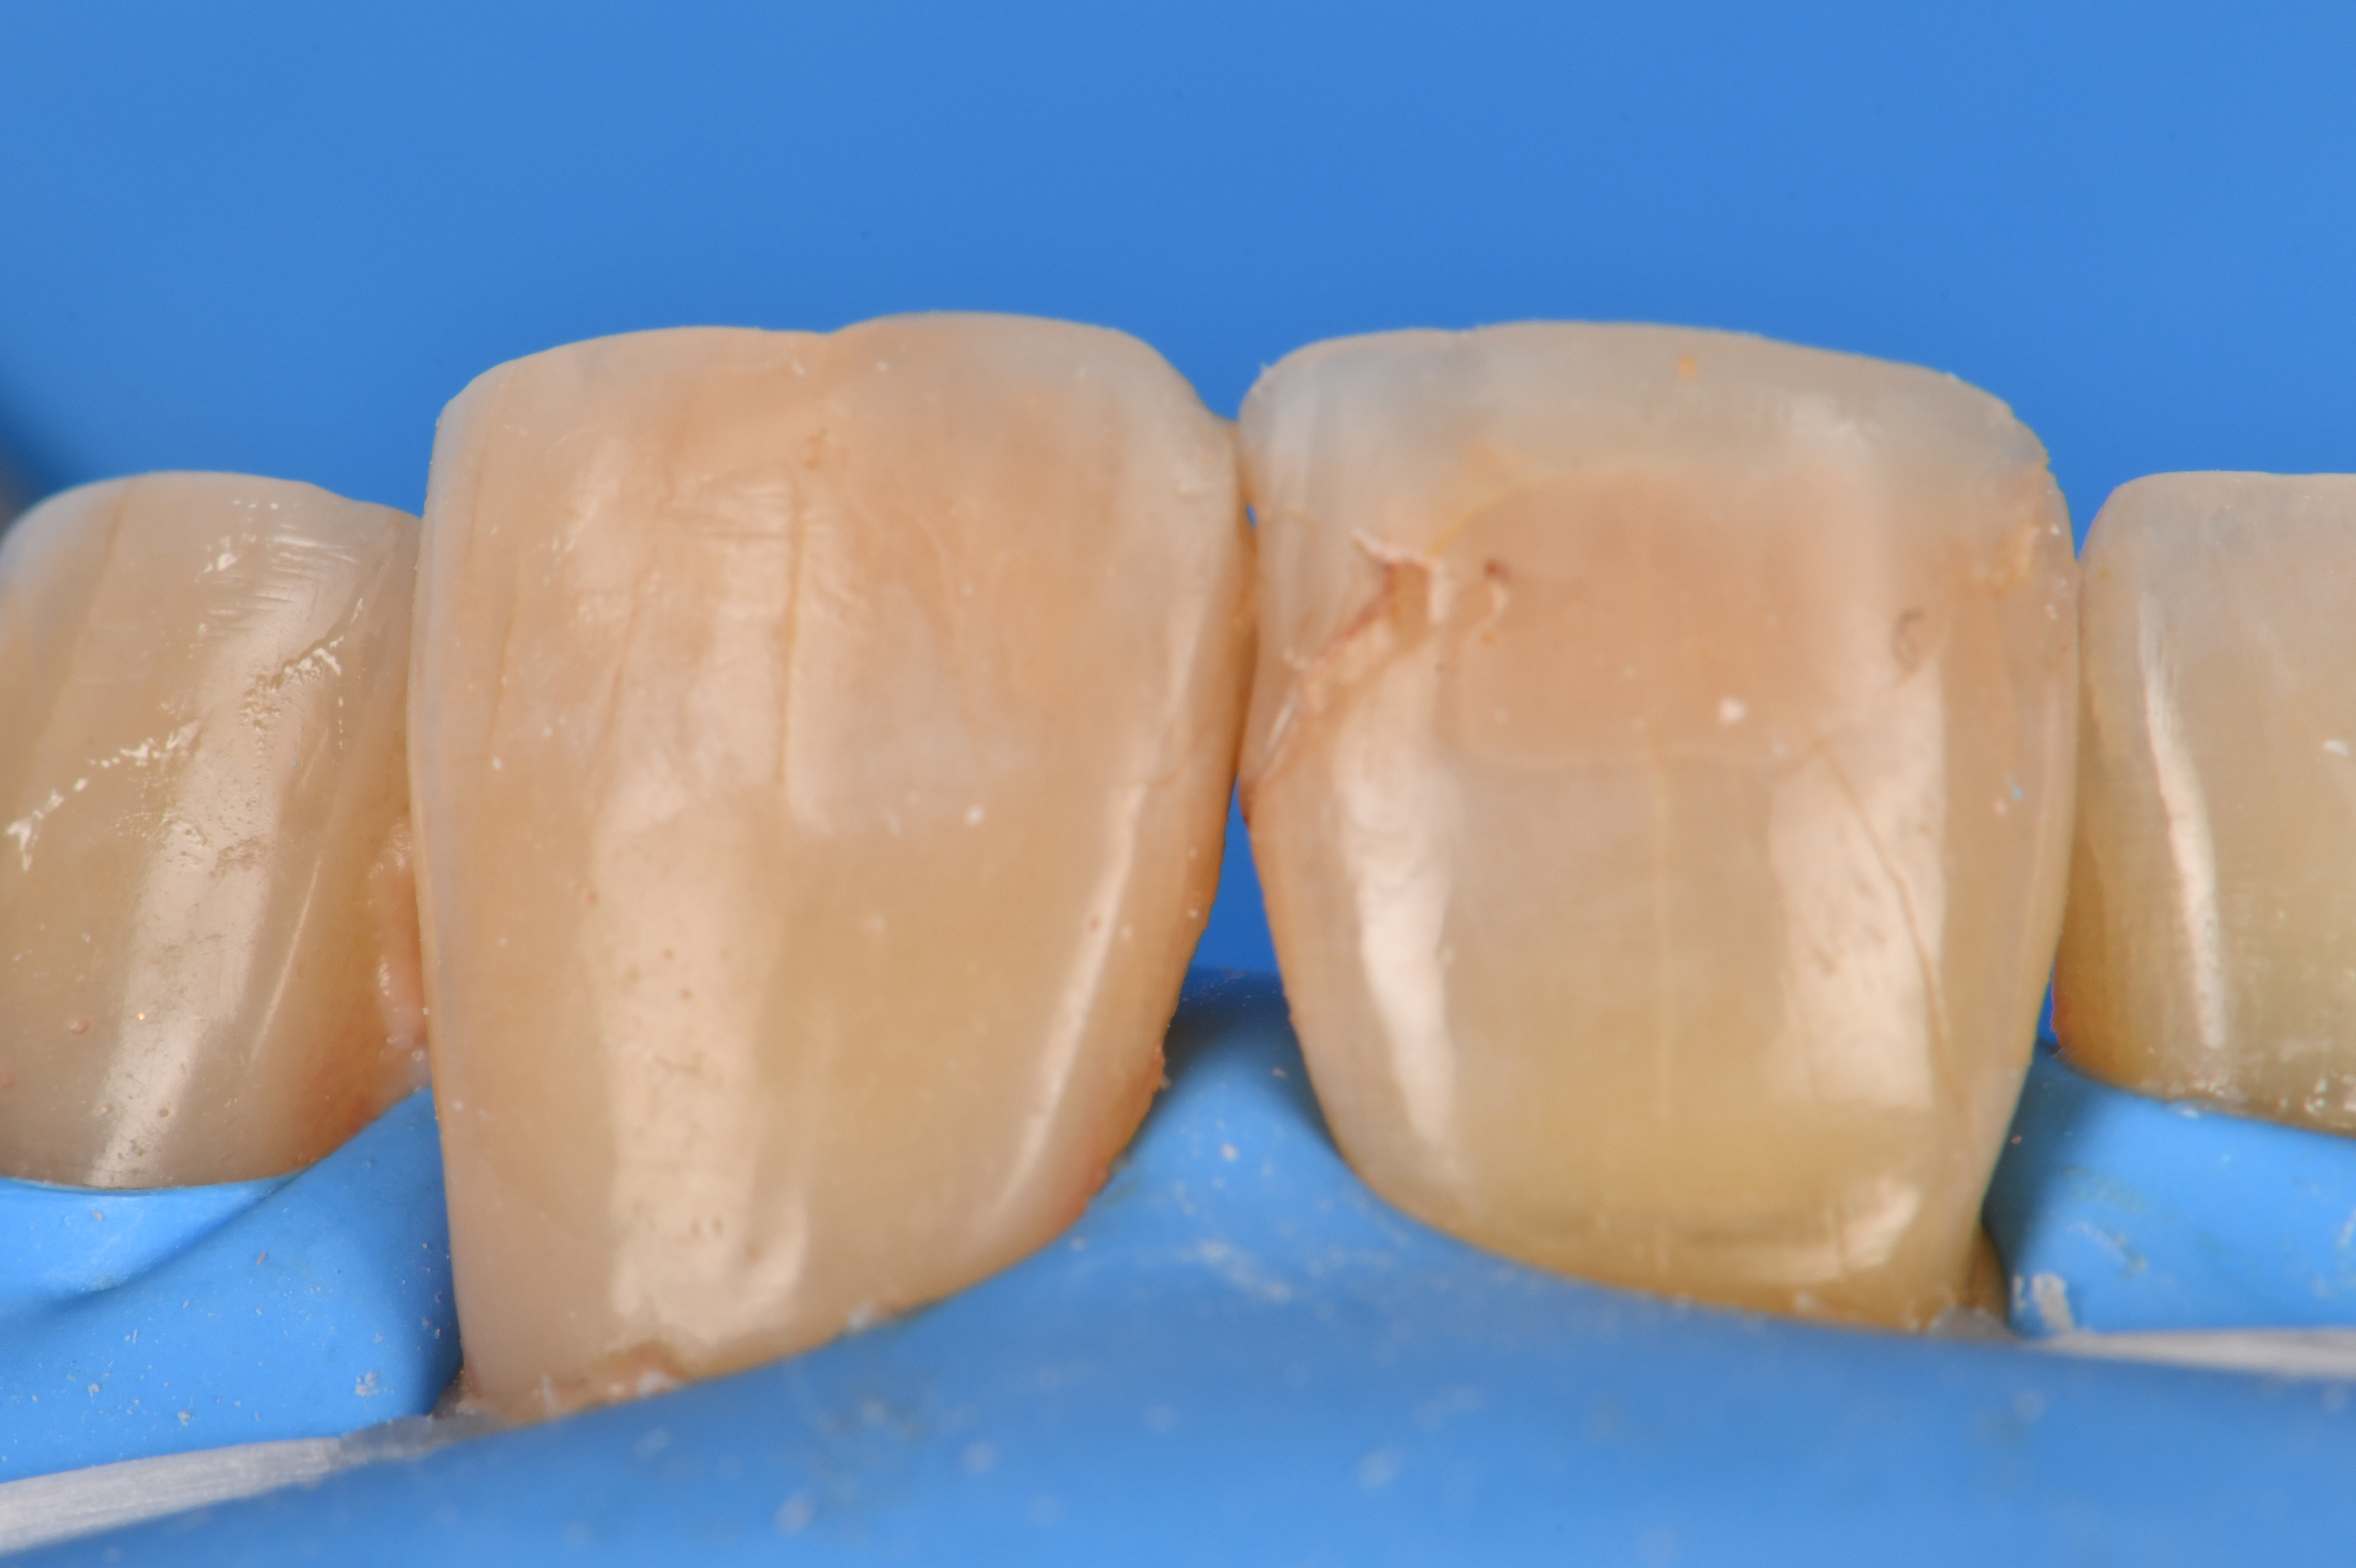
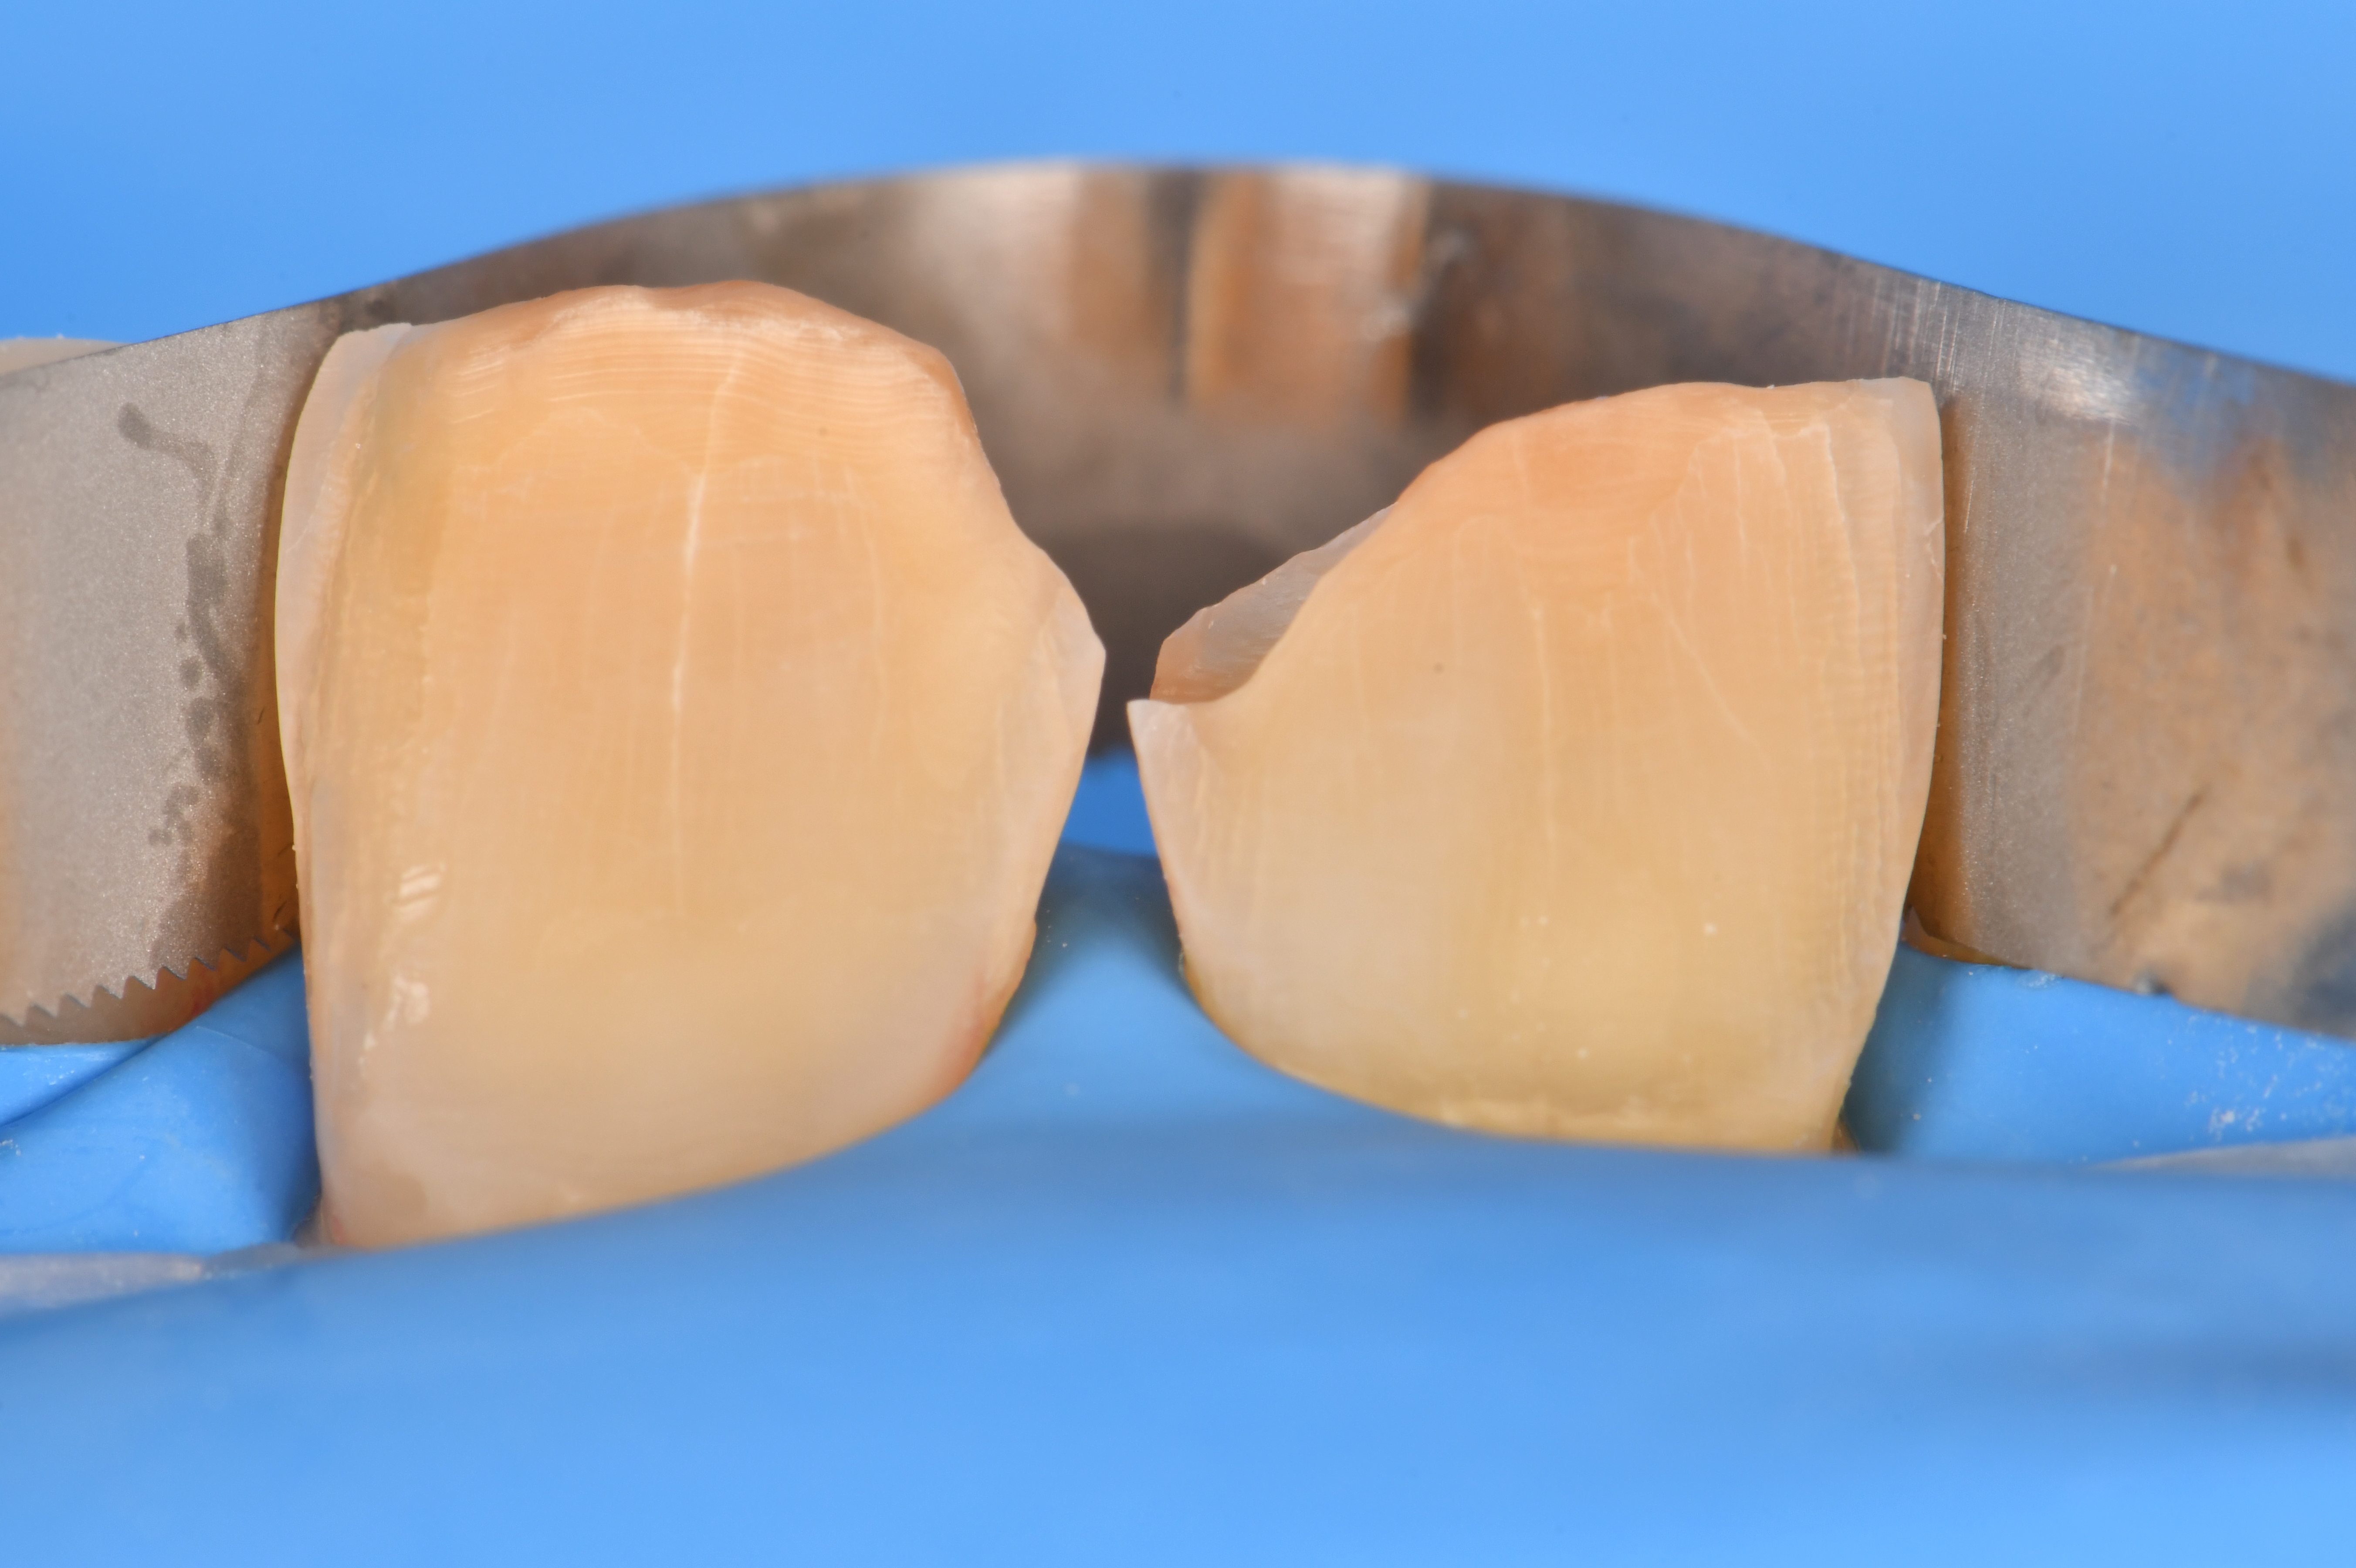
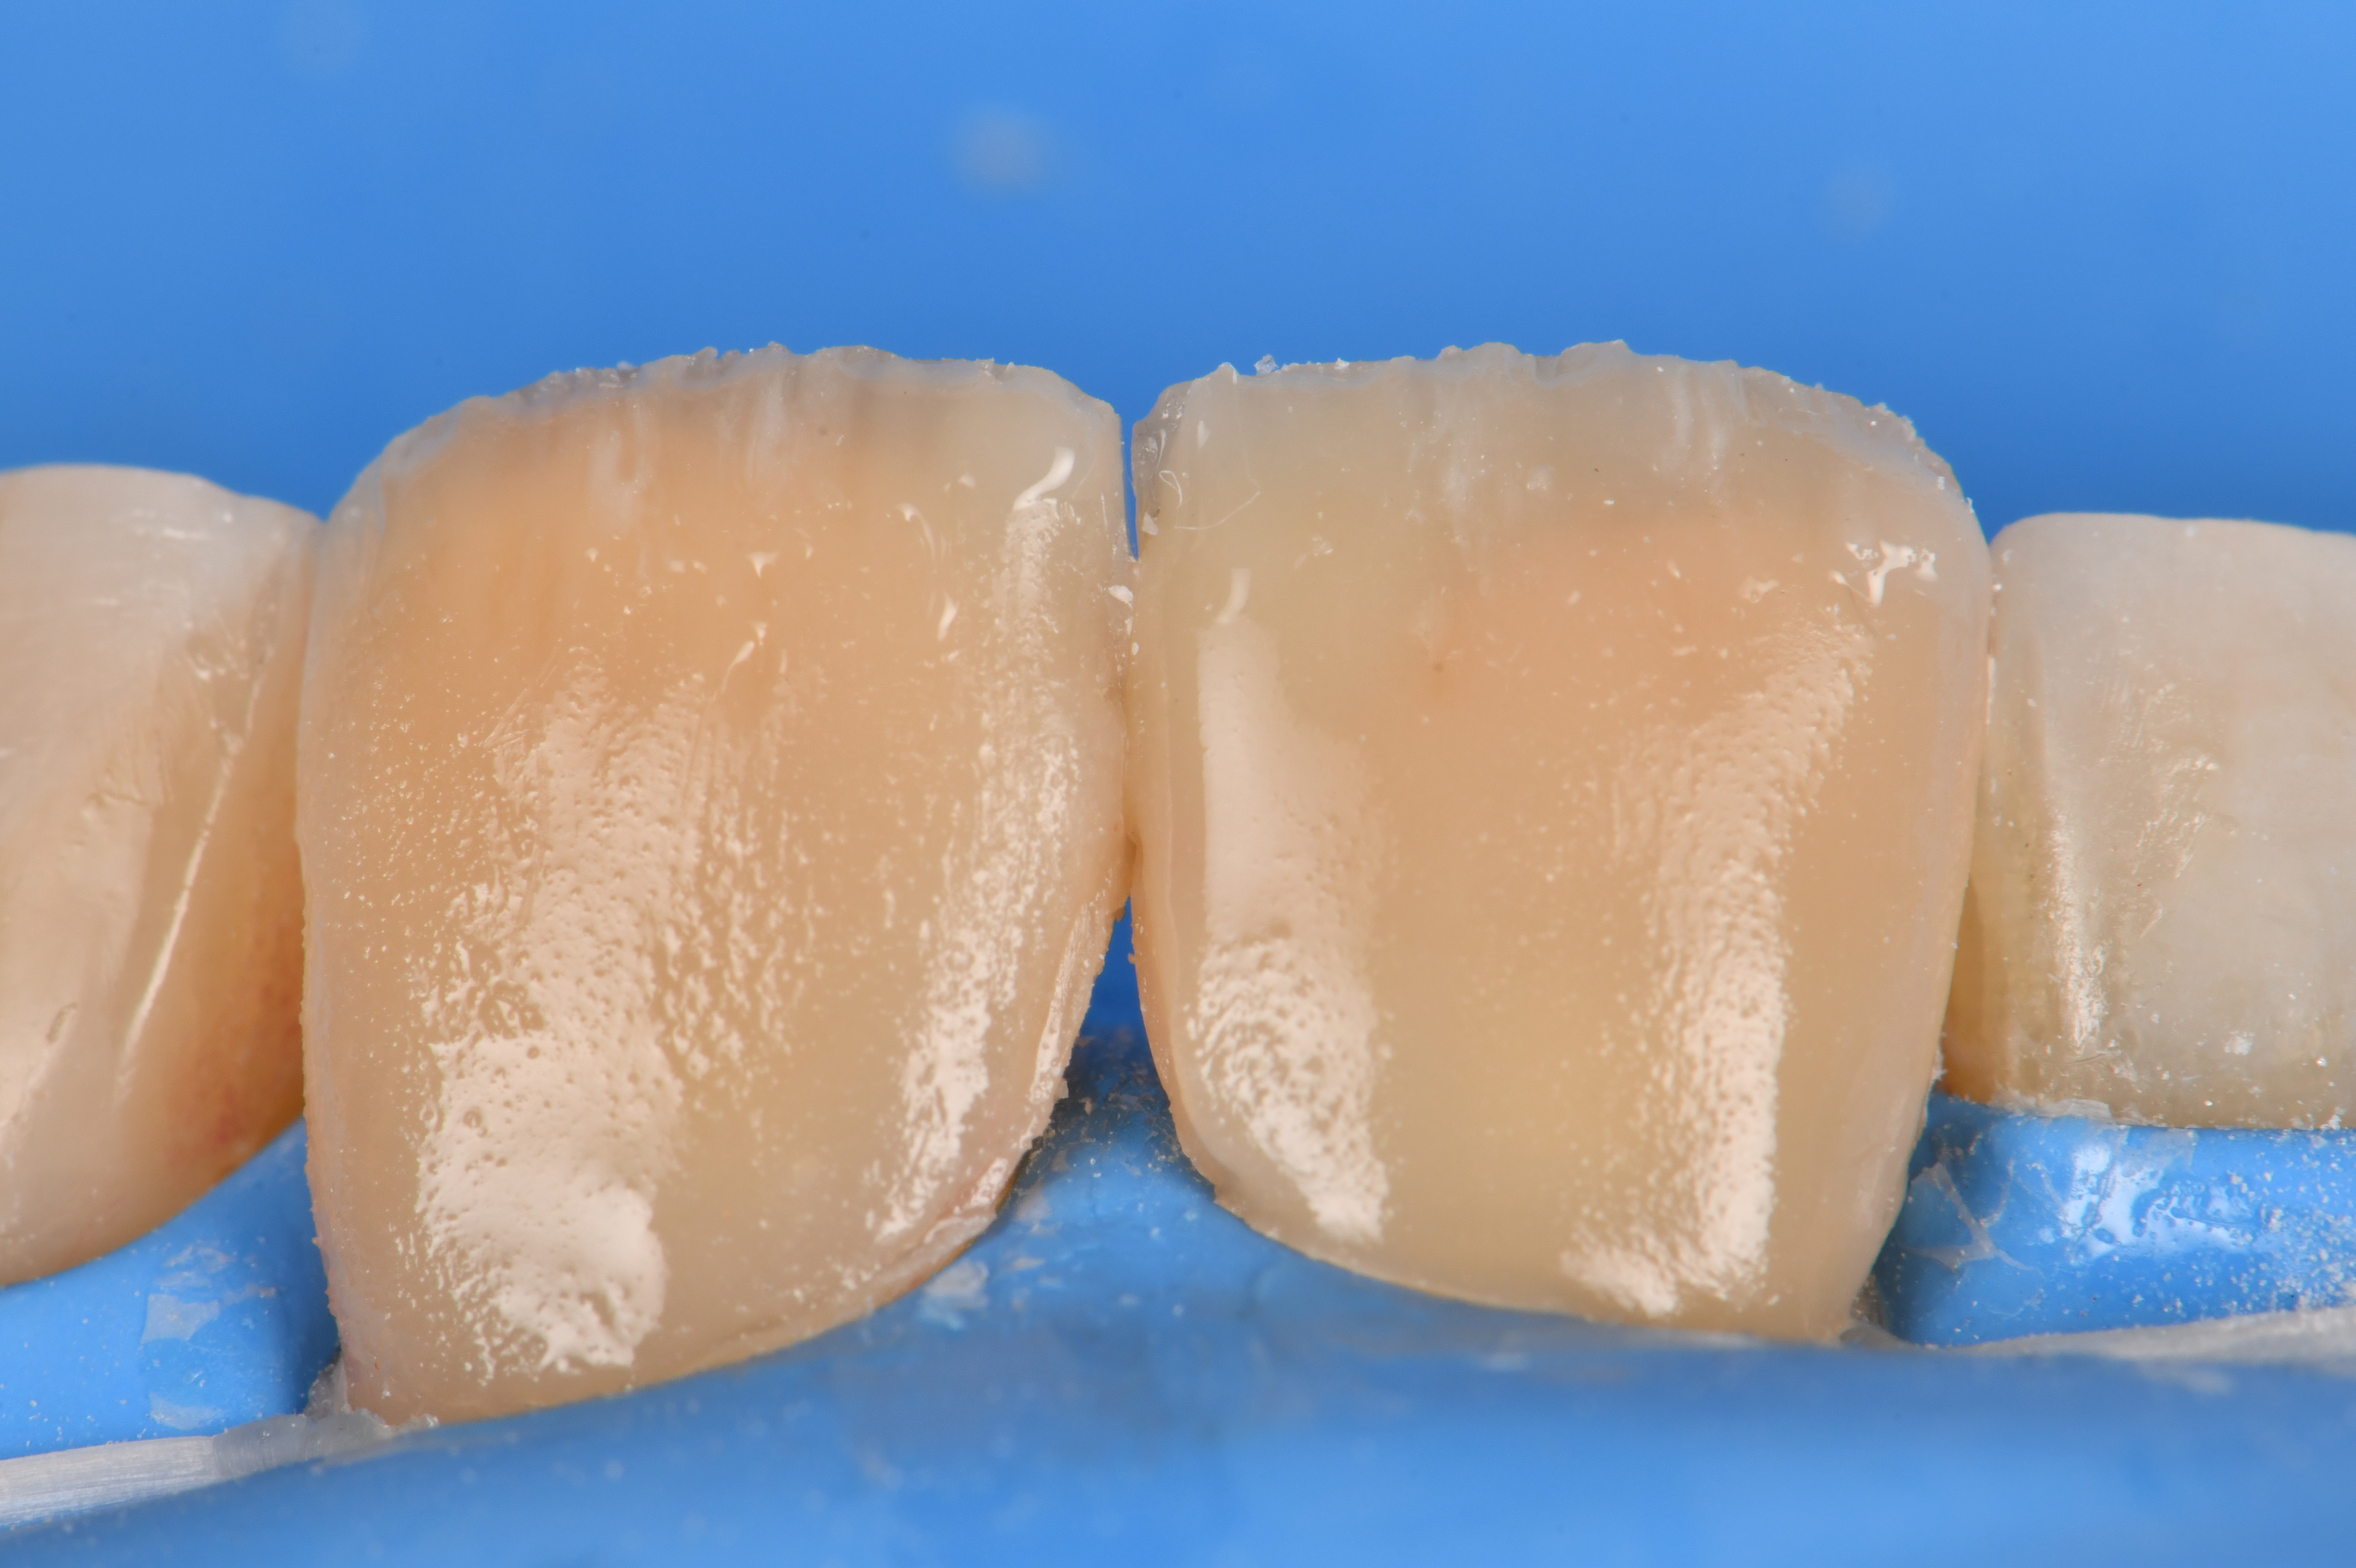
After administration of both topical anesthesia, 1 carpule of 2% Lignocaine with 1:100,000 epinephrine was administered for both the 1.1 and 2.1. Absolute isolation was completed and individual ligatures tied and anchored under traction to maximize cervical accessibility (Image 2). The old restorative material was removed and infinity bevels established on the transition zones of both teeth. Verification of complete composite removal was achieved using air particle abrasion (29 micron aluminum oxide, Aquacare) propelled at 30-40psi in a 17.5% ethanol solution (Aquasol). The dentin and enamel substrate was optimized for bonding using a calcium sodium phosphosilicate powder (Sylc, Aquacare) which has the function of chemically converting to hydroxycarbonate apatite crystals (HCA) upon contact with water. After shielding the adjacent teeth, the preparations were etched using a 33% orthophosphoric acid solution (Ultra-Etch, Ultradent Products) (Image 3). A 2% chlorhexidine gluconate solution (2% CHX-Plus, Vista Apex) was scrubbed into the dentin surface for 30 seconds to re-wet, decontaminate and deactivate cysteine cathepsins and matrix metalloproteinases 2, 8 and 9. A total etch adhesive was applied (Peak Universal Bond, Ultradent Products) as per manufacturer guidelines, air thinned and cured fully (Valo X, Ultradent Products) with a broad spectrum ultraviolet curing light.
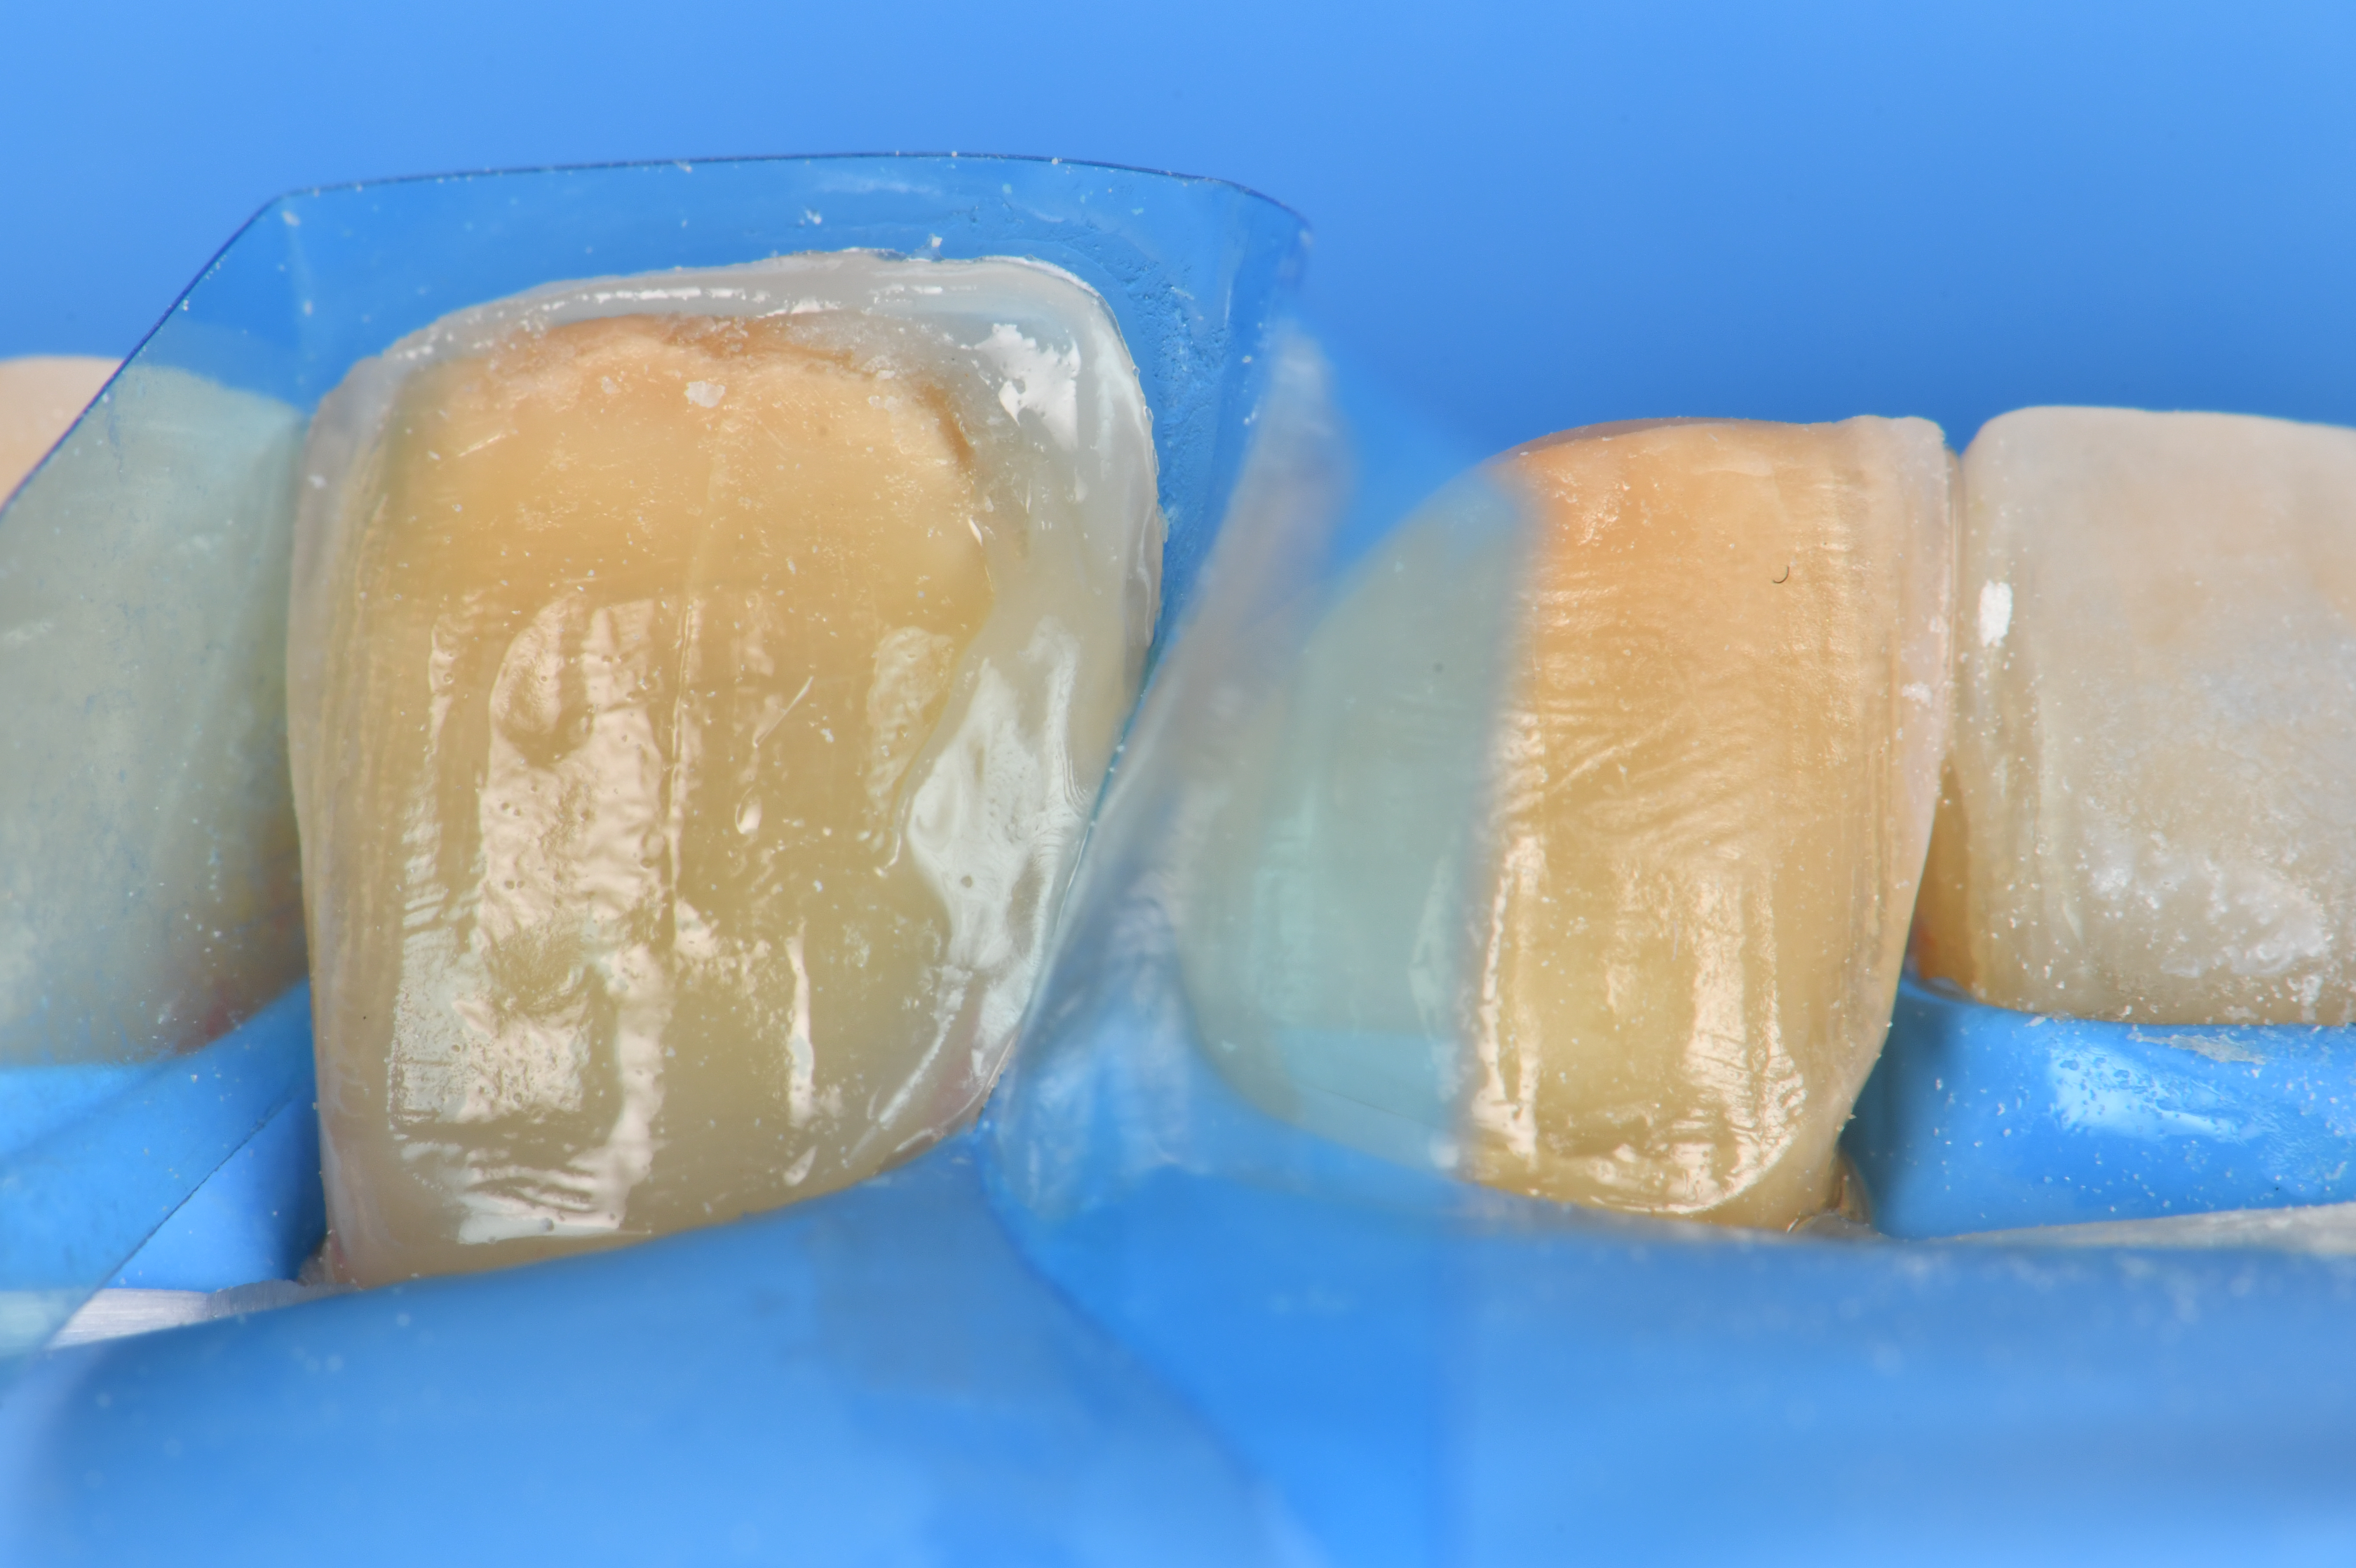
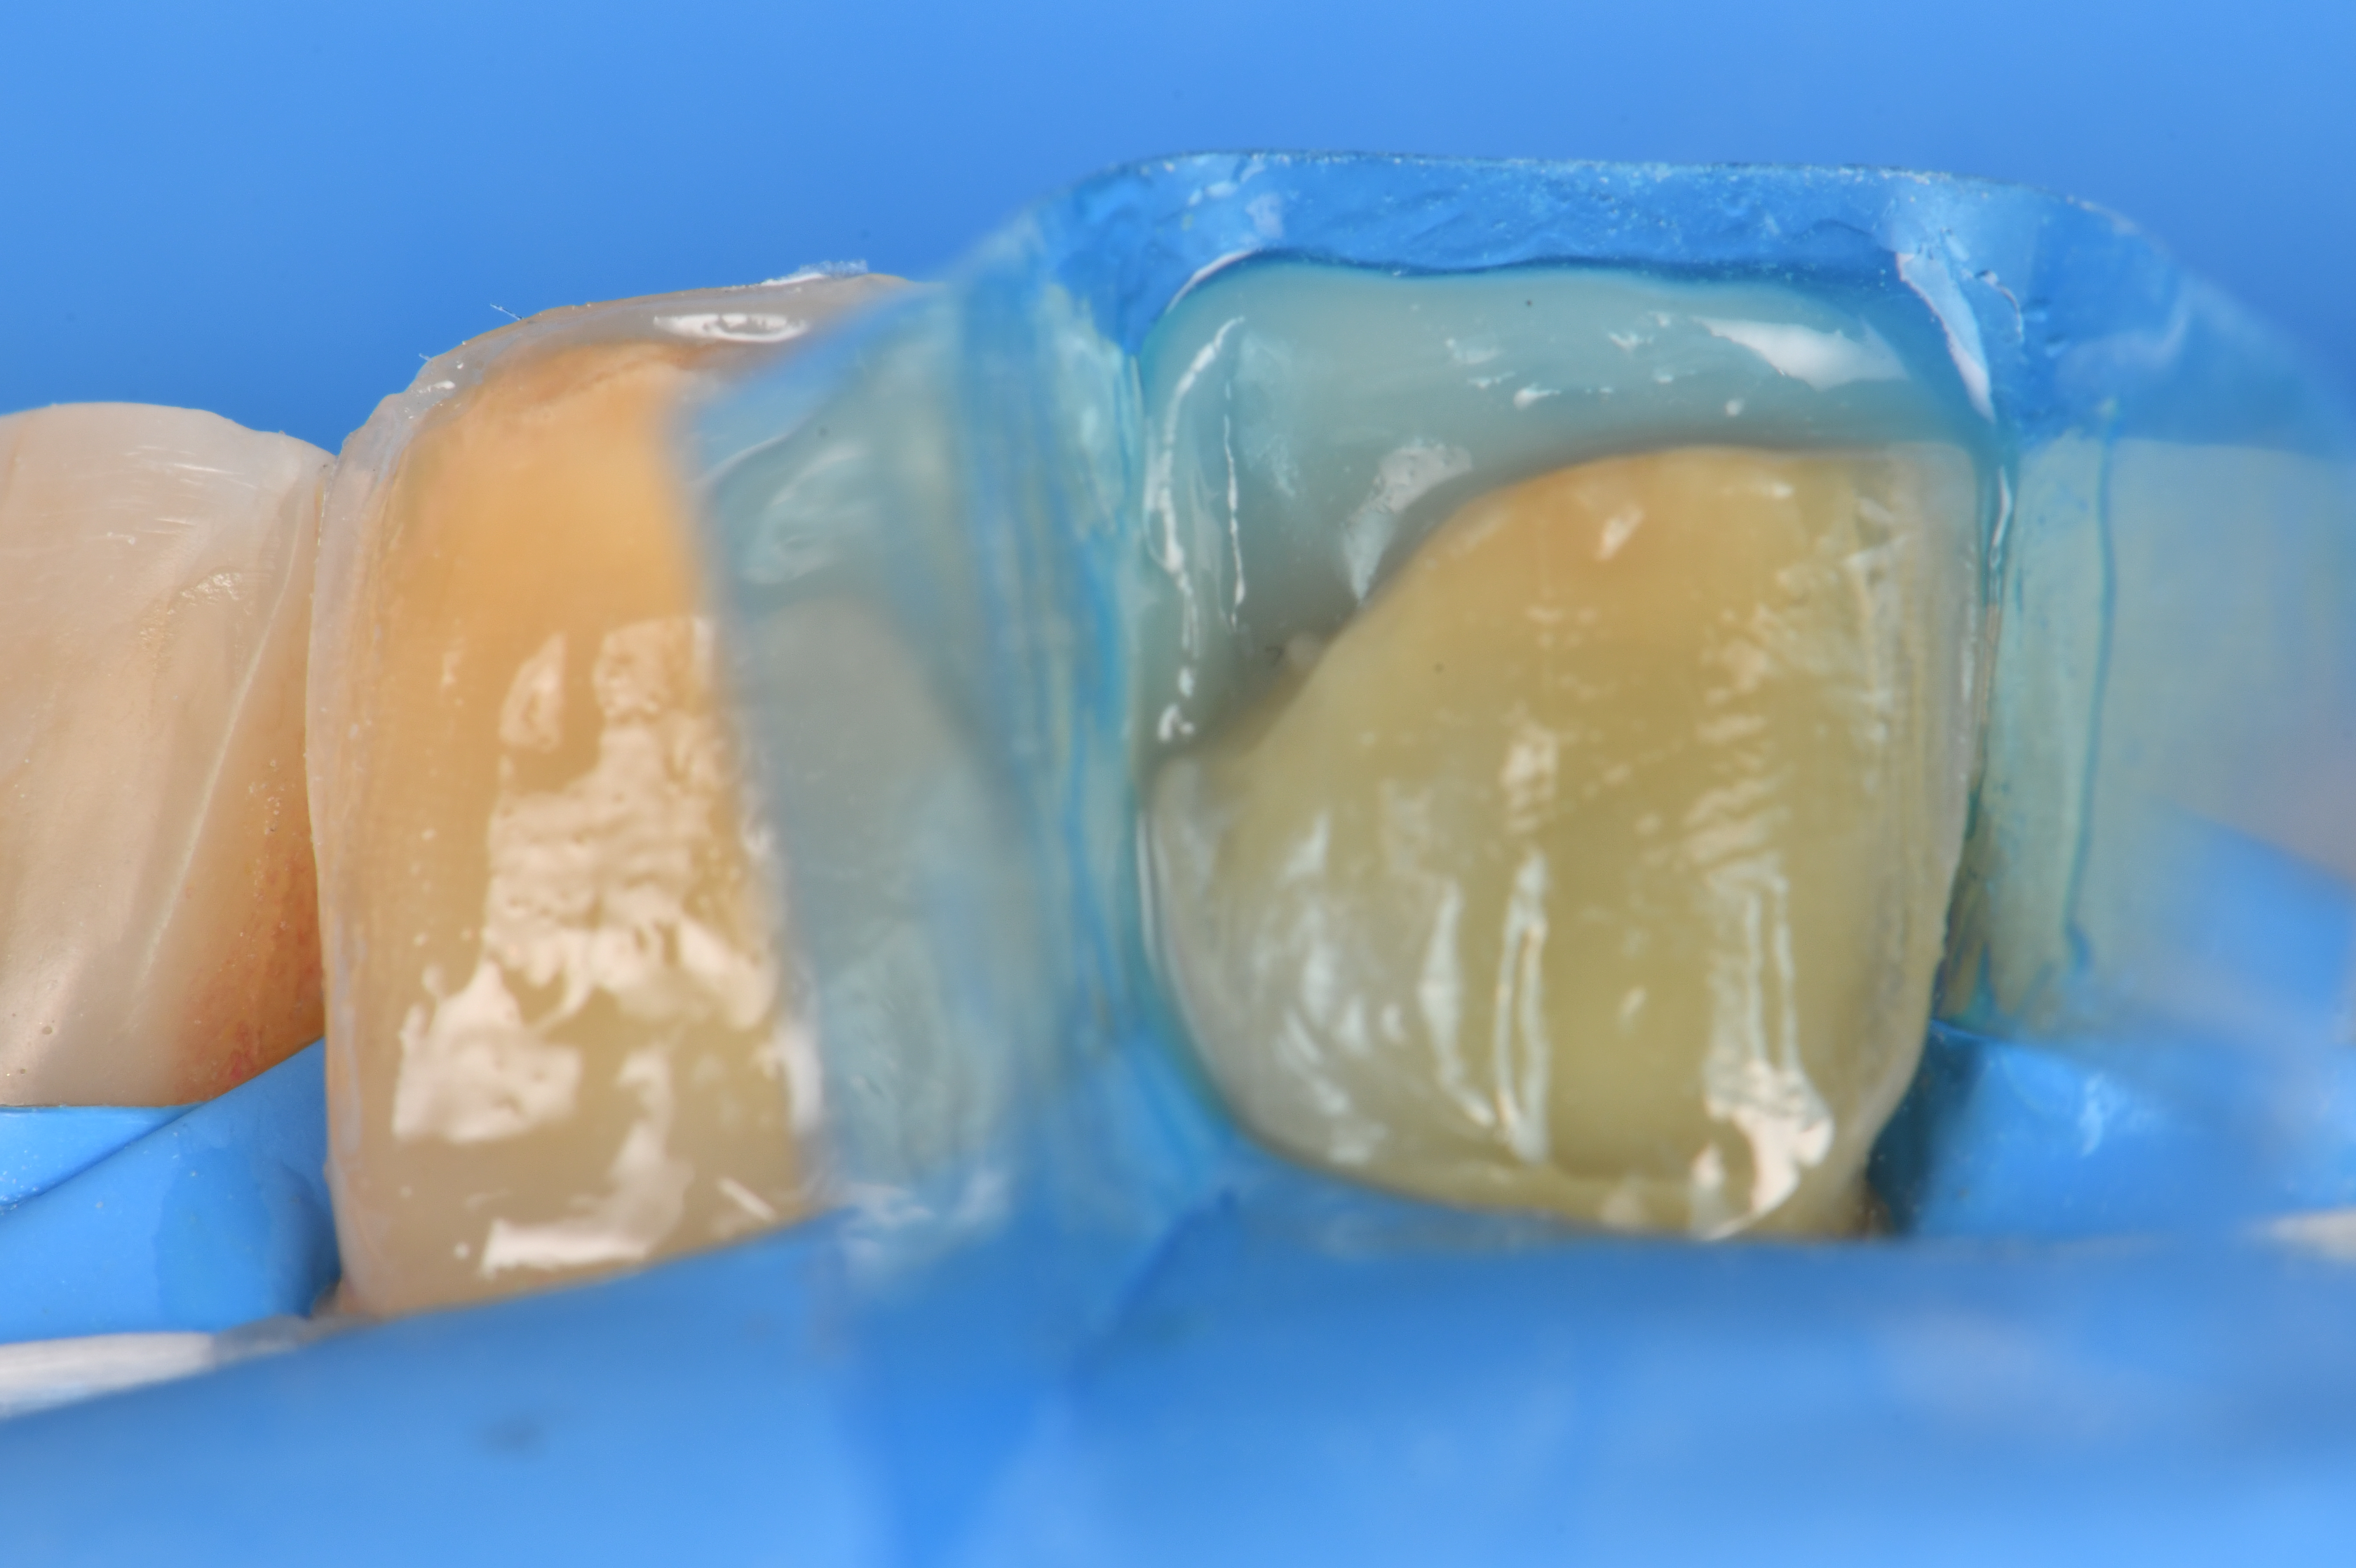
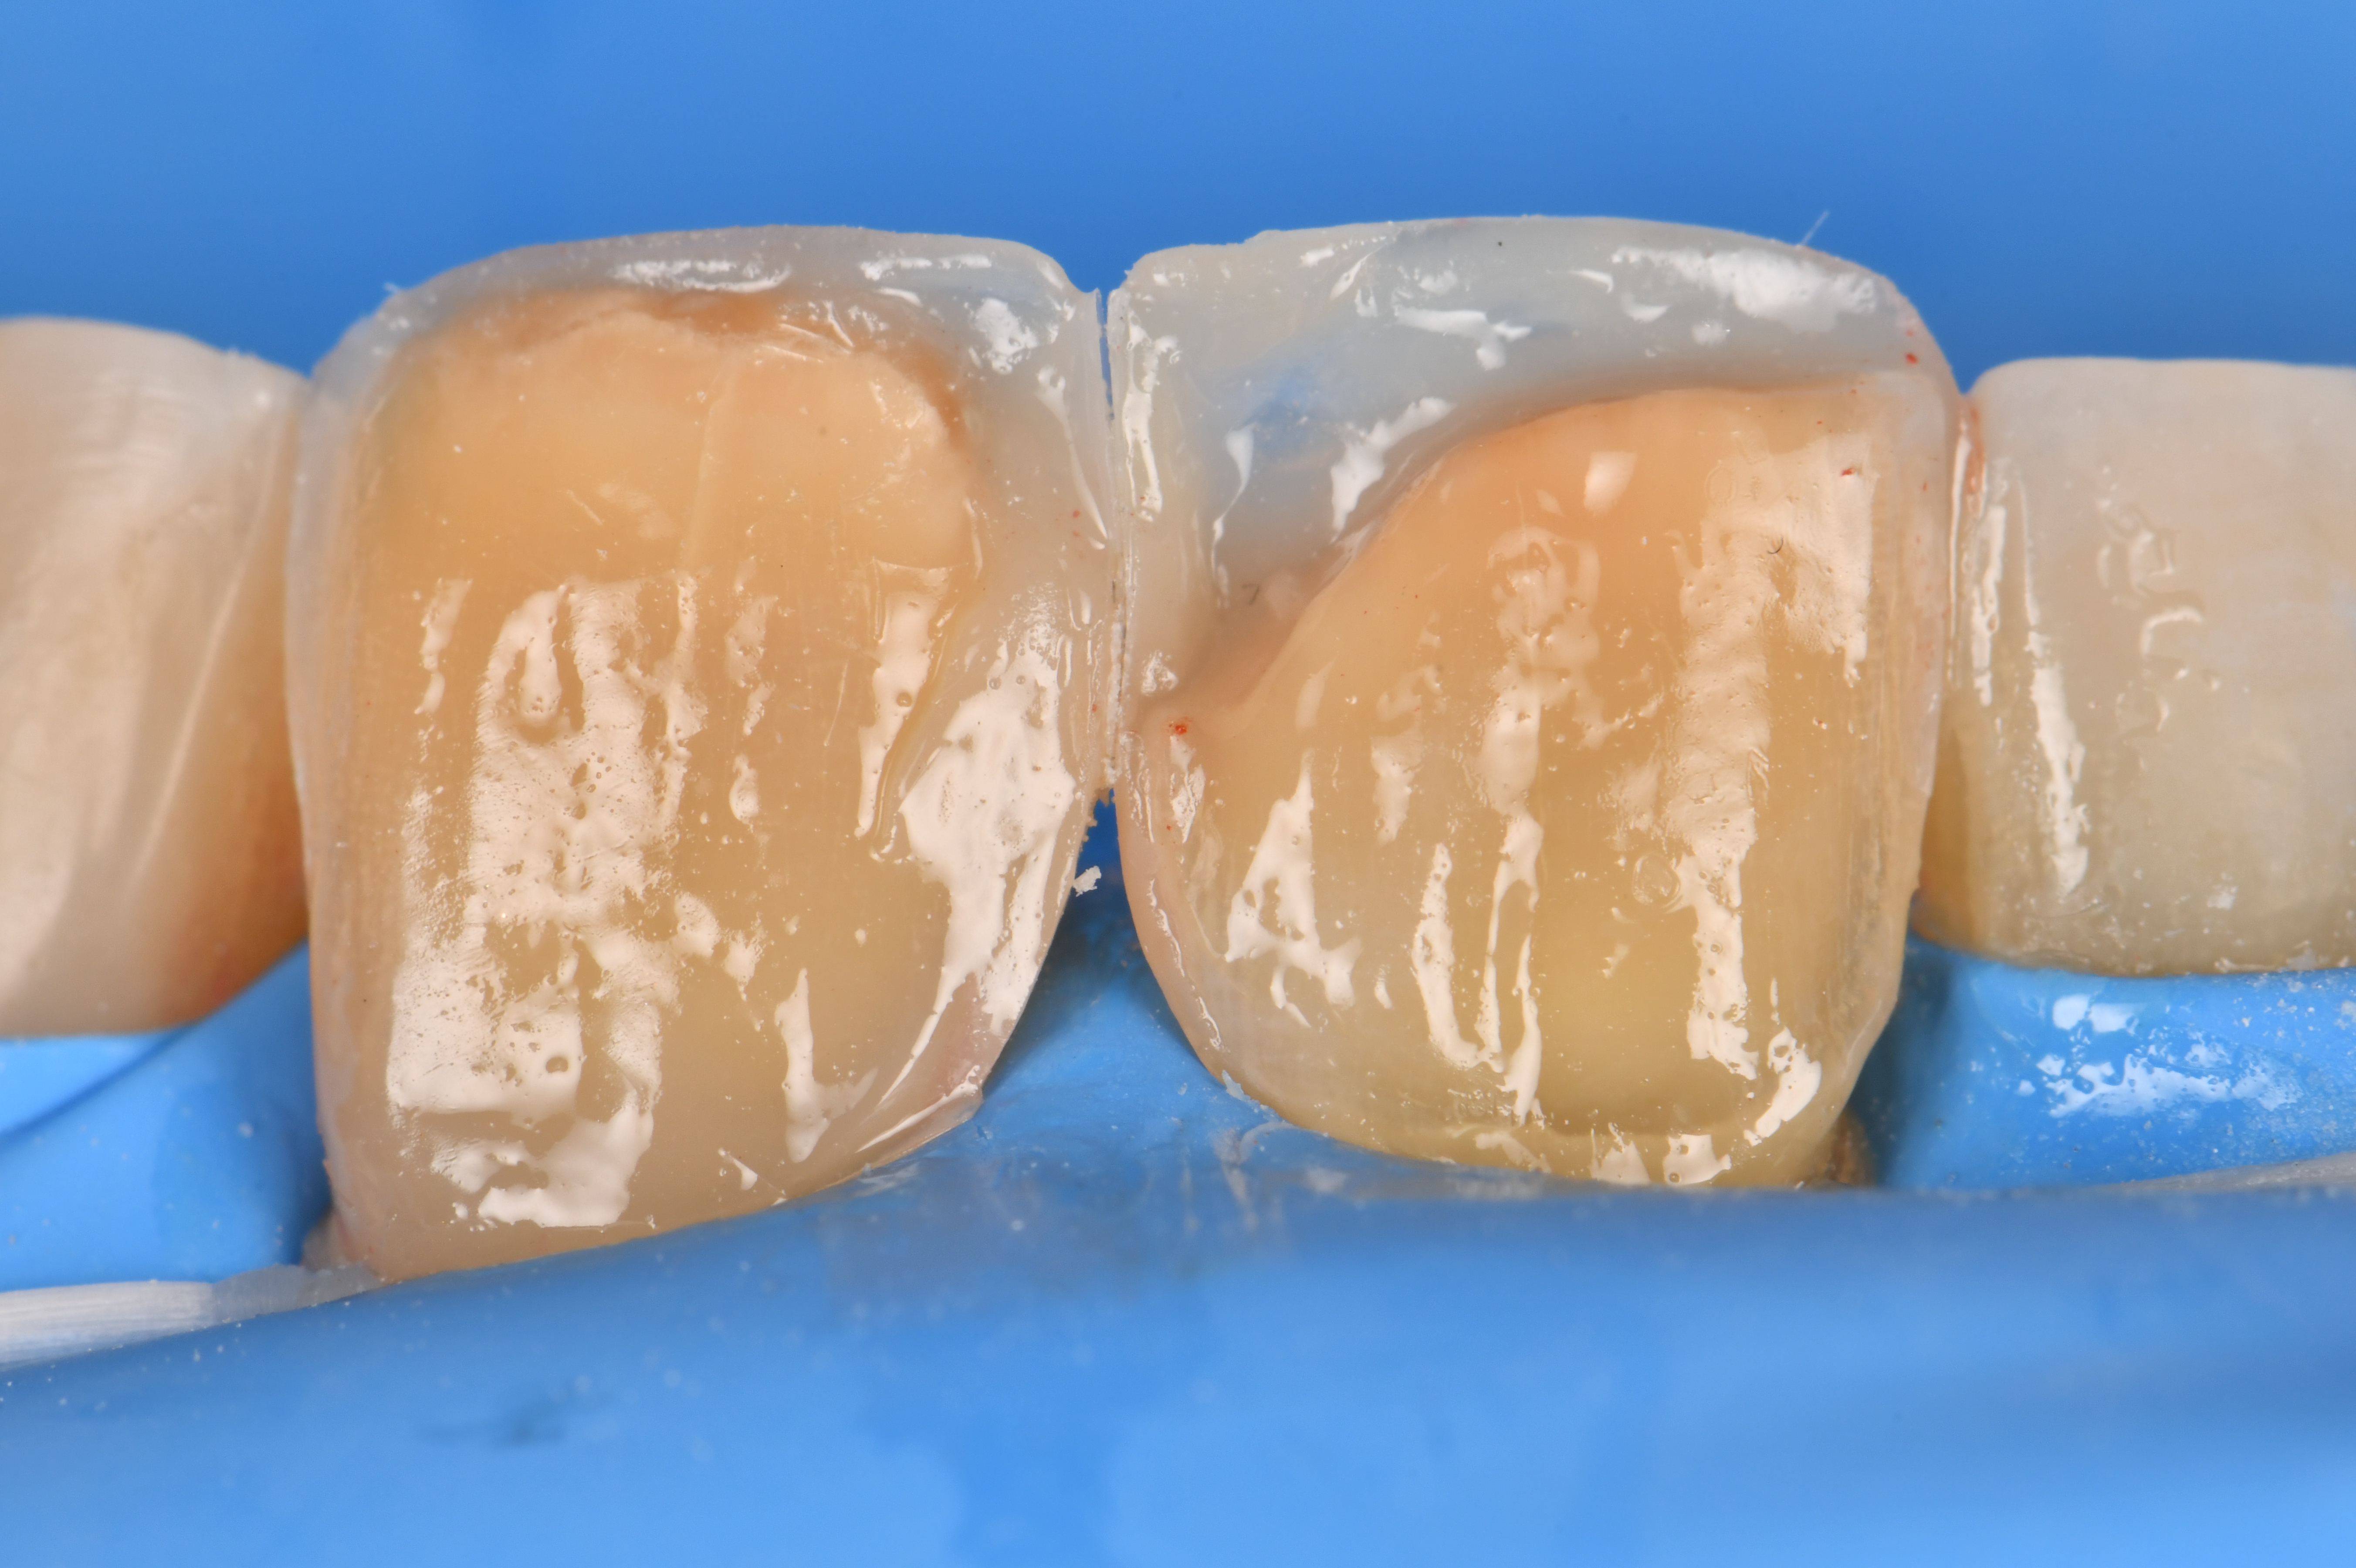
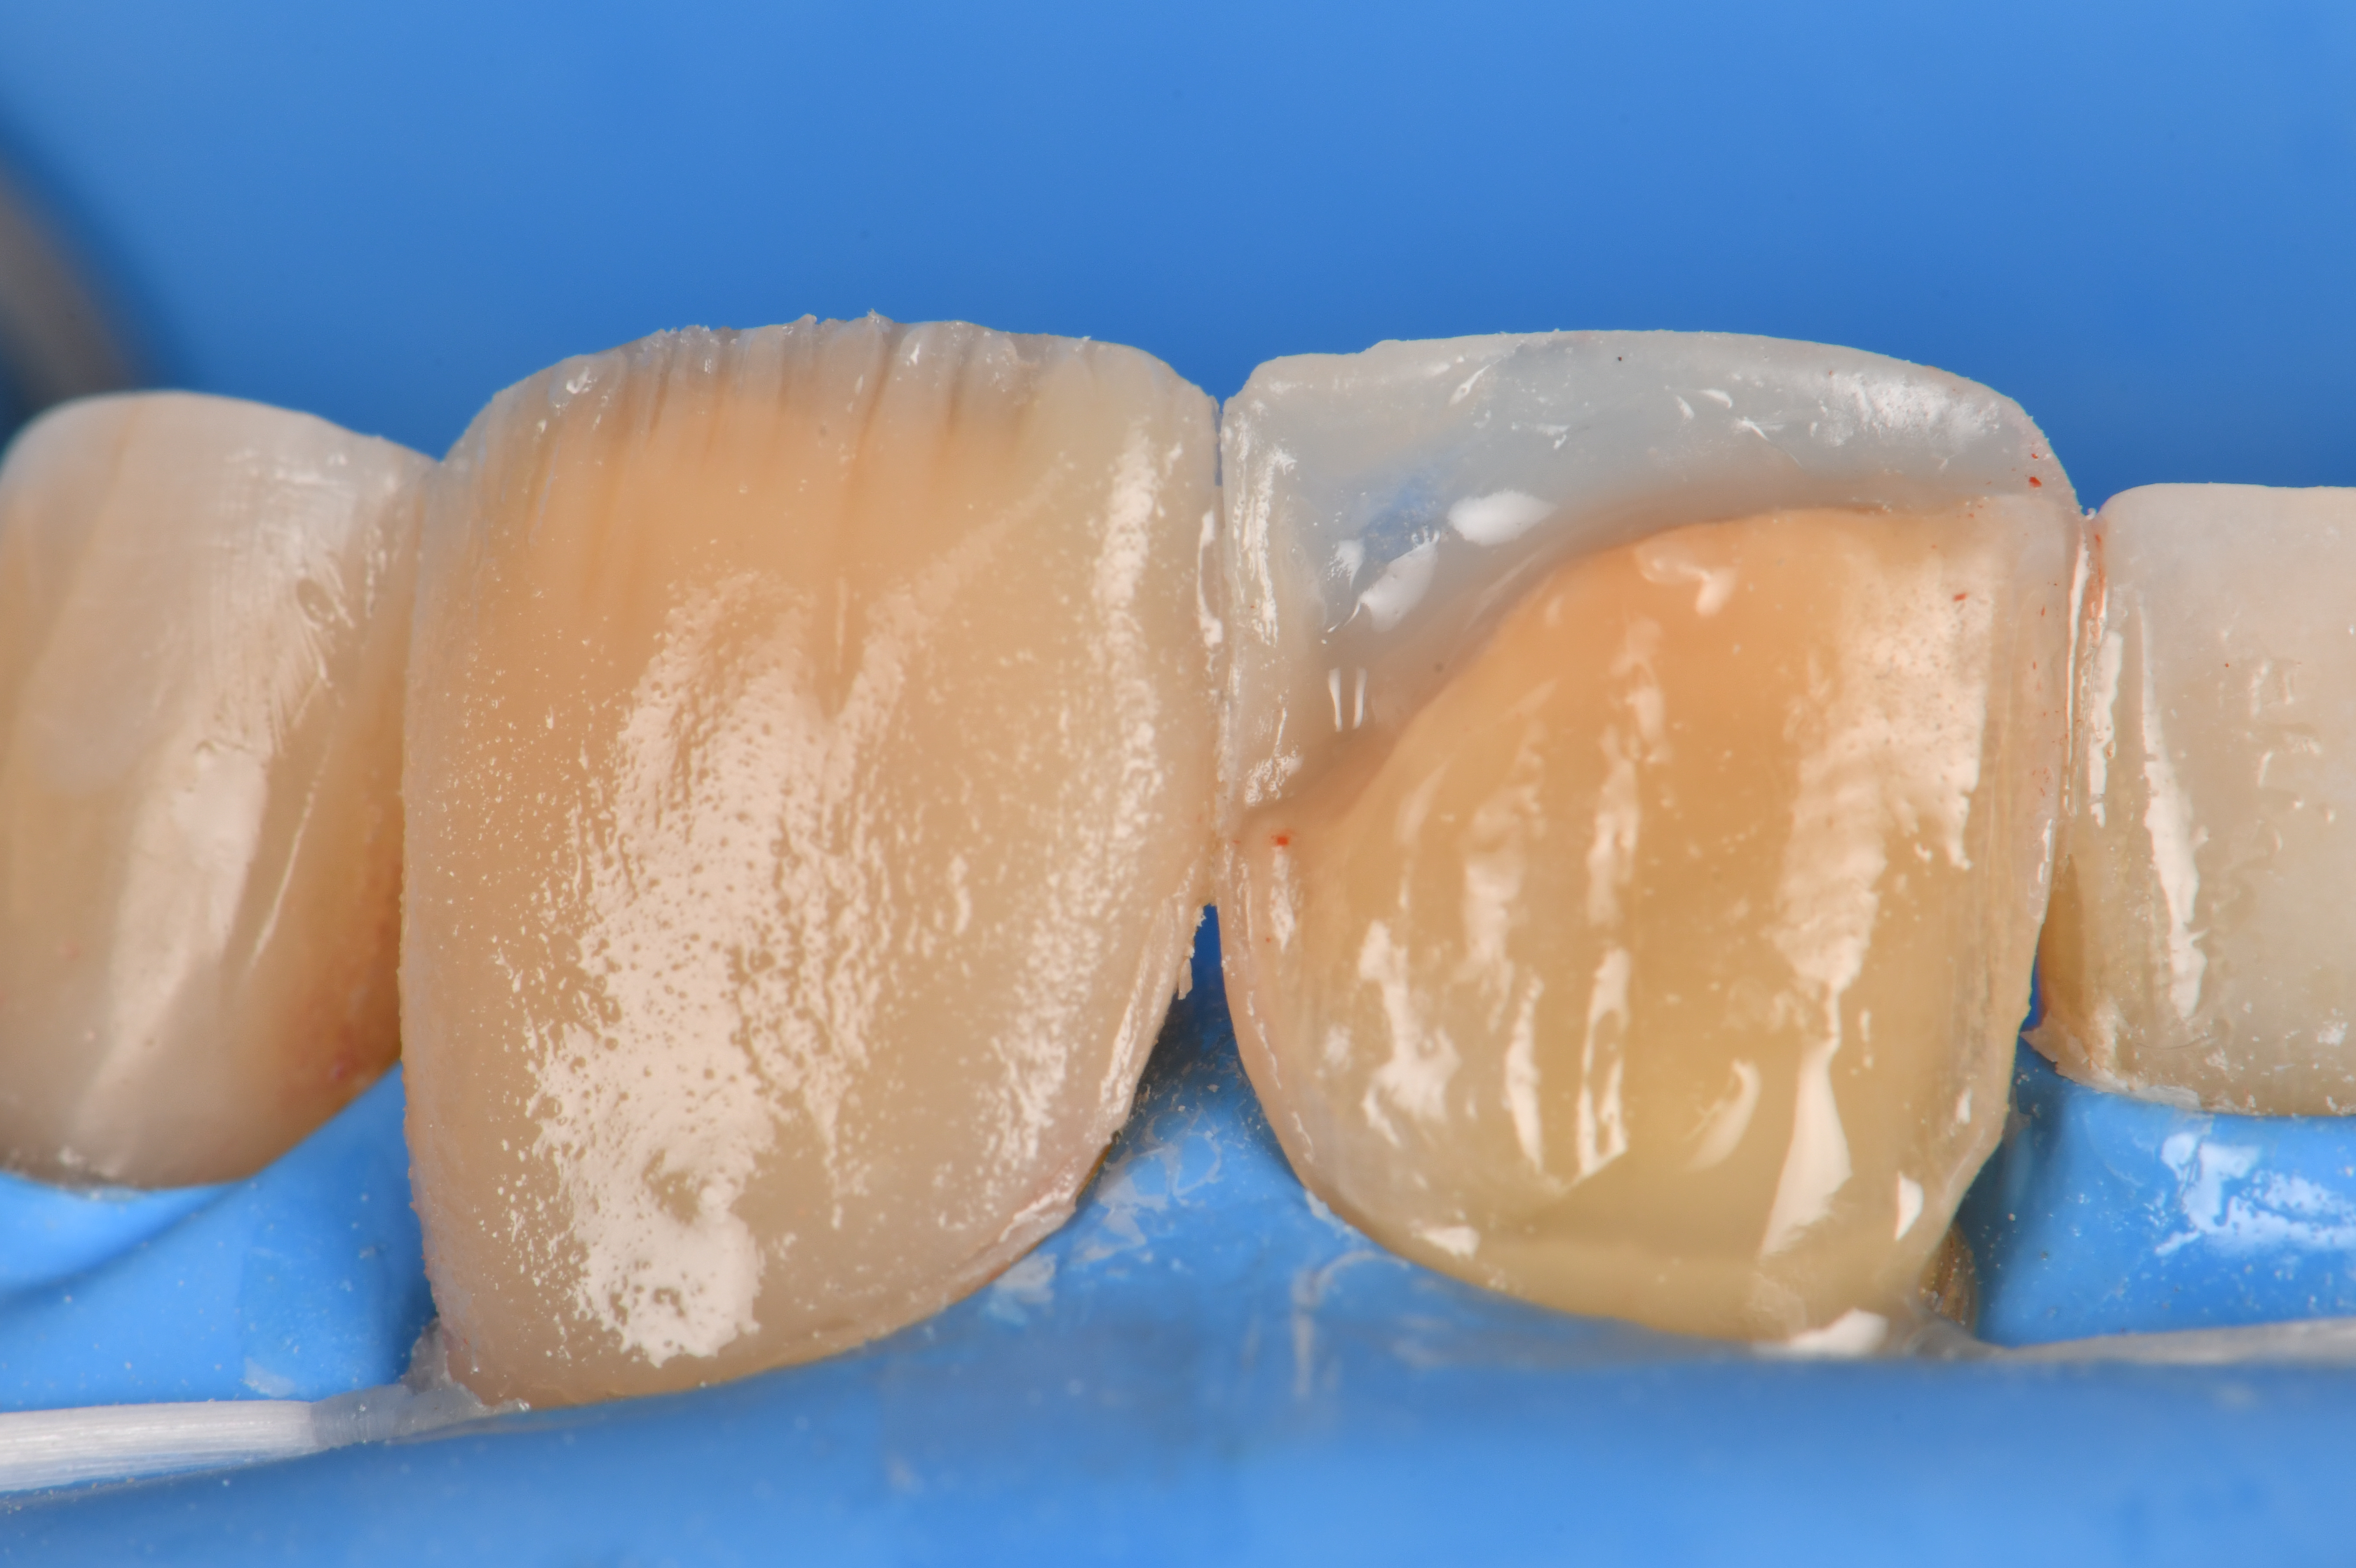
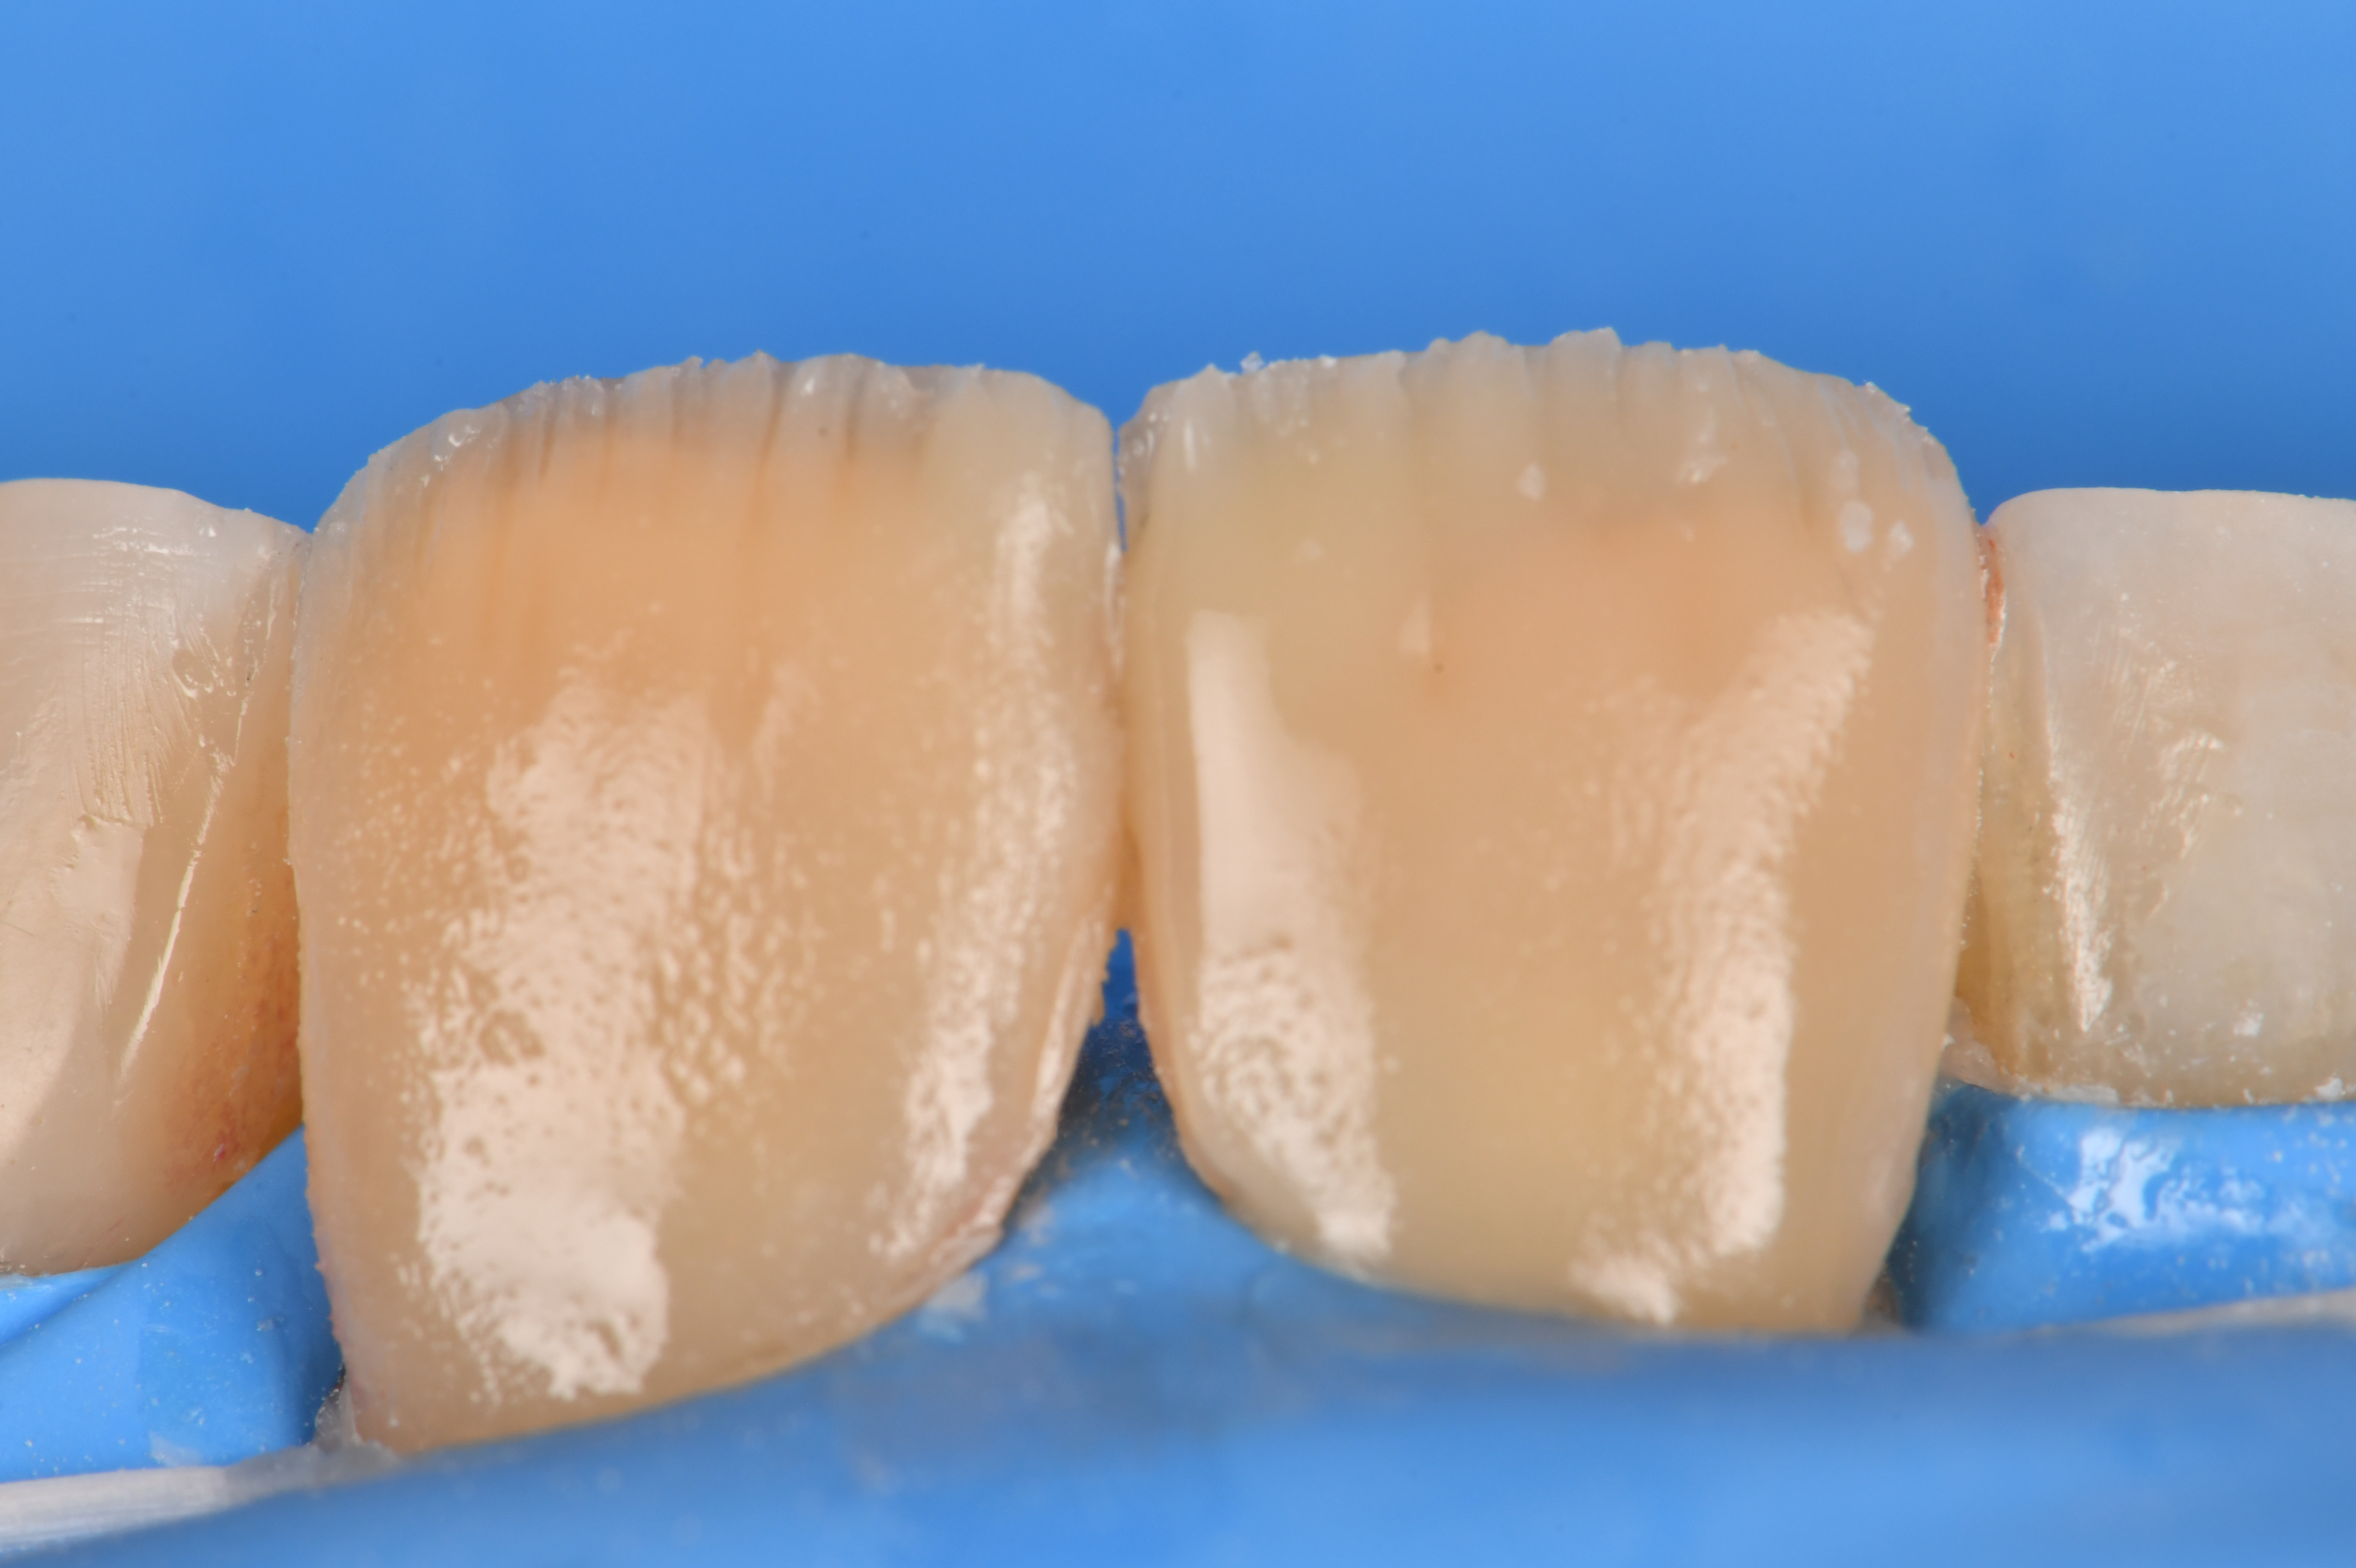
A Blueview Varistrip (Garrison Dental Solutions) pre-contoured variable width acetate strip was pre-crimped and placed around tooth 2.1 in preparation for fabrication of the lingual shelf. A 0.5mm thick layer was applied to tooth 2.1 in a freehand fashion guided by the Varistrip to the linguoaxial wall with care taken to fashion an “incisal roll” that would act as the frame of the restoration (Image 4). After adjusting verifying the vertical alignment of the midline, another Varistrip was utilized on tooth 1.1 to fashion the lingual shell and mesial enamel frame in a similar manner (Image 5, Image 6). An O4 dentin shade was sculpted on the surface of tooth 2.1 featuring incisal fingerlings that replicated a natural internal dentin anatomy in the incisal window (Image 7). A similar process was applied to tooth 1.1 which reconstructed the missing dentin volume whilst sparing layering space for the translucency, effects and final enamel layer (Image 8).
|
| Image 4 |
|
| Image 5 |
|
| Image 6 |
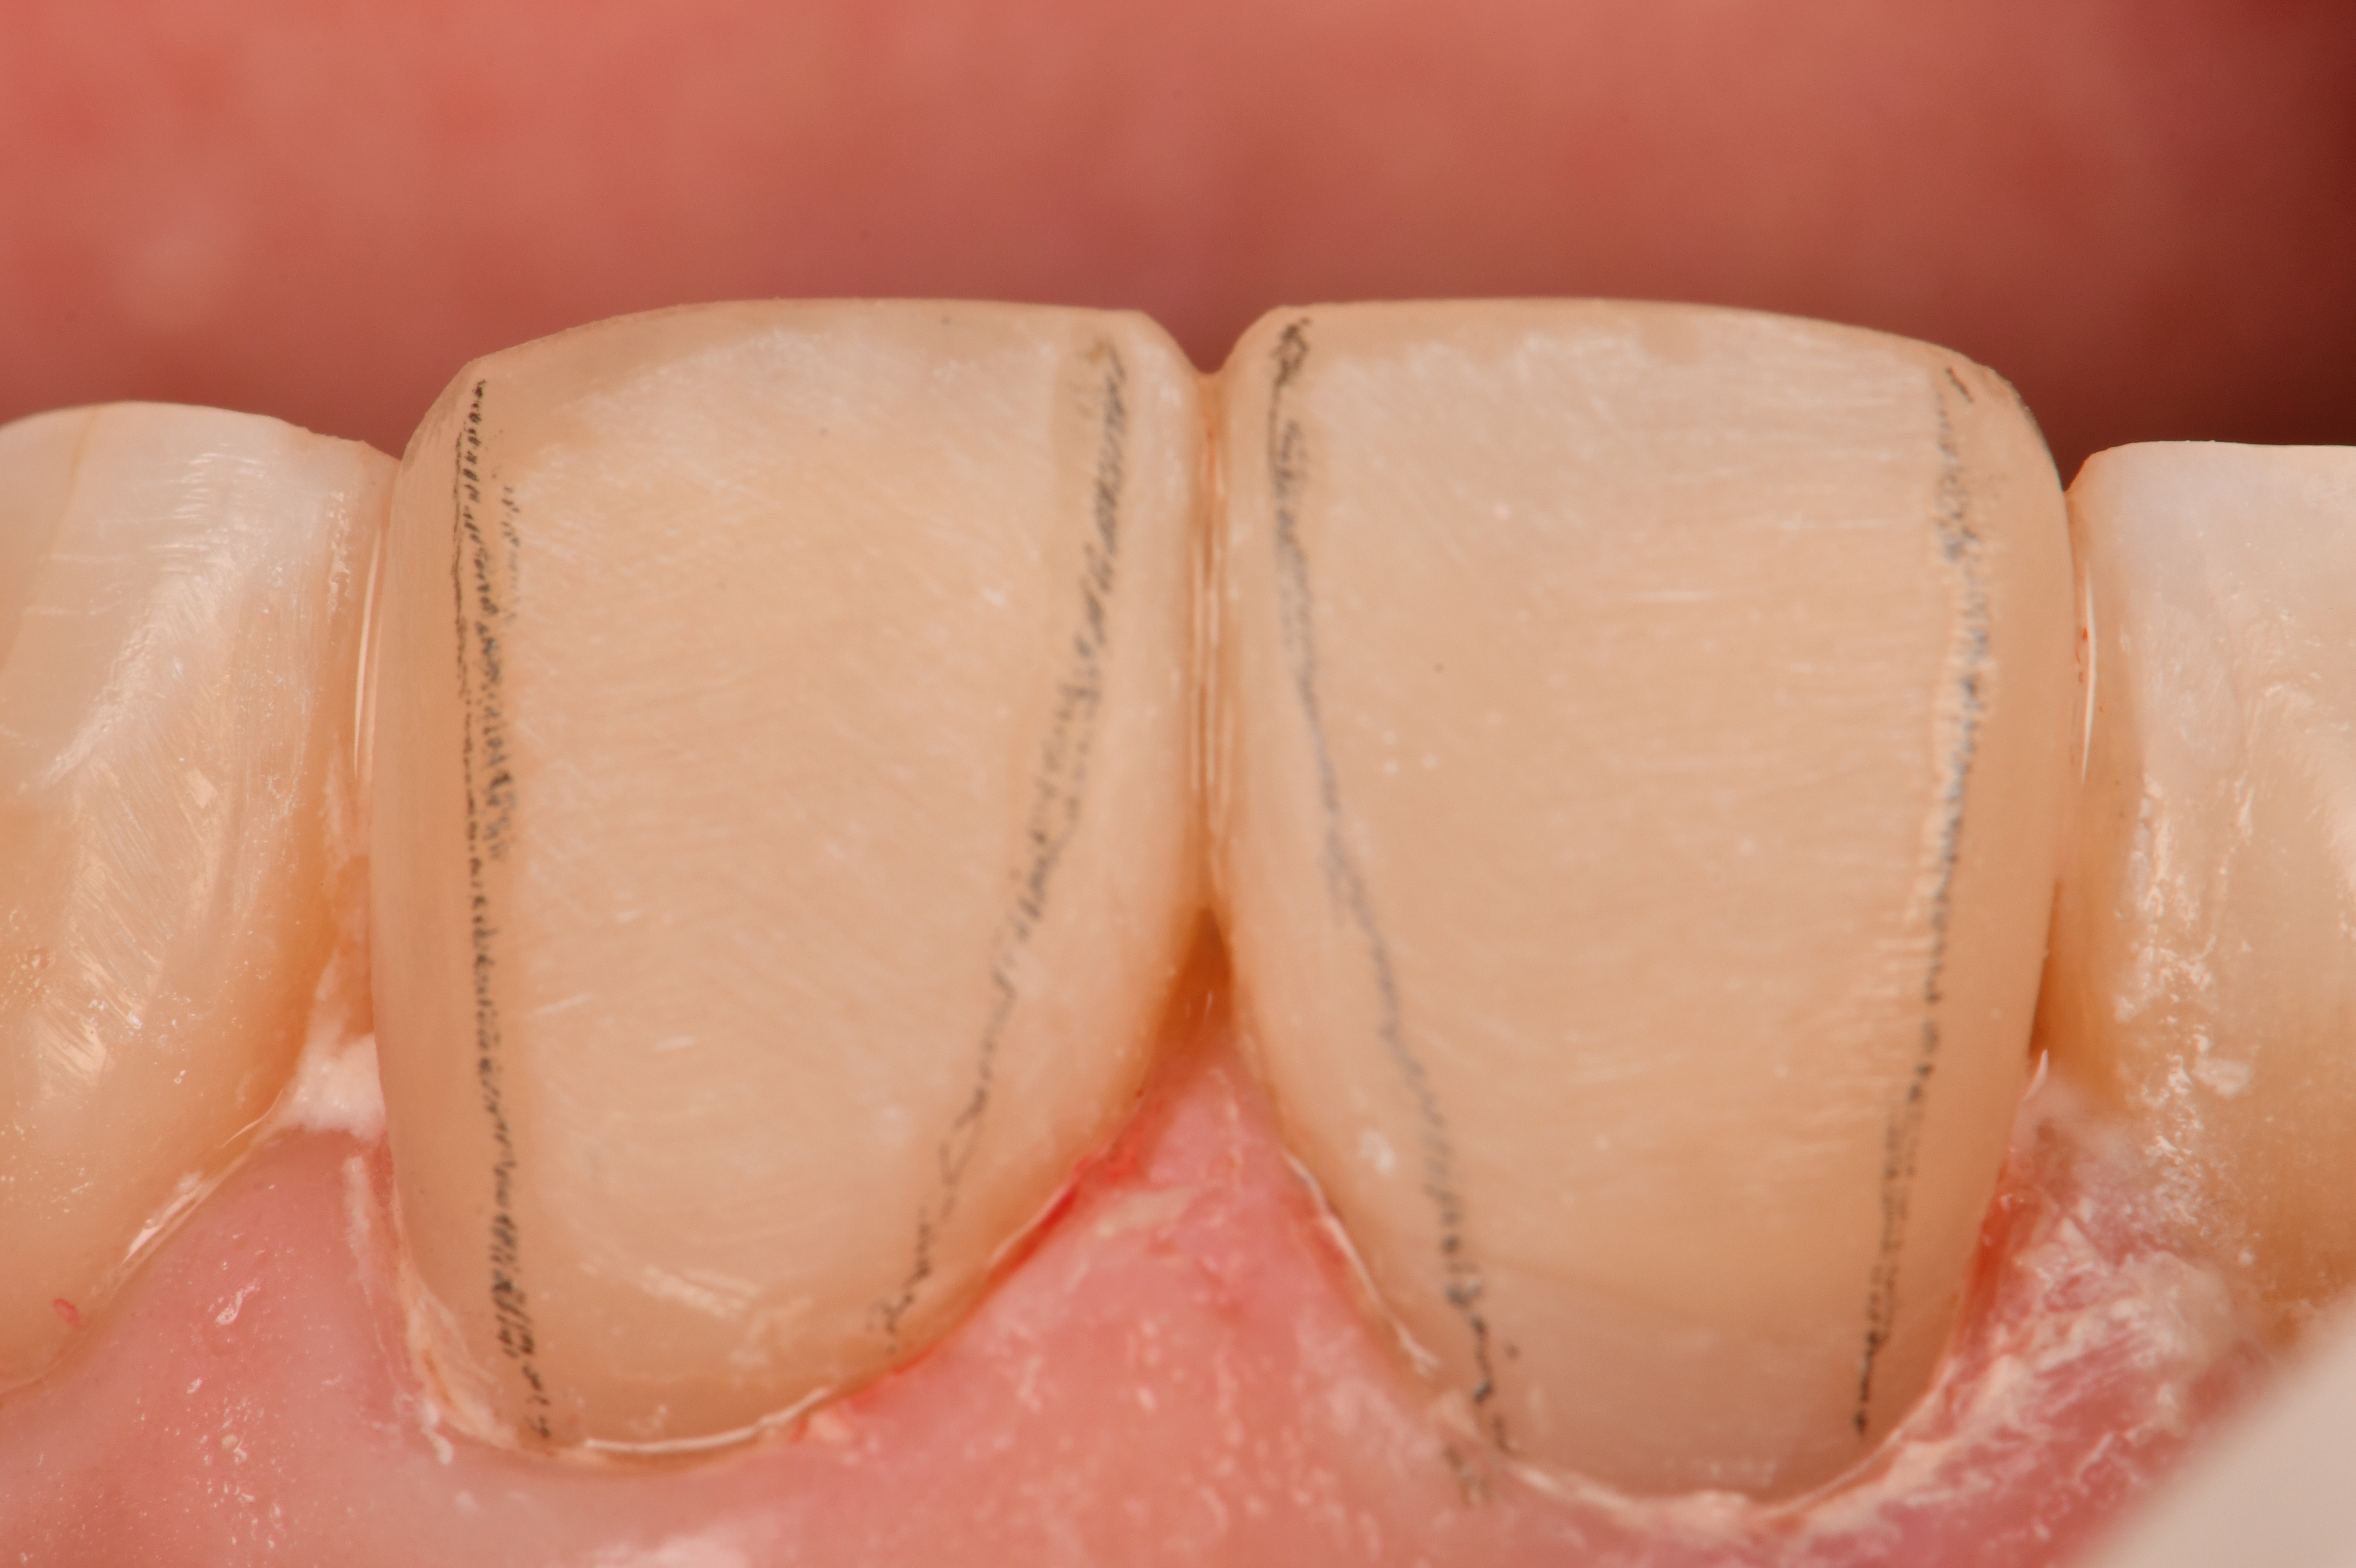
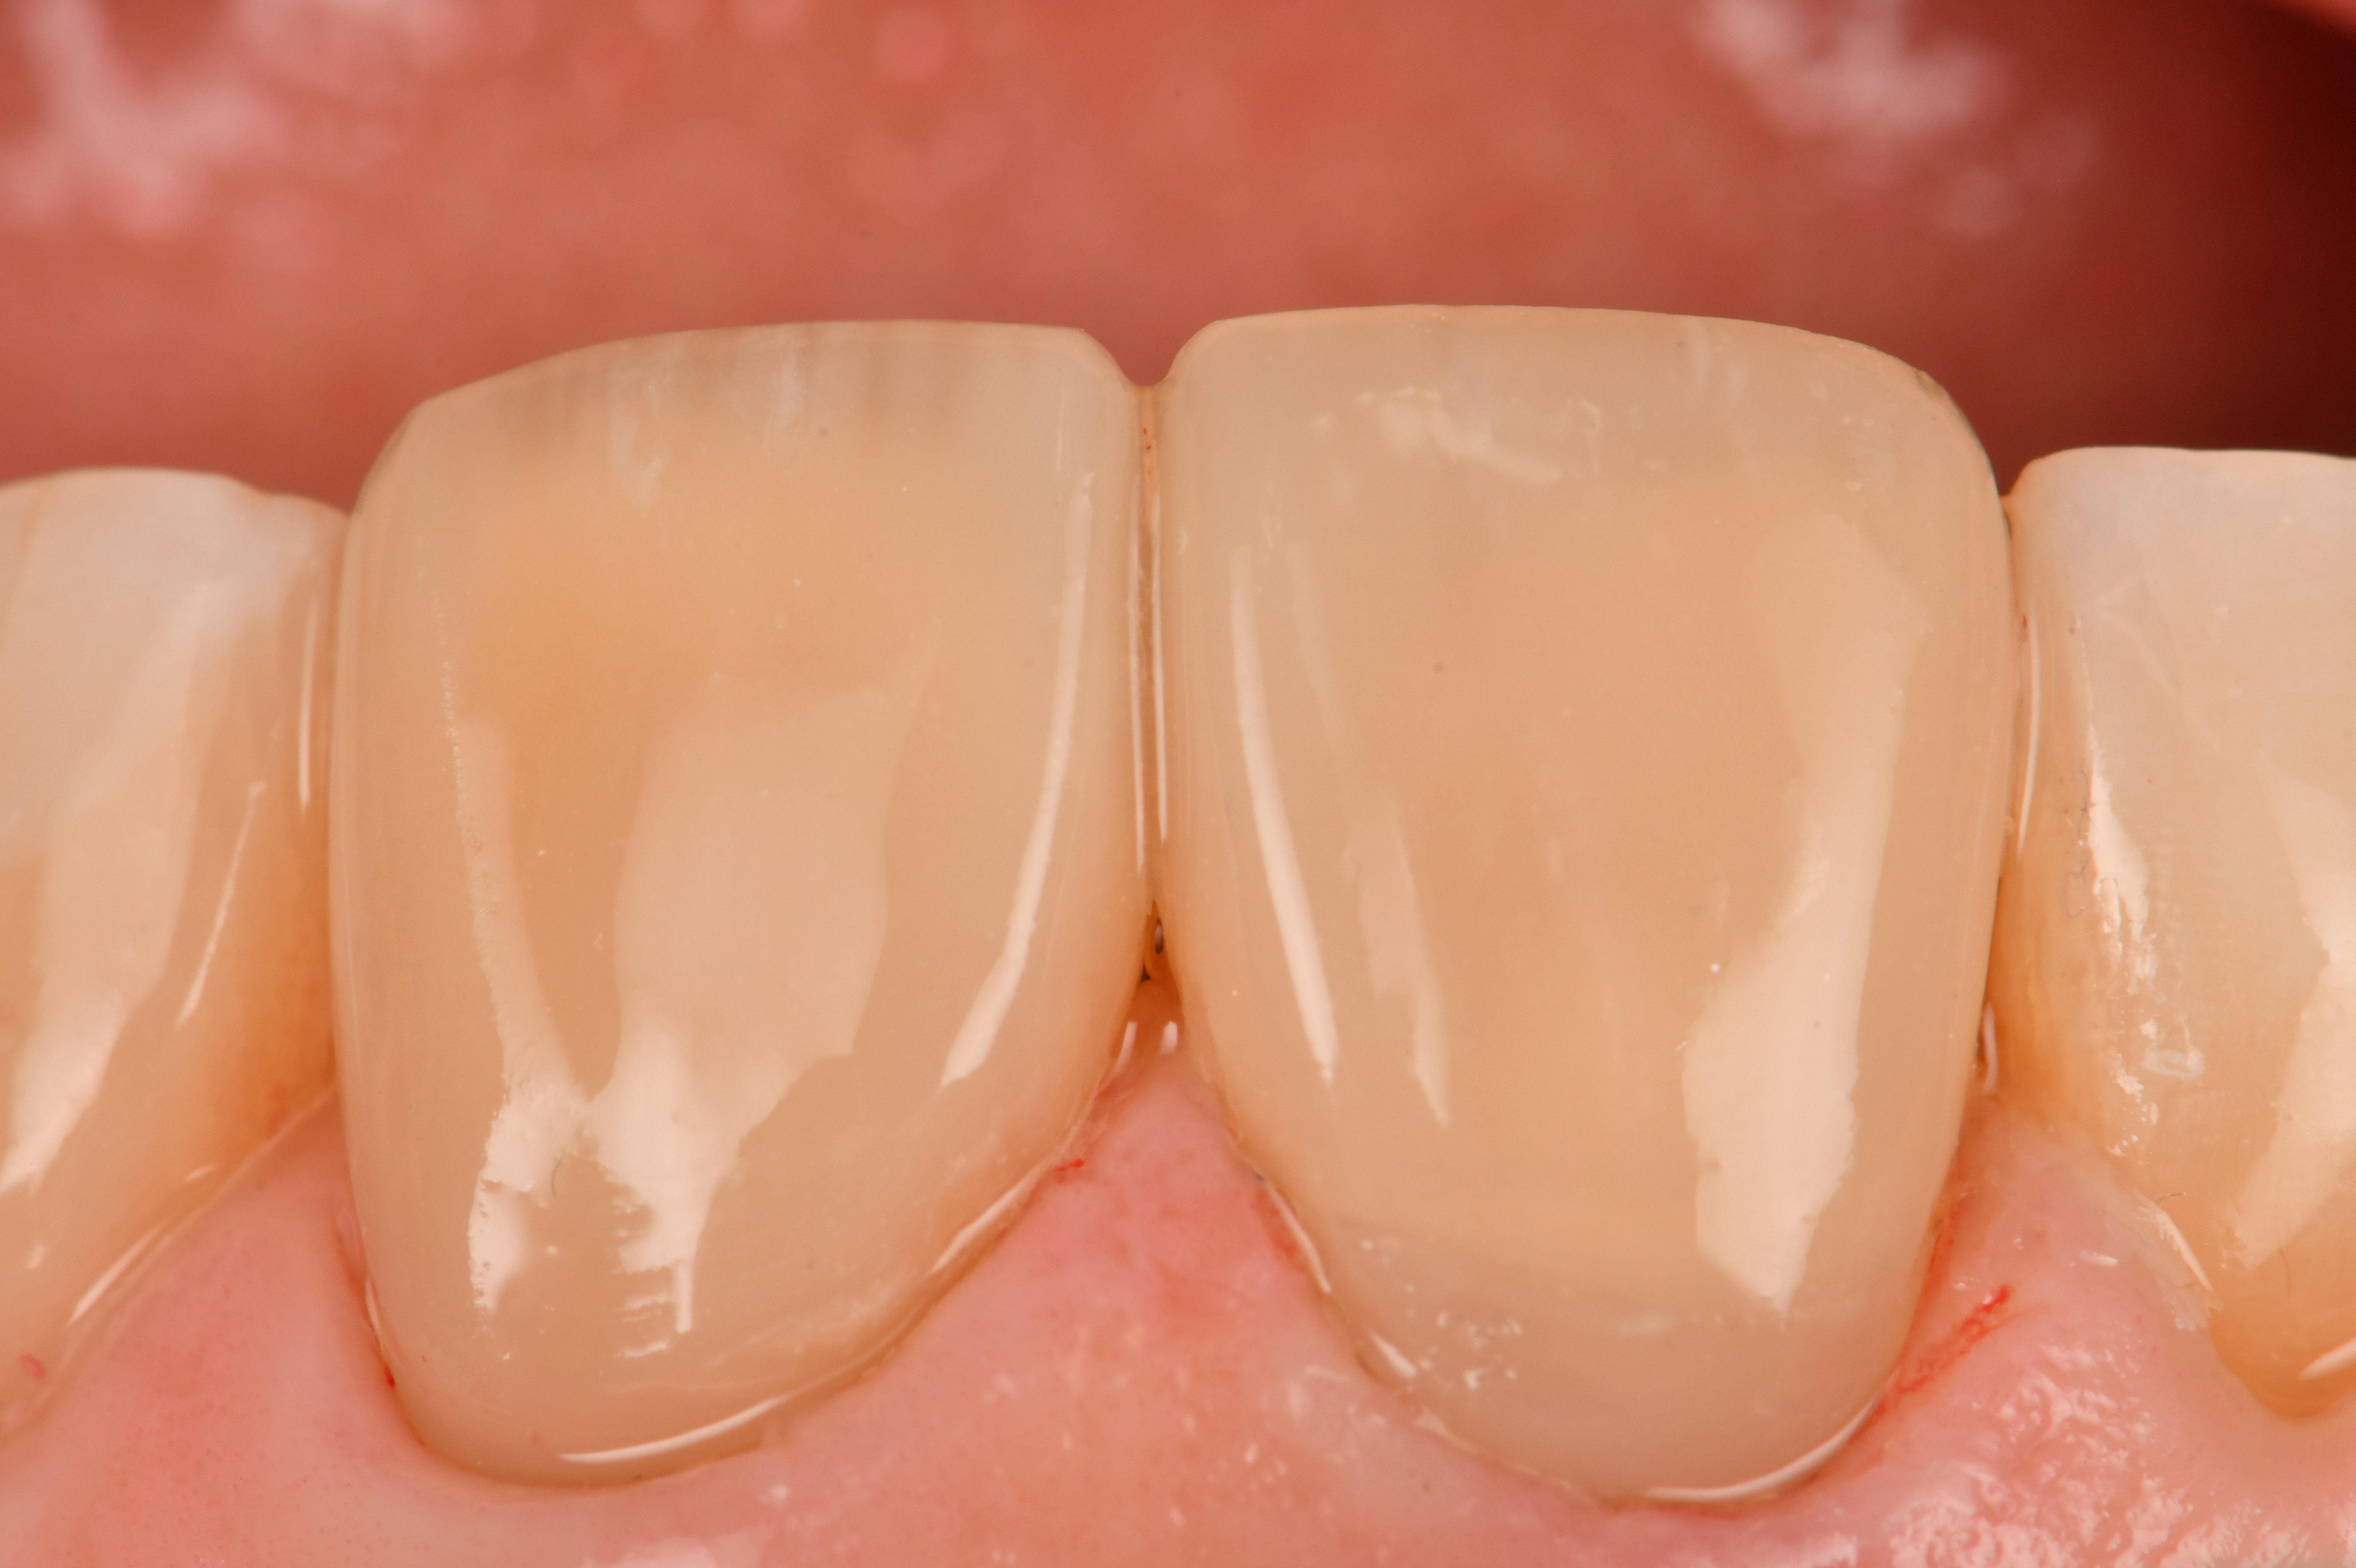
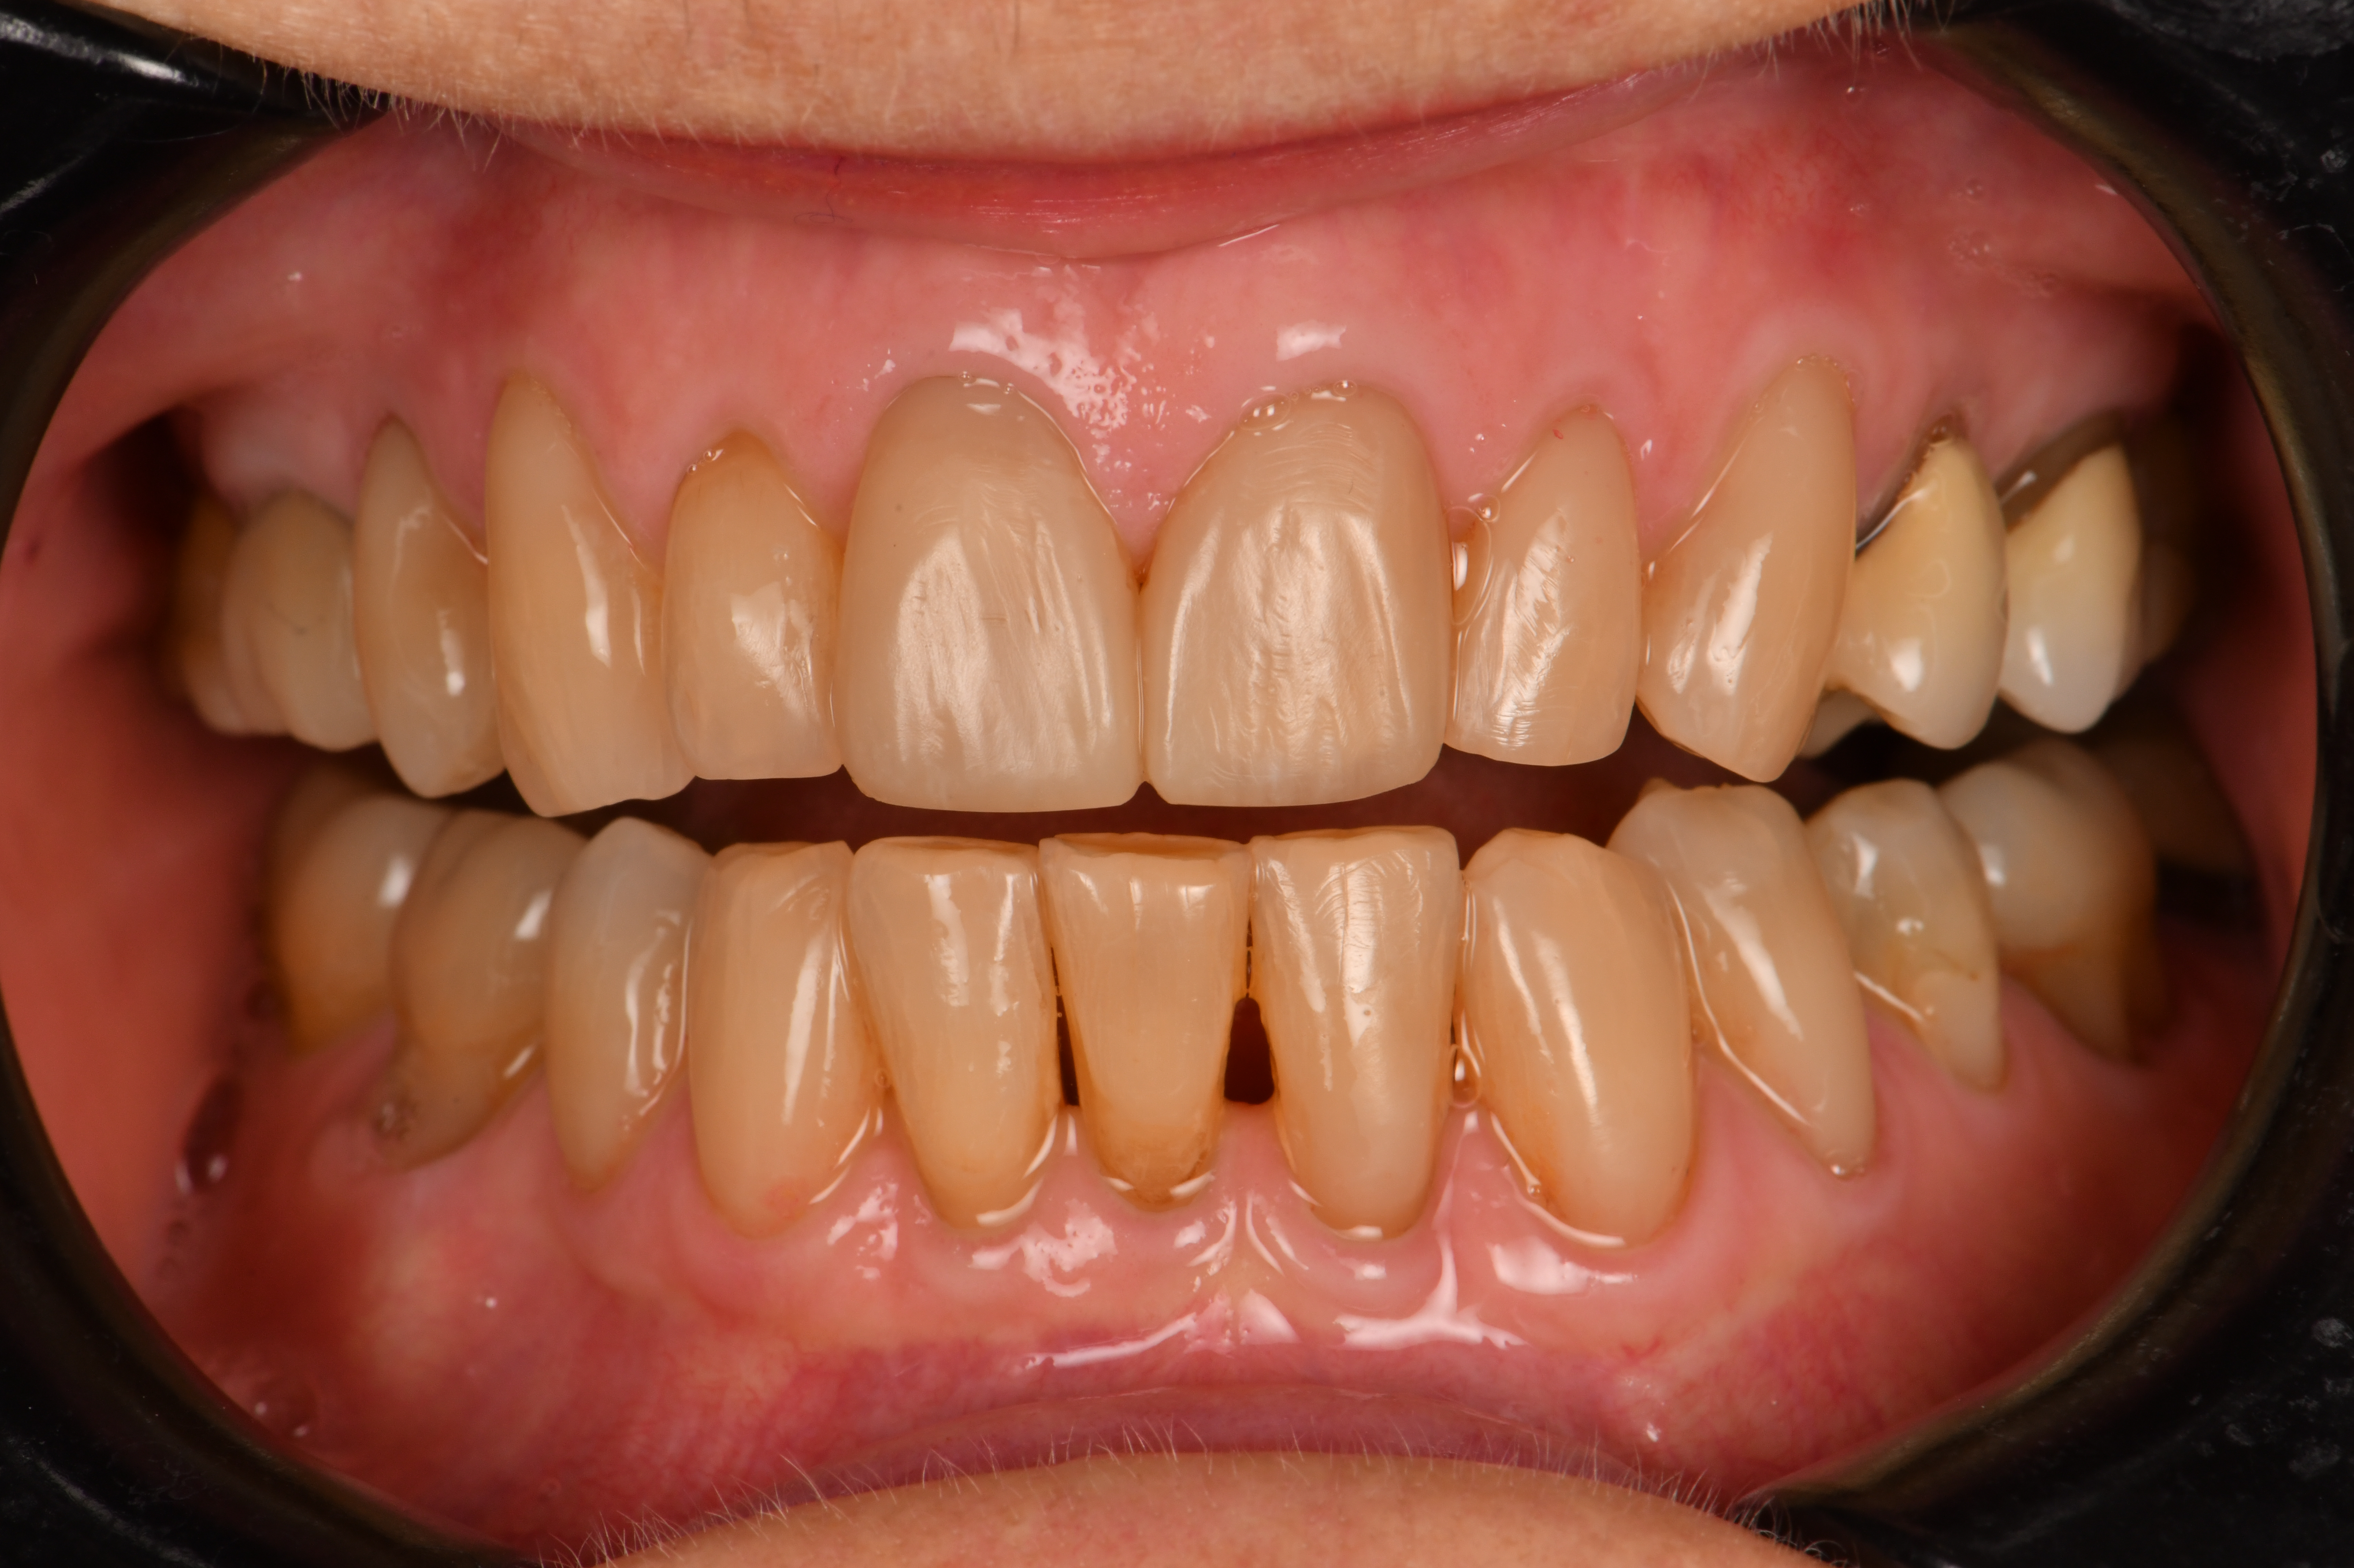
A flowable layer was carefully injected between the incisal irregularities with a high translucency flowable composite (HT, Amaris, Voco) and cured. Subsequent to this, a white effect tint (Final Touch, Voco) was placed in a natural orientation to highlight enamel irregularities and maverick detail in the incisal window using the TNTAM1 instrument (TNTAMKIT, HuFriedy LLC) (Image 9). Following sculpting the final enamel layer which finalized the buccolingual volume of the teeth, the primary anatomy was marked and finished (Image 10). Secondary and tertiary anatomy was applied, and the restorations finished and polished to a high luster (Image 11). On reassessment one week later, photos were taken which display the excellent color and morphology integration of the restorations into the rest of the dentition (Image 12, Image 13, Image 14 under Reassessment).
|
| Image 7 |
|
| Image 8 |
|
| Image 9 |
|
| Image 10 |
|
| Image 11 |
|
| Image 12 |
|
| Image 13 |
|
| Image 14 |
|
| Image 15 |
An improved efficiency in cervical and proximal anatomy reconstruction is optimized with the use of a pre-curved anatomically shaped Mylar strip. Critically, this avoids the creation of flat emergence profiles when used cervically and idealizes the shape without the need for significant finishing at the end. The Garrison Varistrip is an acetate strip measuring 0.002” and varying in height from 5-10mm which allows for the perfect height requirement when adjusted to your individual tooth. This case is a demonstration of heightened efficiency and anatomical reproduction when the correct tools are employed in the direct reconstruction of a stratified composite restoration in modern adhesive composite restorations (Image 15).